Bosch HMV9302 Installation Instructions - Page 18
Bosch HMV9302 - 1.8 cu. Ft. Microwave Manual
 |
UPC - 825225830412
View all Bosch HMV9302 manuals
Add to My Manuals
Save this manual to your list of manuals |
Page 18 highlights
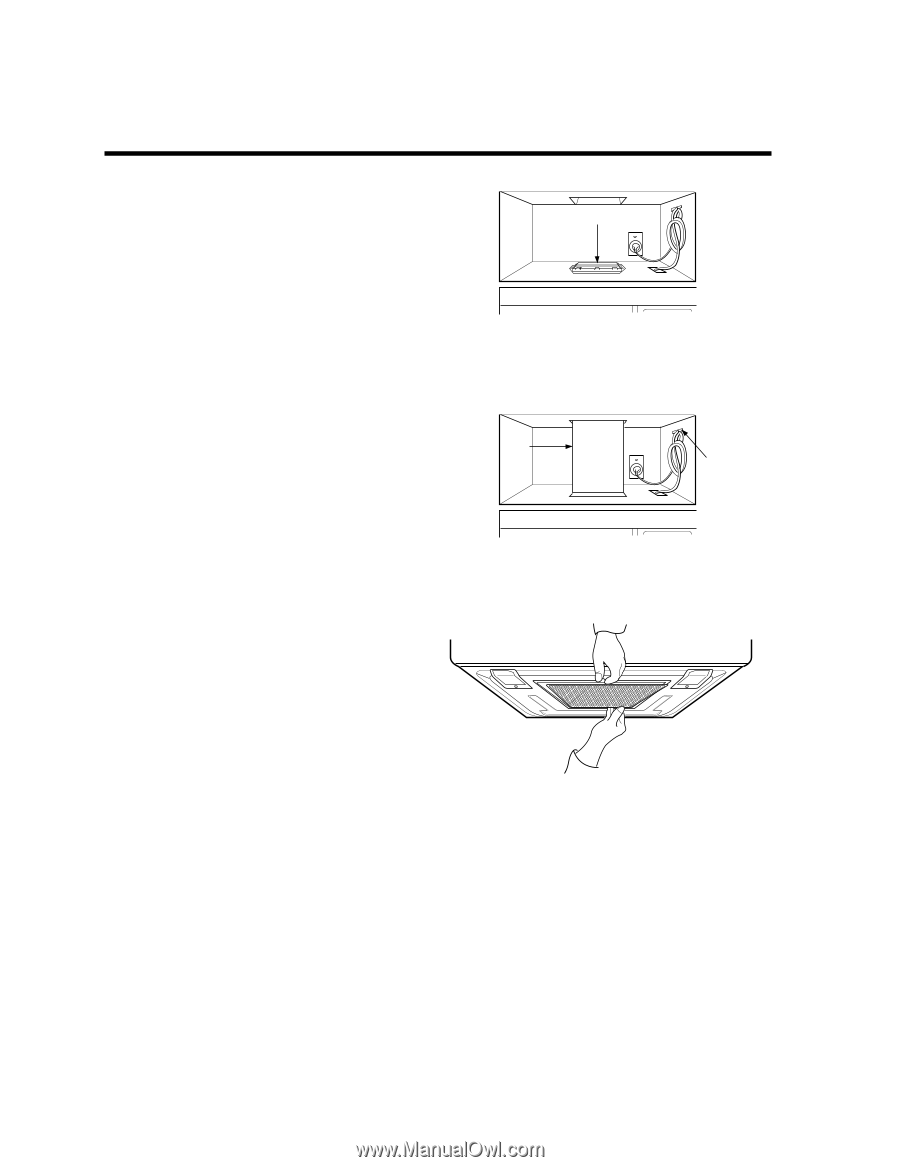
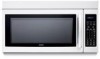
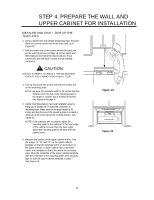
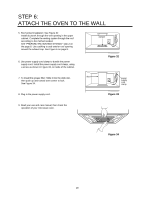
STEP 6: ATTACH THE OVEN TO THE WALL 5. Roof vented installation: See Figure 32 Install ductwork through the vent opening in the upper cabinet. Complete the venting system through the roof according to the method needed. See "PREPARE THE VENTING SYSTEM," step 2 on the page 8. Use caulking to seal exterior roof opening around the exhaust cap. See Figure 6 on page 8. 6. Use power supply cord clamp to bundle the power supply cord. Install the power supply cord clamp, using a screw as shown in Figure 33, to inside of the cabinet. damper Figure 32 7. To install the grease filter: Slide it into the slide slot, duct then push up and toward oven center to lock. See Figure 34. power supply cord clamp 8. Plug in the power supply cord. Figure 33 9. Read your use and care manual, then check the operation of your microwave oven. Figure 34 18
-
 1
1 -
2
-
3
-
4
-
5
-
6
-
7
-
8
-
9
-
10
-
11
-
12
-
 13
13 -
 14
14 -
 15
15 -
 16
16 -
 17
17 -
 18
18 -
 19
19 -
 20
20
 |
 |