Brother International DreamWeaver„ VQ3000 Sewing End Point 1.05 or Later - Page 3
Stitch End Mode Key
 |
View all Brother International DreamWeaver„ VQ3000 manuals
Add to My Manuals
Save this manual to your list of manuals |
Page 3 highlights
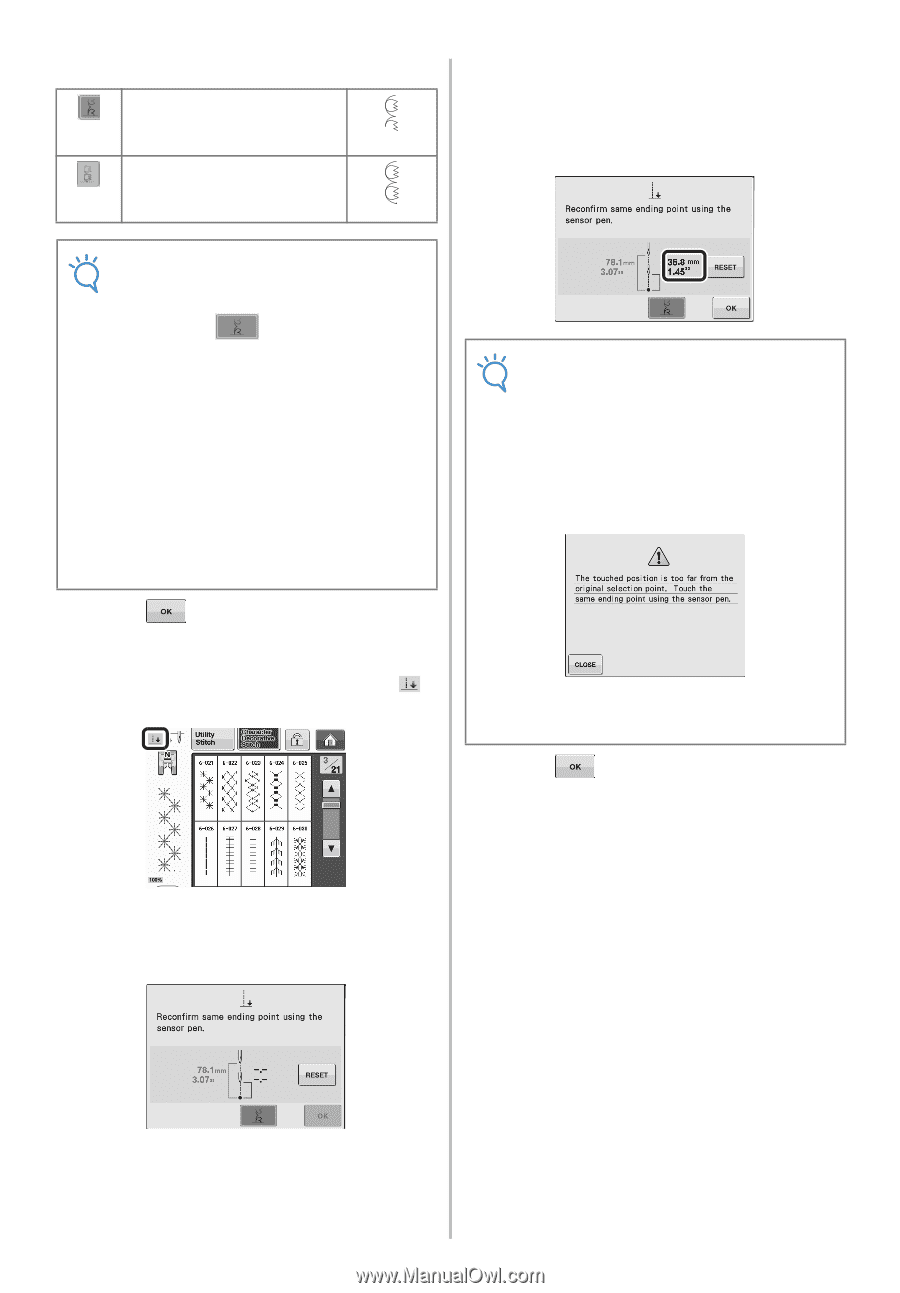
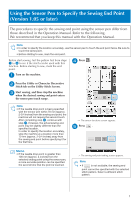
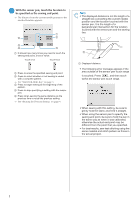
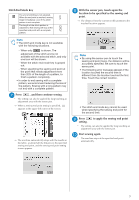
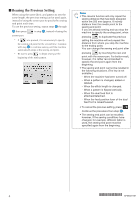
Stitch End Mode Key The end of stitching is not adjusted. When the end point is reached, sewing stops immediately, even if the stitch pattern is not complete. The length of the stitch pattern is adjusted so that sewing will stop at the specified end point with a complete pattern. h With the sensor pen, touch again the location to be specified as the sewing end point. → The distance from the current needle position to the touched location appears. Note • The stitch end mode key is not available with the following situations. - When only is shown. The adjustment of the stitch end is not available with the selected stitch, and only one icon will be shown. - When the stitch end mode key is grayed out. - When specifying the sewing end point at the point that needs adjustment more than 20% of the length of a pattern, to finish a pattern completely. • In order to end sewing with a complete pattern, we recommend reducing the size of the pattern. Sewing with a long pattern may not end with a complete pattern. g Press , and then continue sewing. * The setting can also be applied by long touching an adjustment area with the sensor pen. → When a sewing end point setting is specified, appears in the upper-left corner of the screen. → The machine automatically stops with the needle in the fabric, at about half the distance to the specified sewing end point, and the sewing end point setting screen appears. Note • By using the sensor pen to touch the sewing end point twice, the distance will be accurately specified. Be sure to touch the same point. • The following error message appears if the location touched the second time is different than the location touched the first time. Touch the correct location. • The stitch end mode key cannot be used when specifying the sewing end point for the second time. i Press setting. to apply the sewing end point * The setting can also be applied by long touching an adjustment area with the sensor pen. j Start sewing again. * The machine stops at the specified end point automatically. 3
-
 1
1 -
 2
2 -
 3
3 -
 4
4
 |
 |