Brother International VX-1400 Users Manual - English - Page 46
Monogramme und Stickarbeiten
 |
View all Brother International VX-1400 manuals
Add to My Manuals
Save this manual to your list of manuals |
Page 46 highlights
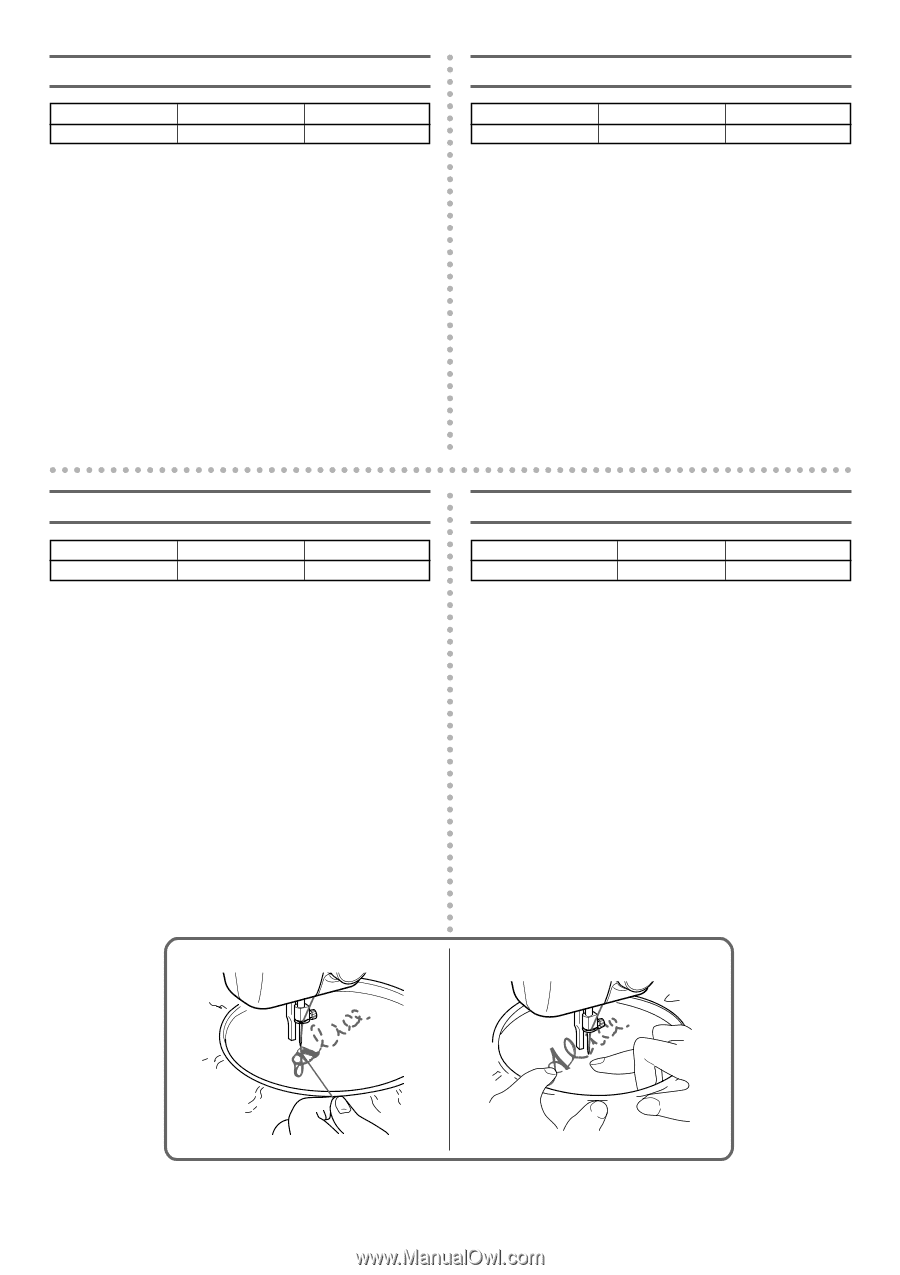
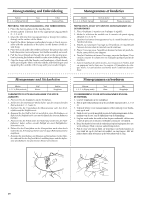
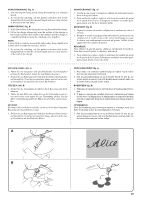
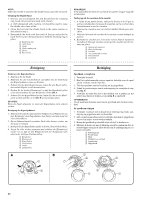
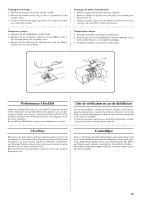
Monogramming and Embroidering Monogrammes et broderies Pattern 1, 2, 3, 4 (Zigzag Stitch) Foot None Other Darning Plate Modèle 1, 2, 3, 4 (Point zigzag) Pied-de-biche Sans pied Autre Plaque à repriser PREPARING FOR MONOGRAMMING AND EMBROIDERING 1. Place the darning plate on the needle plate. 2. Set the pattern selection dial to the appropriate Zigzag Stitch (1, 2, 3 or 4). 3. Draw the lettering (for monogramming) or design (for embroidering) on the surface of the fabric. 4. Stretch the fabric between embroidery hoops as firmly as possible with the underside of the fabric on the bottom of the inside hoop. 5. Place the work under the needle and lower the presser bar with both the presser foot and presser foot holder assembly removed. 6. Pull the lower thread up through the work at the starting position by turning the balance wheel to make a few holding stitches. 7. Grip the hoop with the thumbs and forefingers of both hands while pressing the fabric with the middle and third fingers and supporting the outside of the hoop with your smaller fingers. PREPARATION AVANT DE FAIRE DES MONOGRAMMES OU DES BRODERIES 1. Placer la plaque à repriser sur la plaque à aiguille. 2. Mettre le sélecteur de modèle sur le numéro de point zigzag adéquat (1,2,3 ou 4). 3. Dessiner les lettres (monogrammes) ou le motif (broderies) sur l'endroit du tissu. 4. Tendre au maximum l'ouvrage sur le tambour, en maintenant l'envers du tissu dans le fond du cercle intérieur. 5. Placer l'ouvrage sous l'aiguille et abaisser la barre du pied-debiche, sans pied et sans support. 6. Tirer le fil inférieur à travers l'ouvrage, au point de départ. Pour ce faire, tourner le volant vers soi et piquer quelques points de maintien. 7. Saisir le tambour des deux mains, avec le pouce et l'index, tout en appuyant sur le tissu avec le majeur et l'annulaire de chaque main. Les auriculaires serviront à tenir l'extérieur du tambour. Monogramme und Stickarbeiten Monogrammen en borduren Muster 1, 2, 3, 4 (Zickzackstich) Fuß Keiner Andere Stopfplatte VORBEREITUNG FÜR MONOGRAMME UND STICKARBEITEN 1. Plazieren Sie die Stopfplatte auf der Stichplatte. 2. Stellen Sie den Stichmuster-Drehschalter auf den entsprechenden Zickzackstich (1, 2, 3 oder 4). 3. Zeichnen Sie die Umrandung des Monogramms oder des Stickobjektes auf die Stoffoberseite. 4. Spannen Sie den Stoff so fest wie möglich in einen Stickrahmen, so daß sich die Stoffunterseite am unteren Rand des inneren Rahmens befindet. 5. Plazieren Sie die Arbeit unter der Nadel und senken Sie den Nähfußhebel; dabei sollten sowohl Nähfuß als auch Nähfußhalter demontiert sein. 6. Ziehen Sie den Unterfaden an der Startposition nach oben durch indem Sie am Schwungrad drehen und ein paar Befestigungsstiche ausführen. 7. Ergreifen Sie den Rahmen mit Daumen und Zeigefinger beider Hände, während Sie den Stoff mit Mittel- und Ringfinger und die Außenseite des Rahmens mit dem kleinen Finger unterstützen. Patroon 1, 2, 3, 4 (Zigzag steek) Voet Geen Div. Stopplaatje VOORBEREIDING VOOR MONOGRAMMEN EN BORDUURWERK 1. Leg het stopplaatje op de naaldplaat. 2. Stel de patroonkeuzeknop in op de geschikte zigzagsteek (1, 2, 3 of 4). 3. Teken de letters (voor monogrammen) of het ontwerp (voor borduren) op de stof. 4. Strek de stof zo strak mogelijk tussen de borduurringen met de binnenkant van de stof aan de onderkant van de binnenring. 5. Leg het werk onder de naald en laat de persvoethendel zakken met zowel de persvoet en de persvoethouderconstructie verwijderd. 6. Draai het handwiel en trek de onderdraad op het beginpunt door uw werk omhoog. Maak een paar aanhechtingssteken. 7. Pak de ring vast tussen duim en wijsvinger van beide handen en voer druk uit op de stof met uw middel- en ringvingers. Met uw pinken kunt u dan afsteunen op de buitenkant van de ring. 39
-
 1
1 -
2
-
3
-
4
-
5
-
6
-
7
-
8
-
9
-
10
-
11
-
12
-
13
-
14
-
15
-
16
-
17
-
18
-
19
-
20
-
21
-
22
-
23
-
24
-
25
-
26
-
27
-
28
-
29
-
30
-
31
-
32
-
33
-
34
-
35
-
36
-
37
-
38
-
39
-
40
-
 41
41 -
 42
42 -
 43
43 -
 44
44 -
 45
45 -
 46
46 -
 47
47 -
 48
48 -
 49
49 -
 50
50 -
 51
51 -
52
-
53
-
54
-
55
-
56
-
57
-
58
-
59
-
60
-
61
-
62
-
63
-
64
-
65
 |
 |