Craftsman 11585 Operation Manual - Page 18
Crosscutting/ripcutting
 |
View all Craftsman 11585 manuals
Add to My Manuals
Save this manual to your list of manuals |
Page 18 highlights
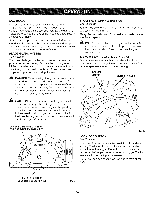
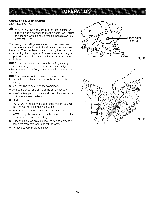
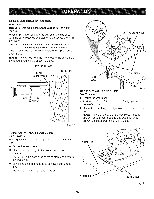
CROSSCUTTING/RIPCUTTING See Figure 17. NOTE: Refer to Using the Laser Guides earlier in this manual. When making a cross cut or rip cut, align the line of cut with the outer blade guide notch on the base as shown in the figure. Since blade thicknesses vary, always make a trial cut in scrap material along a guideline to determine how much, if any, you must offset the guideline to produce an accurate cut. NOTE: The distance from the line of cut to the guideline is the amount you should offset the guide. TOP ViEW OF SAW BLADE GUIDENOTCH GUiDELiNE STRAIGHT EDGE C-CLAMPS Fig. 17 TO RiP CUT WiTH EDGE GUIDE See Figure 19. [] Secure the workpiece. Fig. 18 [] Position the face of the edge guide firmly against the edge of workpiece. [] Guide the saw along the edge to achieve a straight rip cut. NOTE: The guiding edge of the workpiece must be straight for your cut to be straight. Use caution to prevent the blade from binding in the cut. TO RiP CUT WITHOUT EDGE GUIDE See Figure 18. Use a guide when making long or wide rip cuts with the saw. [] Secure the workpiece. [] Clamp a straight edge to the workpiece using C-clamps. NOTE: C-Clamp both ends of the straight edge before making a cut. [] Saw along the straight edge to achieve a straight rip cut. NOTE: Do not bind the blade in the cut. GUIDELINE \ WDRKPIECE EDGEGUIDE Fig. 19 18
-
 1
1 -
2
-
3
-
4
-
5
-
6
-
7
-
8
-
9
-
10
-
11
-
12
-
 13
13 -
 14
14 -
 15
15 -
 16
16 -
 17
17 -
 18
18 -
 19
19 -
 20
20 -
 21
21 -
 22
22 -
 23
23 -
24
 |
 |
