Craftsman 28907 Operation Manual - Page 19
CeaSed
 |
View all Craftsman 28907 manuals
Add to My Manuals
Save this manual to your list of manuals |
Page 19 highlights
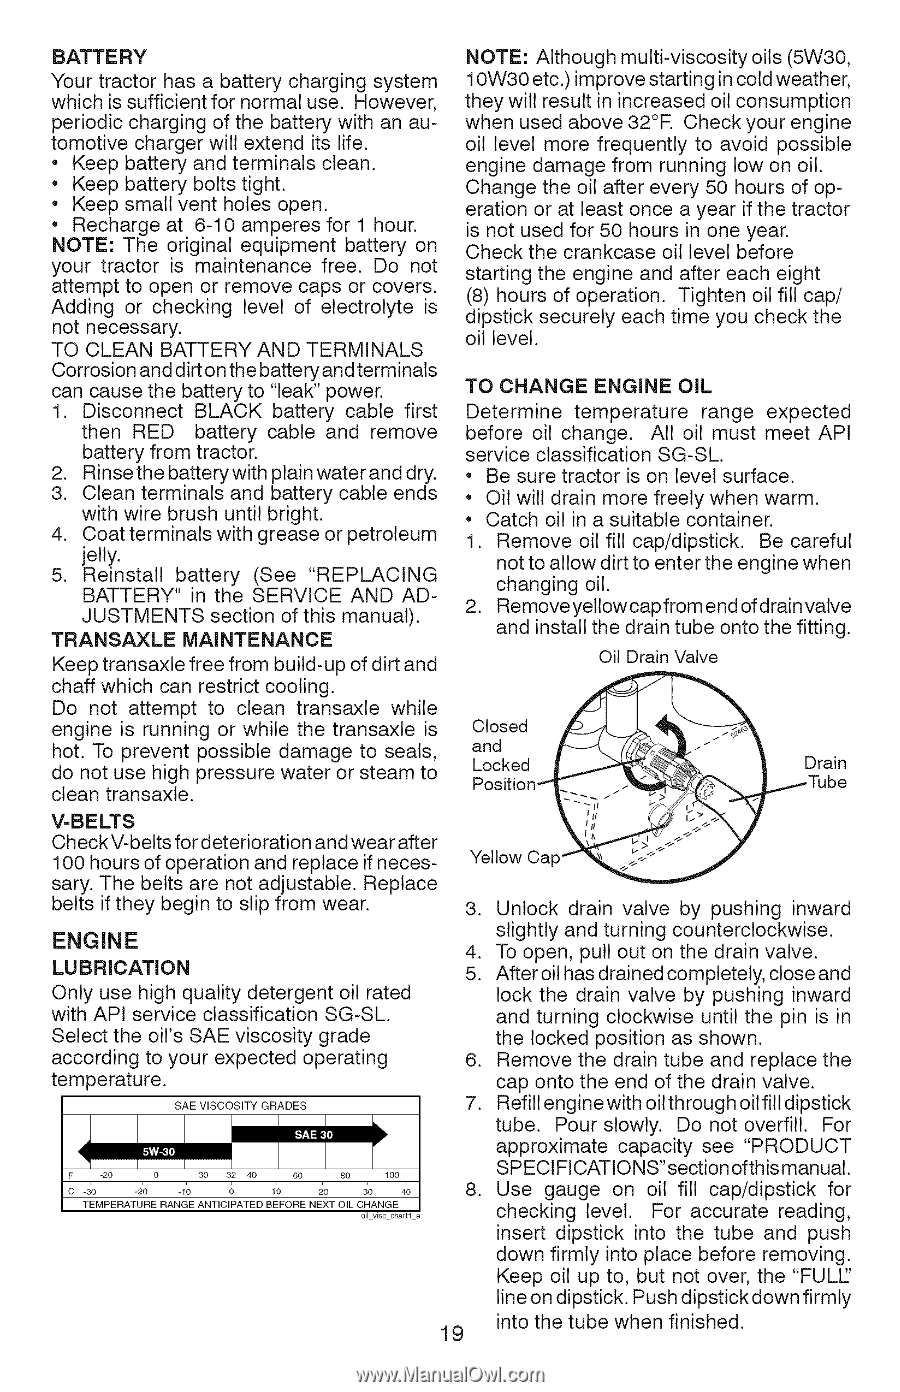
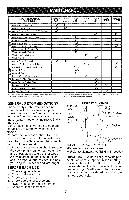
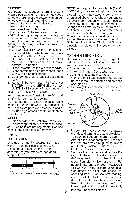
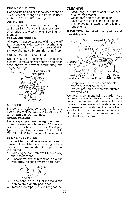
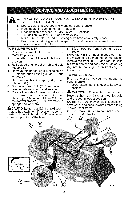
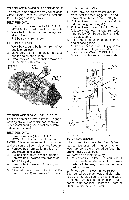
BATTE RY Your tractor has a battery charging system which is sufficient for normal use. However, periodic charging of the battery with an automotive charger will extend its life. Keep battery and terminals clean. Keep battery bolts tight. Keep small vent holes open. Recharge at 6-10 amperes for 1 hour. NOTE: The original equipment battery on your tractor is maintenance free. Do not attempt to open or remove caps or covers. Adding or checking level of electrolyte is not necessary. TO CLEAN BATTERY AND TERMINALS Corrosion and dirt on the battery and terminals can cause the battery to "leak" power. 1. Disconnect BLACK battery cable first then RED battery cable and remove battery from tractor. 2. Rinse the battery with plain water and dry. 3. Clean terminals and battery cable ends with wire brush until bright. 4. Coat terminals with grease or petroleum jelly. 5. Reinstall battery (See "REPLACING BATTERY" in the SERVICE AND AD- JUSTMENTS section of this manual). TRANSAXLE MAINTENANCE Keep transaxle free from build-up of dirt and chaff which can restrict cooling. Do not attempt to clean transaxle while engine is running or while the transaxle is hot. To prevent possible damage to seals, do not use high pressure water or steam to clean transaxte. NOTE: Although multi-viscosity oils (5W30, 10W30 etc.) improve starting in cold weather, they will result in increased oil consumption when used above 32°R Check your engine oil level more frequently to avoid possible engine damage from running low on oil. Change the oil after every 50 hours of operation or at least once a year if the tractor is not used for 50 hours in one year. Check the crankcase oil level before starting the engine and after each eight (8) hours of operation. Tighten oil fill cap/ dipstick securely each time you check the oil level. TO CHANGE ENGINE OiL Determine temperature range expected before oil change. All oil must meet API service classification SG-SL. Be sure tractor is on level surface. Oil will drain more freely when warm. Catch oil in a suitable container. 1. Remove oil fill cap/dipstick. Be careful not to allow dirt to enter the engine when changing oil. 2. Remove yetlow cap from end of drain valve and install the drain tube onto the fitting. Oil Drain Valve CeaSed V=BELTS CheckV-belts for deterioration and wear after ._Tube 100 hours of operation and replace if necessary. The belts are not adjustable. Replace belts if they begin to slip from wear. ENGINE LUBRiCATiON Only use high quality detergent oil rated with API service classification SG-SL. Select the oil's SAE viscosity grade according to your expected operating temperature. SAE VISCOSITY GRADES Yellow Cap_ 3. Unlock drain valve by pushing inward slightly and turning counterclockwise. 4. To open, pull out on the drain valve. 5. After oil has drained completely, close and lock the drain valve by pushing inward and turning clockwise until the pin is in the locked position as shown. 6. Remove the drain tube and replace the cap onto the end of the drain valve. 7. Refill engine with oil through oil fill dipstick tube. Pour slowly. Do not overfill. For approximate capacity see "PRODUCT SPECIFICATIONS"section of this manual. 8. 19 Use gauge on oil fill cap/dipstick for checking level. For accurate reading, insert dipstick into the tube and push down firmly into place before removing. Keep oil up to, but not over, the "FULL[' line on dipstick. Push dipstick down firmly into the tube when finished.
-
 1
1 -
2
-
3
-
4
-
5
-
6
-
7
-
8
-
9
-
10
-
11
-
12
-
13
-
 14
14 -
 15
15 -
 16
16 -
 17
17 -
 18
18 -
 19
19 -
 20
20 -
 21
21 -
 22
22 -
 23
23 -
 24
24 -
25
-
26
-
27
-
28
-
29
-
30
-
31
-
32
-
33
-
34
-
35
-
36
-
37
-
38
-
39
-
40
-
41
-
42
-
43
-
44
-
45
-
46
-
47
-
48
-
49
-
50
-
51
-
52
-
53
-
54
-
55
-
56
-
57
-
58
-
59
-
60
-
61
-
62
-
63
-
64
 |
 |