D-Link DNS-1550-04 Product Manual - Page 44
Logical Drive Management
 |
View all D-Link DNS-1550-04 manuals
Add to My Manuals
Save this manual to your list of manuals |
Page 44 highlights
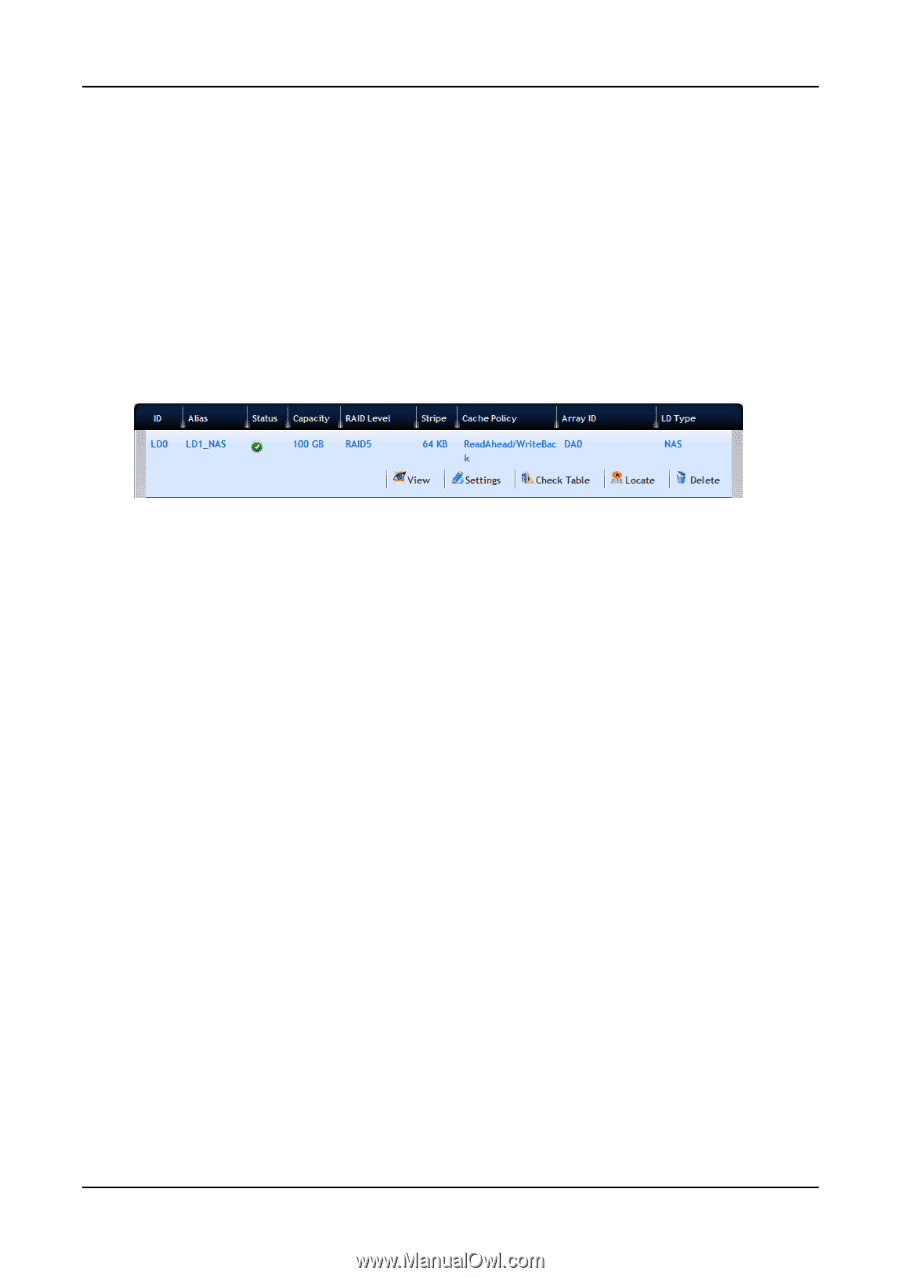
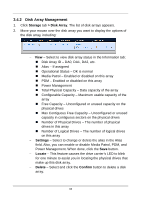
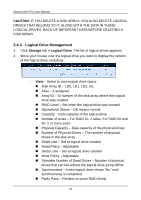
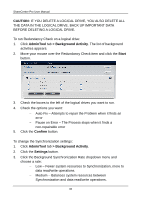
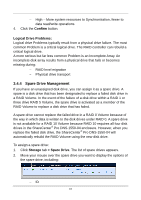
ShareCenter Pro User Manual CAUTION: IF YOU DELETE A DISK ARRAY, YOU ALSO DELETE LOGICAL DRIVES THAT BELONG TO IT, ALONG WITH THE DATA IN THOSE LOGICAL DRIVES. BACK UP IMPORTANT DATA BEFORE DELETING A DISK ARRAY. 3.4.3 Logical Drive Management 1. Click Storage tab > Logical Drive. The list of logical drives appears. 2. Move your mouse over the logical drive you want to display the options of the logical drive, including: − View - Select to view logical drive status: Disk Array ID - LD0, LD1, LD2, etc. Alias - If assigned Array ID - ID number of the disk array where this logical drive was created RAID Level - Set when the logical drive was created Operational Status - OK means normal Capacity - Data capacity of the logical drive Number of Axles - For RAID 10, 2 axles. For RAID 50 and 60, 2 or more axles Physical Capacity - Data capacity of the physical drives Number of Physical Drives - The number of physical drives in the disk array Stripe size - Set at logical drive creation Read Policy - Adjustable Sector size - Set at logical drive creation Write Policy - Adjustable Tolerable Number of Dead Drives - Number of physical drives that can fail without the logical drive going offline Synchronized - A new logical drive shows "No" until synchronizing is completed Parity Pace - Pertains to some RAID levels 44
-
 1
1 -
2
-
3
-
4
-
5
-
6
-
7
-
8
-
9
-
10
-
11
-
12
-
13
-
14
-
15
-
16
-
17
-
18
-
19
-
20
-
21
-
22
-
23
-
24
-
25
-
26
-
27
-
28
-
29
-
30
-
31
-
32
-
33
-
34
-
35
-
36
-
37
-
38
-
 39
39 -
 40
40 -
 41
41 -
 42
42 -
 43
43 -
 44
44 -
 45
45 -
 46
46 -
 47
47 -
 48
48 -
 49
49 -
50
-
51
-
52
-
53
-
54
-
55
-
56
-
57
-
58
-
59
-
60
-
61
-
62
-
63
-
64
-
65
-
66
-
67
-
68
-
69
-
70
-
71
-
72
-
73
-
74
-
75
-
76
-
77
-
78
-
79
-
80
-
81
-
82
-
83
-
84
-
85
-
86
-
87
-
88
-
89
-
90
-
91
-
92
-
93
-
94
-
95
-
96
-
97
-
98
-
99
-
100
-
101
-
102
-
103
-
104
-
105
-
106
-
107
-
108
-
109
-
110
-
111
-
112
-
113
-
114
-
115
-
116
-
117
-
118
-
119
-
120
-
121
-
122
-
123
-
124
-
125
-
126
-
127
-
128
-
129
-
130
-
131
-
132
-
133
-
134
-
135
-
136
-
137
-
138
-
139
-
140
-
141
-
142
-
143
-
144
-
145
-
146
-
147
-
148
-
149
-
150
-
151
-
152
-
153
-
154
-
155
-
156
-
157
-
158
-
159
-
160
-
161
-
162
-
163
 |
 |