Dell Broadcom NetXtreme Family of Adapters Broadcom NetXtreme II Network Adapt - Page 184
Adding a VLAN, Update, Preview, Apply/Exit, To con a team with a VLAN, Teams, Add VLAN
 |
View all Dell Broadcom NetXtreme Family of Adapters manuals
Add to My Manuals
Save this manual to your list of manuals |
Page 184 highlights
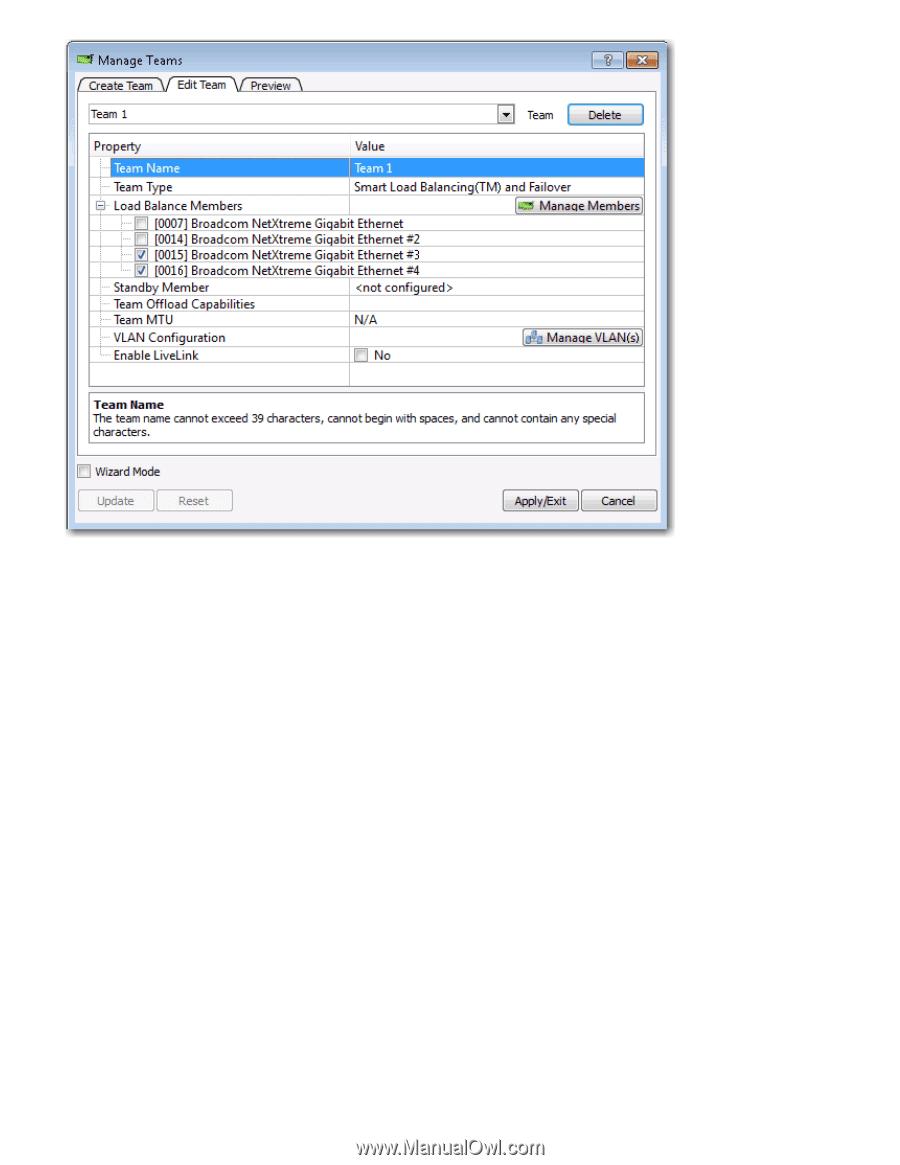
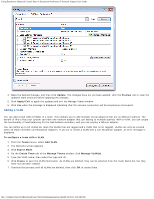
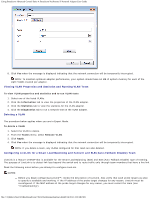
Using Broadcom Advanced Control Suite 4: Broadcom NetXtreme II Network Adapter User Guide 4. Make the desired changes, and then click Update. The changes have not yet been applied; click the Preview tab to view the updated team structure before applying the changes. 5. Click Apply/Exit to apply the updates and exit the Manage Teams window. 6. Click Yes when the message is displayed indicating that the network connection will be temporarily interrupted. Adding a VLAN You can add virtual LANs (VLANs) to a team. This enables you to add multiple virtual adapters that are on different subnets. The benefit of this is that your system can have one network adapter that can belong to multiple subnets. With a VLAN, you can couple the functionality of load balancing for the load balance members, and you can employ a failover adapter. You can define up to 64 VLANs per team (63 VLANs that are tagged and 1 VLAN that is not tagged). VLANs can only be created when all teams members are Broadcom adapters. If you try to create a VLAN with a non-Broadcom adapter, an error message is displayed. To configure a team with a VLAN 1. From the Teams menu, select Add VLAN. 2. The Welcome screen appears. 3. Click Expert Mode. 4. On the Create Team tab of the Manage Teams window, click Manage VLAN(s). 5. Type the VLAN name, then select the type and ID. 6. Click Create to save the VLAN information. As VLANs are defined, they can be selected from the Team Name list, but they have not yet been created. 7. Continue this process until all VLANs are defined, then click OK to create them. file:///T|/htdocs/NETWORK/BroadCom/71921/NetXtremeII/en/bacs.htm[9/26/2012 3:29:48 PM]
-
 1
1 -
2
-
3
-
4
-
5
-
6
-
7
-
8
-
9
-
10
-
11
-
12
-
13
-
14
-
15
-
16
-
17
-
18
-
19
-
20
-
21
-
22
-
23
-
24
-
25
-
26
-
27
-
28
-
29
-
30
-
31
-
32
-
33
-
34
-
35
-
36
-
37
-
38
-
39
-
40
-
41
-
42
-
43
-
44
-
45
-
46
-
47
-
48
-
49
-
50
-
51
-
52
-
53
-
54
-
55
-
56
-
57
-
58
-
59
-
60
-
61
-
62
-
63
-
64
-
65
-
66
-
67
-
68
-
69
-
70
-
71
-
72
-
73
-
74
-
75
-
76
-
77
-
78
-
79
-
80
-
81
-
82
-
83
-
84
-
85
-
86
-
87
-
88
-
89
-
90
-
91
-
92
-
93
-
94
-
95
-
96
-
97
-
98
-
99
-
100
-
101
-
102
-
103
-
104
-
105
-
106
-
107
-
108
-
109
-
110
-
111
-
112
-
113
-
114
-
115
-
116
-
117
-
118
-
119
-
120
-
121
-
122
-
123
-
124
-
125
-
126
-
127
-
128
-
129
-
130
-
131
-
132
-
133
-
134
-
135
-
136
-
137
-
138
-
139
-
140
-
141
-
142
-
143
-
144
-
145
-
146
-
147
-
148
-
149
-
150
-
151
-
152
-
153
-
154
-
155
-
156
-
157
-
158
-
159
-
160
-
161
-
162
-
163
-
164
-
165
-
166
-
167
-
168
-
169
-
170
-
171
-
172
-
173
-
174
-
175
-
176
-
177
-
178
-
 179
179 -
 180
180 -
 181
181 -
 182
182 -
 183
183 -
 184
184 -
 185
185 -
 186
186 -
 187
187 -
 188
188 -
 189
189 -
190
-
191
-
192
-
193
-
194
-
195
-
196
-
197
-
198
-
199
-
200
-
201
-
202
-
203
-
204
-
205
-
206
-
207
-
208
-
209
-
210
-
211
-
212
-
213
-
214
-
215
-
216
-
217
-
218
-
219
-
220
-
221
-
222
-
223
-
224
 |
 |