Dell PowerConnect W-IAP3WN Dell Instant 6.1.2.3-2.0.0.0 User Guide - Page 53
Editing a Network, WEP key size, Tx Key, WEP Key, Access, Allow any to all destinations, Edit Rule
 |
View all Dell PowerConnect W-IAP3WN manuals
Add to My Manuals
Save this manual to your list of manuals |
Page 53 highlights
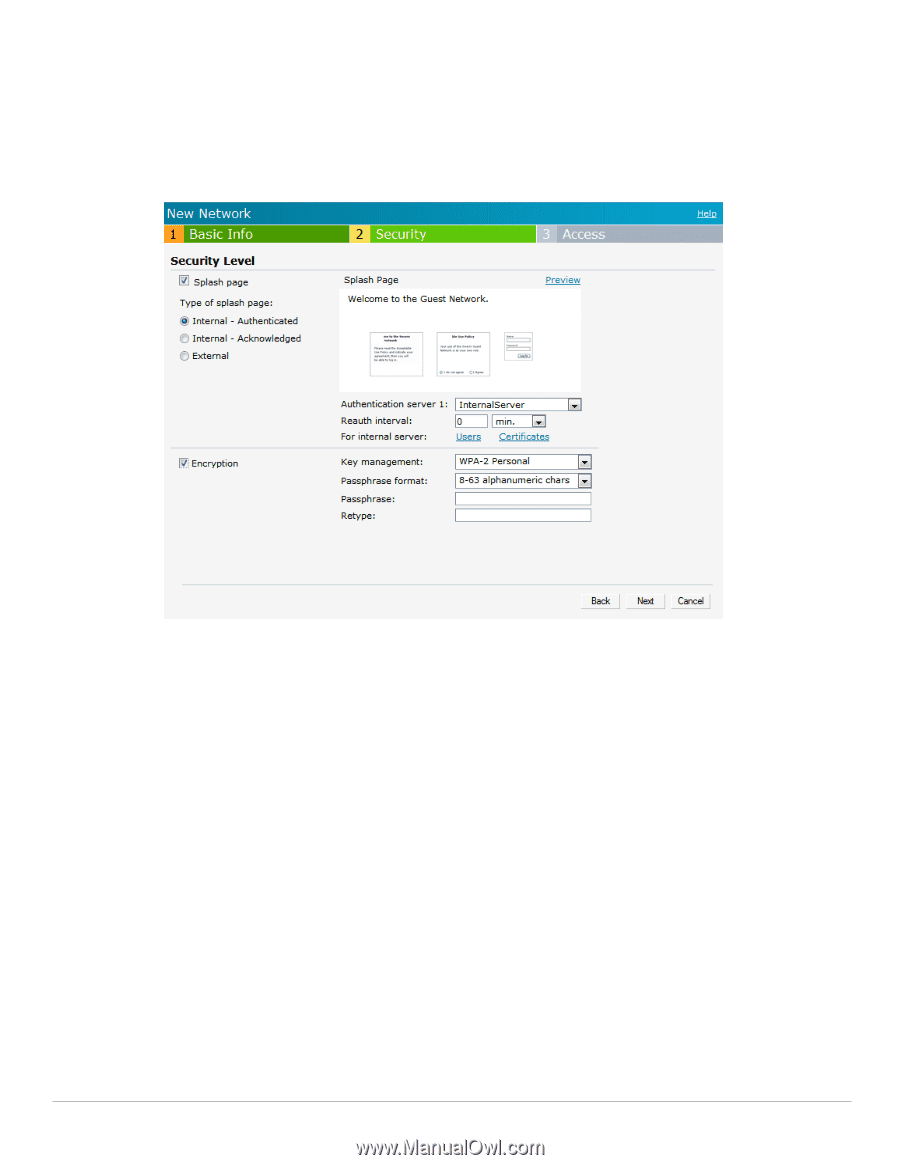
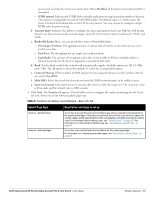
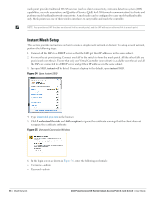
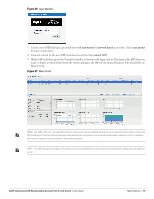
Static WEP. If you selected Static WEP, then do the following: 1. Select the appropriate WEP key size from the WEP key size drop-down list. Available options are 64-bit and 128-bit. 2. Select the appropriate Tx key from the Tx Key drop-down list. Available options are 1,2,3, and 4. 3. Enter an appropriate WEP key in the WEP Key text box and reconfirm. Figure 33 Configuring a Splash Page-Encryption Settings 10. Click Next. The Access tab appears. The Allow any to all destinations access rule is enabled by default. This rule allows traffic to all destinations. Instant Firewall treats packets based on the first rule matched. For more information, see Chapter 11, "Instant Firewall" . To edit the default rule, perform the following steps: a. Select the rule and click Edit. b. Select appropriate options in the Edit Rule box and click OK. To define an access rule, perform the following steps: a. Click New. b. Select appropriate options in the New Rule box. c. Click OK. 11. Click Finish. Editing a Network To edit a network, perform the following steps: 1. In the Networks tab, click the network of the network which you want to edit. The edit link appears. 2. Click the edit link. The Edit network box appears. 3. Make the required changes in any of the tabs. Click Next or the tab name to move to the next tab. 4. Click Finish. Dell PowerConnect W-Series Instant Access Point 6.1.2.3-2.0.0.0 | User Guide Wireless Network | 53
-
 1
1 -
2
-
3
-
4
-
5
-
6
-
7
-
8
-
9
-
10
-
11
-
12
-
13
-
14
-
15
-
16
-
17
-
18
-
19
-
20
-
21
-
22
-
23
-
24
-
25
-
26
-
27
-
28
-
29
-
30
-
31
-
32
-
33
-
34
-
35
-
36
-
37
-
38
-
39
-
40
-
41
-
42
-
43
-
44
-
45
-
46
-
47
-
 48
48 -
 49
49 -
 50
50 -
 51
51 -
 52
52 -
 53
53 -
 54
54 -
 55
55 -
 56
56 -
 57
57 -
 58
58 -
59
-
60
-
61
-
62
-
63
-
64
-
65
-
66
-
67
-
68
-
69
-
70
-
71
-
72
-
73
-
74
-
75
-
76
-
77
-
78
-
79
-
80
-
81
-
82
-
83
-
84
-
85
-
86
-
87
-
88
-
89
-
90
-
91
-
92
-
93
-
94
-
95
-
96
-
97
-
98
-
99
-
100
-
101
-
102
-
103
-
104
-
105
-
106
-
107
-
108
-
109
-
110
-
111
-
112
-
113
-
114
-
115
-
116
-
117
-
118
-
119
-
120
-
121
-
122
-
123
-
124
-
125
-
126
-
127
-
128
-
129
-
130
-
131
-
132
-
133
-
134
-
135
-
136
-
137
-
138
-
139
-
140
-
141
-
142
-
143
-
144
-
145
-
146
-
147
-
148
-
149
-
150
-
151
-
152
-
153
-
154
-
155
-
156
-
157
-
158
 |
 |