Epson Stylus Photo 1200 User Manual - Page 55
Layout, s, Order, Print frames, Printing from Windows, Adding a Watermark
 |
View all Epson Stylus Photo 1200 manuals
Add to My Manuals
Save this manual to your list of manuals |
Page 55 highlights
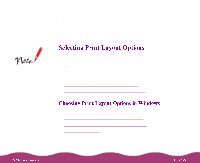
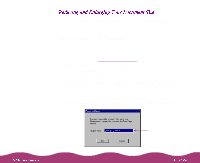
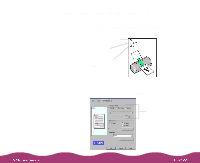
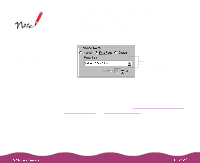
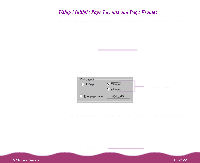
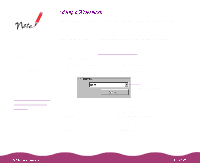
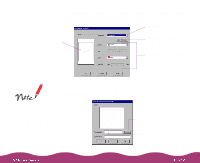
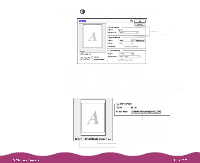
If you're printing a multiple page document and want a quick proof of each page printed on one piece of paper, you can select a page layout option in the printer software. You can choose the way the pages are placed on the paper and add a lined frame to each page, if you want. Follow these steps to use the page layout options: 1 Follow the steps in Printing from Windows to access the printer settings dialog box. 2 Click the Layout tab. You see the Layout dialog box. 3 To print multiple pages of your document on one sheet of paper, select either the 2 Pages or 4 Pages radio button. Click a button to select a multiple page layout 4 The layout of the on-screen graphic shows the page order of how your document will print. To change the page order, click the Page Order button. Then select the page order you want to use from the Print Layout dialog box that appears. 5 If you want to frame each page's contents with a thin black line, click the Print page frames checkbox. 6 If you're finished selecting Layout options, click OK. If you want to select more options, see Adding a Watermark.
-
 1
1 -
2
-
3
-
4
-
5
-
6
-
7
-
8
-
9
-
10
-
11
-
12
-
13
-
14
-
15
-
16
-
17
-
18
-
19
-
20
-
21
-
22
-
23
-
24
-
25
-
26
-
27
-
28
-
29
-
30
-
31
-
32
-
33
-
34
-
35
-
36
-
37
-
38
-
39
-
40
-
41
-
42
-
43
-
44
-
45
-
46
-
47
-
48
-
49
-
 50
50 -
 51
51 -
 52
52 -
 53
53 -
 54
54 -
 55
55 -
 56
56 -
 57
57 -
 58
58 -
 59
59 -
 60
60 -
61
-
62
-
63
-
64
-
65
-
66
-
67
-
68
-
69
-
70
-
71
-
72
-
73
-
74
-
75
-
76
-
77
-
78
-
79
-
80
-
81
-
82
-
83
-
84
-
85
-
86
-
87
-
88
-
89
-
90
-
91
-
92
-
93
-
94
-
95
-
96
-
97
-
98
-
99
-
100
-
101
-
102
-
103
-
104
-
105
-
106
-
107
-
108
-
109
-
110
-
111
-
112
-
113
-
114
-
115
-
116
-
117
-
118
-
119
-
120
-
121
-
122
-
123
-
124
-
125
-
126
-
127
-
128
-
129
-
130
-
131
-
132
-
133
-
134
-
135
-
136
-
137
-
138
-
139
-
140
-
141
-
142
-
143
-
144
-
145
-
146
-
147
-
148
-
149
-
150
-
151
-
152
-
153
-
154
-
155
-
156
-
157
-
158
-
159
-
160
-
161
-
162
-
163
-
164
-
165
-
166
-
167
-
168
 |
 |