Epson Stylus Pro 7800 Professional Edition Quick Reference Guide - Page 3
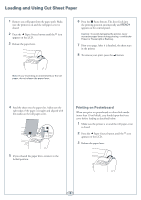
Loading and Using Cut Sheet Paper, Printing on Posterboard
 |
View all Epson Stylus Pro 7800 Professional Edition manuals
Add to My Manuals
Save this manual to your list of manuals |
Page 3 highlights
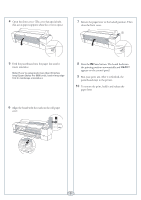
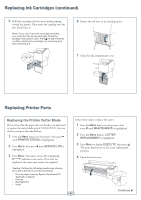
Loading and Using Cut Sheet Paper 1 Remove any roll paper from the paper path. Make sure the printer is on and the roll paper cover is closed. 2 Press the Paper Source button until the icon appears on the LCD. 3 Release the paper lever. 6 Press the Pause button. The sheet feeds into the printing position automatically and READY appears on the control panel. Caution: To avoid damaging the printer, never move the paper lever during printing, or while the Power or Pause light is flashing. 7 Print your page. After it is finished, the sheet stays in the printer. 8 To remove your print, press the button. Note: If you're printing on small sheets or fine art paper, do not release the paper lever. 4 Feed the sheet into the paper slot. Make sure the right edge of the paper is straight and aligned with the marks on the roll paper cover. 5 If you released the paper lever, return it to the locked position. Printing on Posterboard When you print on posterboard or other thick media (more than 19 mil thick), you should open the front cover before loading as described below. 1 Make sure the printer is on and the roll paper cover is closed. 2 Press the Paper Source button until the icon appears on the LCD. 3 Release the paper lever. 2
-
 1
1 -
 2
2 -
 3
3 -
 4
4 -
 5
5 -
 6
6 -
 7
7 -
 8
8 -
 9
9 -
10
-
11
 |
 |
