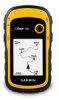
Garmin eTrex 10 Quick Start Manual - Page 8
Navigating to a, Destination, Using the Map, Connecting to a, Computer - tips
 |
View all Garmin eTrex 10 manuals
Add to My Manuals
Save this manual to your list of manuals |
Page 8 highlights
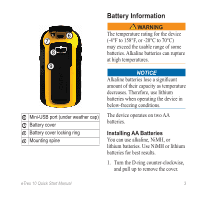
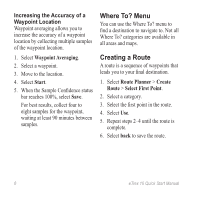
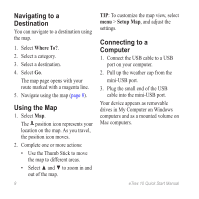
Navigating to a Destination You can navigate to a destination using the map. 1. Select Where To?. 2. Select a category. 3. Select a destination. 4. Select Go. The map page opens with your route marked with a magenta line. 5. Navigate using the map (page 8). Using the Map 1. Select Map. The position icon represents your location on the map. As you travel, the position icon moves. 2. Complete one or more actions: • Use the Thumb Stick to move the map to different areas. • Select ▲ and ▼ to zoom in and out of the map. 8 Tip: To customize the map view, select menu > Setup Map, and adjust the settings. Connecting to a Computer 1. Connect the USB cable to a USB port on your computer. 2. Pull up the weather cap from the mini-USB port. 3. Plug the small end of the USB cable into the mini-USB port. Your device appears as removable drives in My Computer on Windows computers and as a mounted volume on Mac computers. eTrex 10 Quick Start Manual
-
 1
1 -
2
-
 3
3 -
 4
4 -
 5
5 -
 6
6 -
 7
7 -
 8
8 -
 9
9 -
 10
10 -
 11
11 -
 12
12
 |
 |