Gateway ML6714 8511725 - Gateway Service Guide - Page 48
then remove the bracket.
 |
View all Gateway ML6714 manuals
Add to My Manuals
Save this manual to your list of manuals |
Page 48 highlights
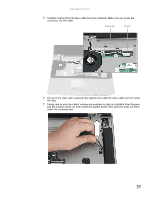
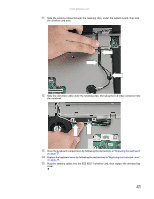
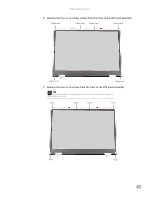
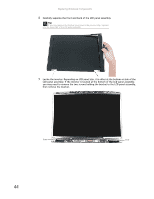
Replacing Notebook Components 8 Carefully separate the front and back of the LCD panel assembly. Tip If you only removed the bottom two screws in the previous step, separate only the lower half of the LCD panel assembly. 9 Locate the inverter. Depending on LCD panel size, it is either at the bottom or side of the LCD panel assembly. If the inverter is located at the bottom of the LCD panel assembly, you may need to remove the two screws holding the bracket to the LCD panel assembly, then remove the bracket. Screw Screw 44
-
 1
1 -
2
-
3
-
4
-
5
-
6
-
7
-
8
-
9
-
10
-
11
-
12
-
13
-
14
-
15
-
16
-
17
-
18
-
19
-
20
-
21
-
22
-
23
-
24
-
25
-
26
-
27
-
28
-
29
-
30
-
31
-
32
-
33
-
34
-
35
-
36
-
37
-
38
-
39
-
40
-
41
-
42
-
 43
43 -
 44
44 -
 45
45 -
 46
46 -
 47
47 -
 48
48 -
 49
49 -
 50
50 -
 51
51 -
 52
52 -
 53
53 -
54
-
55
-
56
-
57
-
58
-
59
-
60
-
61
-
62
-
63
-
64
-
65
-
66
-
67
-
68
-
69
-
70
-
71
-
72
-
73
-
74
-
75
-
76
-
77
-
78
 |
 |
Replacing Notebook Components
44
8
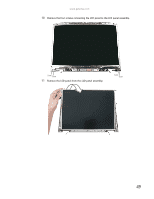
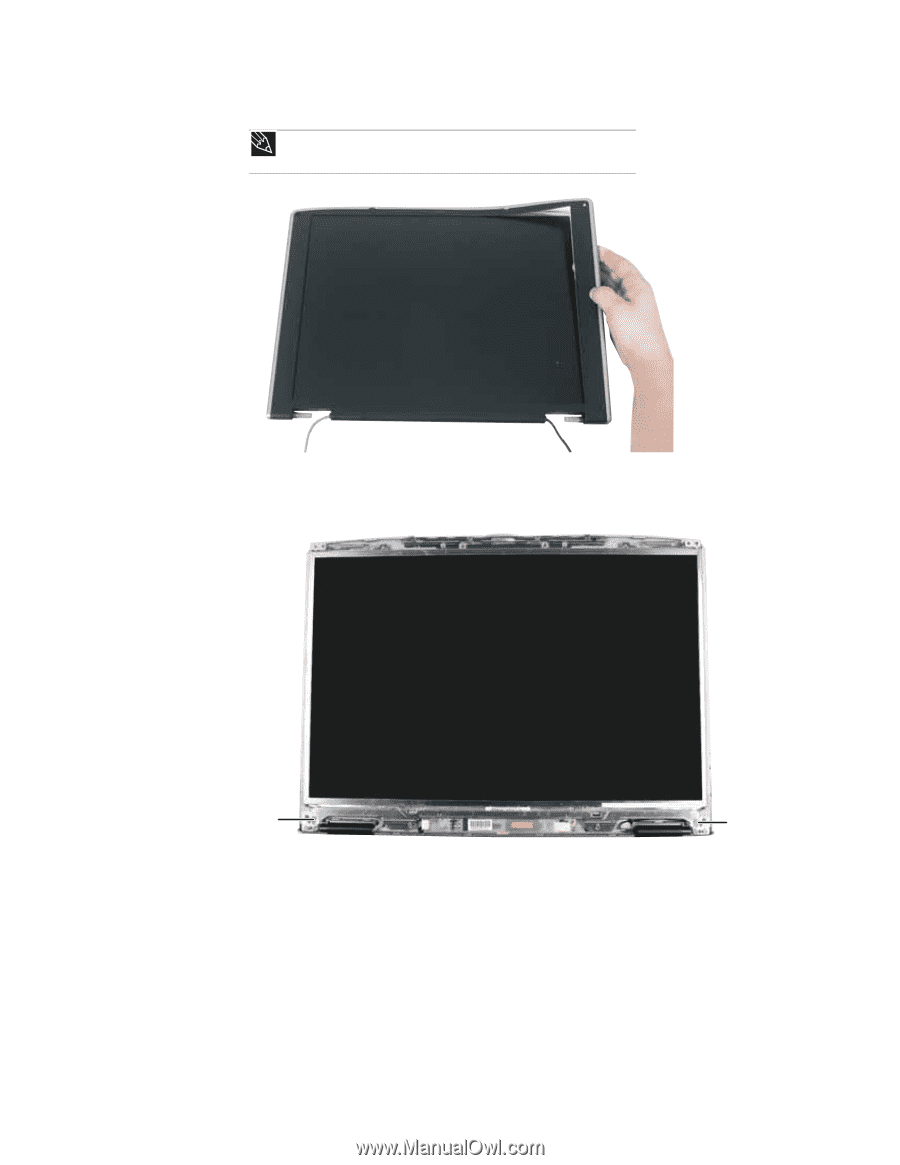
Carefully separate the front and back of the LCD panel assembly.
9
Locate the inverter. Depending on LCD panel size, it is either at the bottom or side of the
LCD panel assembly. If the inverter is located at the bottom of the LCD panel assembly,
you may need to remove the two screws holding the bracket to the LCD panel assembly,
then remove the bracket.
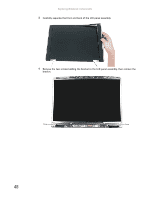
Tip
If you only removed the bottom two screws in the previous step, separate
only the lower half of the LCD panel assembly.
Screw
Screw