GE J1050-SL User Manual - Page 89
Print index
 |
UPC - 810027013903
View all GE J1050-SL manuals
Add to My Manuals
Save this manual to your list of manuals |
Page 89 highlights
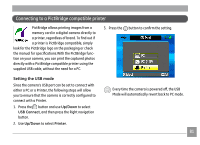
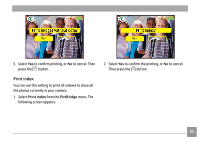
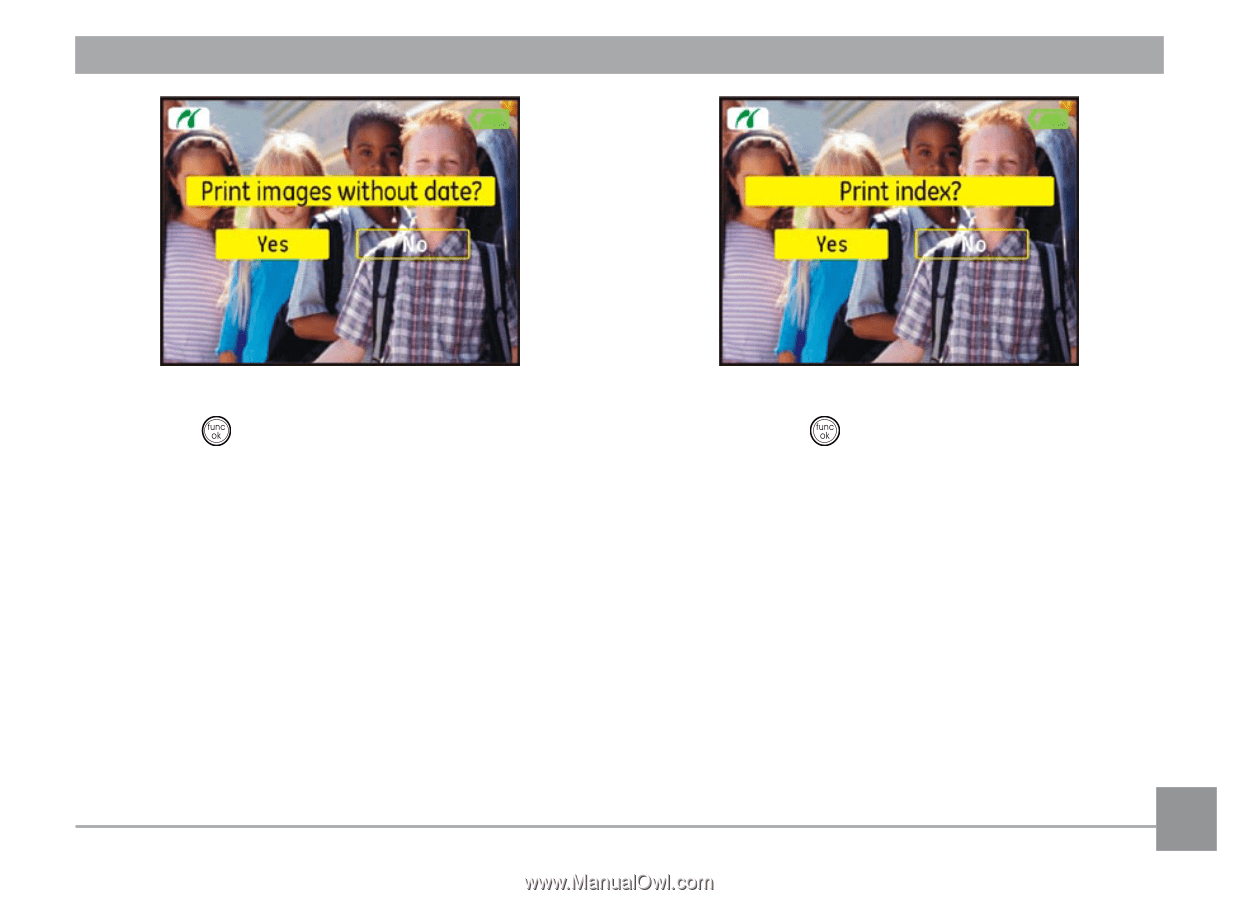
5. Select Yes to confirm printing, or No to cancel. Then press the button. Print index You can use this setting to print all indexes to show all the photos currently in your camera. 1. Select Print index from the PictBridge menu. The following screen appears. 2. Select Yes to confirm the printing, or No to cancel. Then press the button. 85
-
 1
1 -
2
-
3
-
4
-
5
-
6
-
7
-
8
-
9
-
10
-
11
-
12
-
13
-
14
-
15
-
16
-
17
-
18
-
19
-
20
-
21
-
22
-
23
-
24
-
25
-
26
-
27
-
28
-
29
-
30
-
31
-
32
-
33
-
34
-
35
-
36
-
37
-
38
-
39
-
40
-
41
-
42
-
43
-
44
-
45
-
46
-
47
-
48
-
49
-
50
-
51
-
52
-
53
-
54
-
55
-
56
-
57
-
58
-
59
-
60
-
61
-
62
-
63
-
64
-
65
-
66
-
67
-
68
-
69
-
70
-
71
-
72
-
73
-
74
-
75
-
76
-
77
-
78
-
79
-
80
-
81
-
82
-
83
-
 84
84 -
 85
85 -
 86
86 -
 87
87 -
 88
88 -
 89
89 -
 90
90 -
 91
91 -
 92
92 -
 93
93 -
 94
94 -
95
-
96
-
97
-
98
-
99
-
100
-
101
-
102
-
103
-
104
-
105
-
106
-
107
-
108
-
109
-
110
-
111
-
112
 |
 |
85
5. Select
Yes
to confirm printing, or
No
to cancel. Then
press the
button.
Print index
You can use this setting to print all indexes to show all
the photos currently in your camera.
1. Select
Print
index
from the
PictBridge
menu. The
following screen appears.
2. Select
Yes
to confirm the printing, or
No
to cancel.
Then press the
button.