Hamilton Beach 76329 Use & Care - Page 3
Opener
 |
View all Hamilton Beach 76329 manuals
Add to My Manuals
Save this manual to your list of manuals |
Page 3 highlights
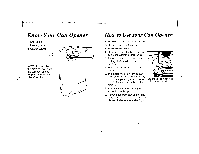
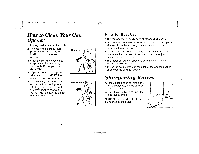
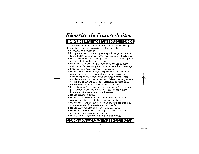
840064900 ENv02.gxd 12/15/99 9:14 AM Page 4 fi Know Your Can Opener 1. Can Guide 2. Piercing Lever 3. Geared Wheel NOTE: To assemble the piercing lever onto the can opener, see Step 5 in the "How to Clean" section. How to Use Your Can Opener 1. Place can opener on level surface. 2. Plug cord into electrical outlet. 3. Raise piercing lever up. 4. Place rim of can firmly under can guide and against geared wheel. 5. Tilt top of can in, to position the cutting blade inside the rim of the can. 6. Press piercing lever all the way down. 7. The motor will begin turning can and cutting lid. (It is not necessary to hold the piercing lever down or Use the flip-up magnet to to hold the can during the cutting easily see can position.) action.) 8. The motor will automatically stop when the can is open. 9. Remove can from can opener and check can contents to remove any pieces of label or metal shavings.
-
 1
1 -
 2
2 -
 3
3 -
 4
4 -
 5
5 -
 6
6 -
 7
7 -
 8
8 -
 9
9 -
10
 |
 |
