HP 5530 hp scanjet 5530 digital flatbed scanner user manual - Page 17
scan negatives - scanner manual
 |
UPC - 808736552165
View all HP 5530 manuals
Add to My Manuals
Save this manual to your list of manuals |
Page 17 highlights
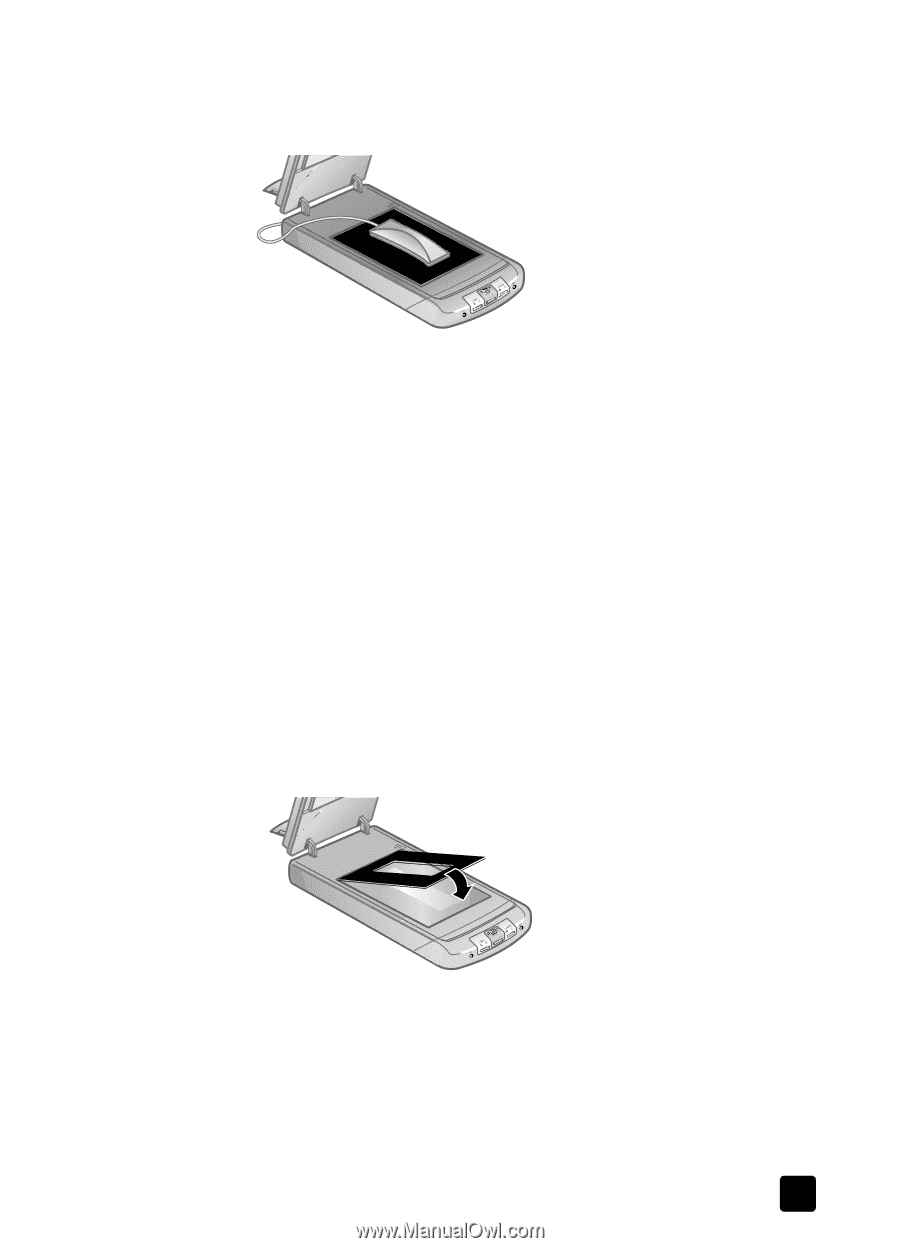
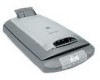
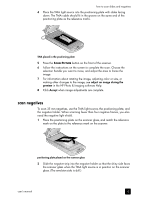
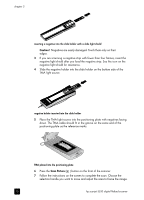
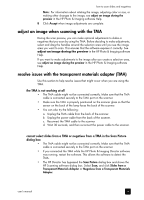
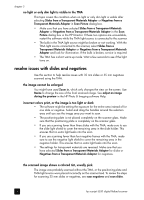
how to scan slides and negatives 4 Place the TMA light source into the positioning plate with slides facing down. The TMA cable should fit in the groove on the same end of the positioning plate as the reference marks. TMA placed in the positioning plate 5 Press the SCAN PICTURE button on the front of the scanner. 6 Follow the instructions on the screen to complete the scan. Choose the selection handle you want to move, and adjust the area to frame the image. 7 For information about rotating the image, adjusting color or size, or making other changes to the image, see adjust an image during the preview in the HP Photo & Imaging software Help. 8 Click Accept when image adjustments are complete. scan negatives To scan 35 mm negatives, use the TMA light source, the positioning plate, and the negative holder. When scanning fewer than four negative frames, you also need the negative light shield. 1 Place the positioning plate on the scanner glass, and match the reference mark on the plate to the reference mark on the scanner. positioning plate placed on the scanner glass 2 Slide the negative strip into the negative holder so that the shiny side faces the scanner glass when the TMA light source is in position on the scanner glass. (The emulsion side is dull.) user's manual 12
-
 1
1 -
2
-
3
-
4
-
5
-
6
-
7
-
8
-
9
-
10
-
11
-
 12
12 -
 13
13 -
 14
14 -
 15
15 -
 16
16 -
 17
17 -
 18
18 -
 19
19 -
 20
20 -
 21
21 -
 22
22 -
23
-
24
-
25
-
26
-
27
-
28
-
29
-
30
-
31
-
32
-
33
-
34
-
35
-
36
-
37
-
38
 |
 |