HP 5530 hp scanjet 5530 digital flatbed scanner user manual - Page 18
Caution, Scan Picture - scanjet flatbed scanner
 |
UPC - 808736552165
View all HP 5530 manuals
Add to My Manuals
Save this manual to your list of manuals |
Page 18 highlights
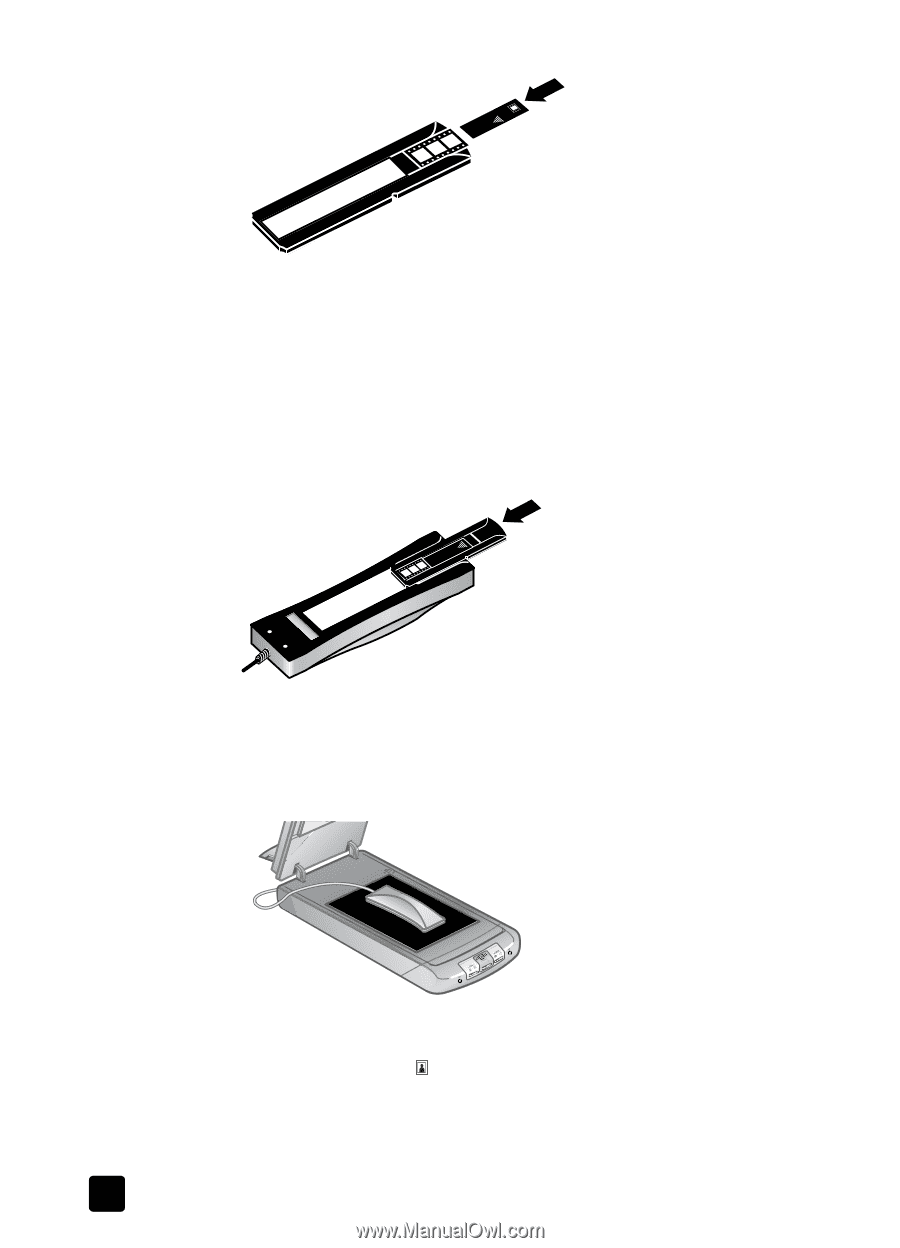
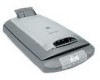
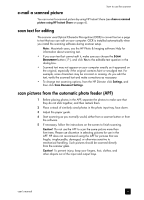
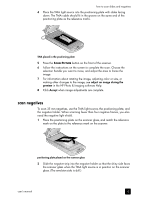
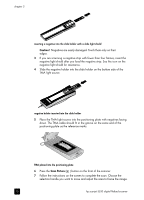
chapter 2 inserting a negative into the slide holder with a slide light shield Caution! Negatives are easily damaged. Touch them only on their edges. 3 If you are scanning a negative strip with fewer than four frames, insert the negative light shield after you load the negative strip. See the icon on the negative light shield for assistance. 4 Slide the negative holder into the slide holder on the bottom side of the TMA light source. negative holder inserted into the slide holder 5 Place the TMA light source into the positioning plate with negatives facing down. The TMA cable should fit in the groove on the same end of the positioning plate as the reference marks. TMA placed into the positioning plate 6 Press the Scan Picture ( ) button on the front of the scanner. 7 Follow the instructions on the screen to complete the scan. Choose the selection handle you want to move and adjust the area to frame the image. 13 hp scanjet 5530 digital flatbed scanner
-
 1
1 -
2
-
3
-
4
-
5
-
6
-
7
-
8
-
9
-
10
-
11
-
12
-
 13
13 -
 14
14 -
 15
15 -
 16
16 -
 17
17 -
 18
18 -
 19
19 -
 20
20 -
 21
21 -
 22
22 -
 23
23 -
24
-
25
-
26
-
27
-
28
-
29
-
30
-
31
-
32
-
33
-
34
-
35
-
36
-
37
-
38
 |
 |