HP 7310 Setup Poster - Page 4
Open access door, Insert the tri-color print cartridge, Remove tape from both cartridges
 |
View all HP 7310 manuals
Add to My Manuals
Save this manual to your list of manuals |
Page 4 highlights
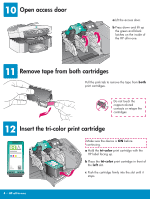
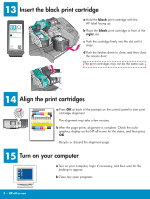
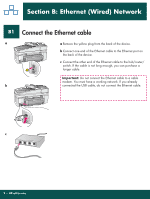
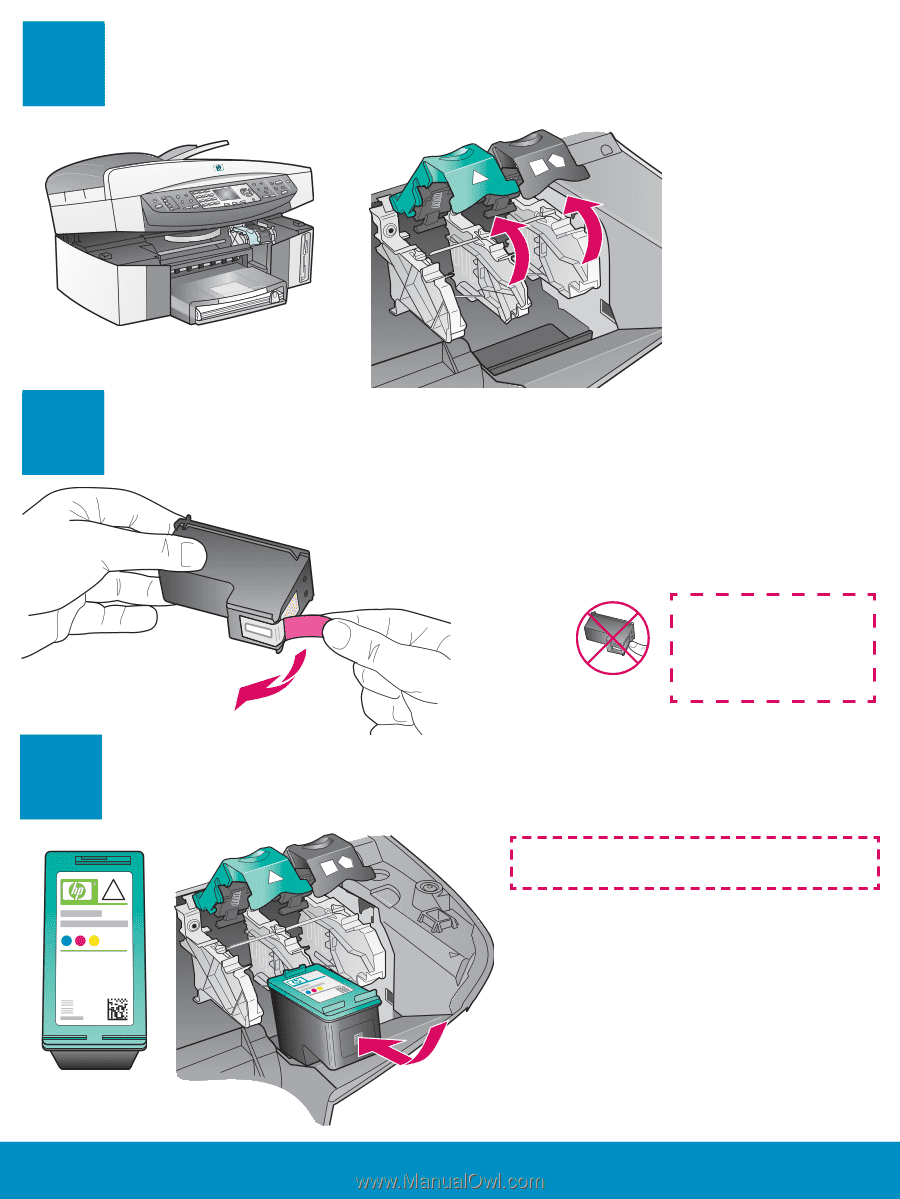
10 Open access door a Lift the access door. b Press down and lift up the green and black latches on the inside of the HP all-in-one. 11 Remove tape from both cartridges Pull the pink tab to remove the tape from both print cartridges. Do not touch the copper-colored contacts or retape the cartridges. 12 Insert the tri-color print cartridge Make sure the device is ON before continuing. a Hold the tri-color print cartridge with the HP label facing up. b Place the tri-color print cartridge in front of the left slot. c Push the cartridge firmly into the slot until it stops. 4 • HP all-in-one
-
 1
1 -
 2
2 -
 3
3 -
 4
4 -
 5
5 -
 6
6 -
 7
7 -
 8
8 -
 9
9 -
 10
10 -
11
-
12
 |
 |
4 • HP all-in-one
10
11
12
Open access door
a
Hold the
tri-color
print cartridge with the
HP label facing up.
b
Place the
tri-color
print cartridge in front of
the
left
slot.
c
Push the cartridge firmly into the slot until it
stops.
Insert the tri-color print cartridge
Make sure the device is
ON
before
continuing.
a
Lift the access door.
b
Press down and lift up
the green and black
latches on the inside of
the HP all-in-one.
Remove tape from both cartridges
Pull the pink tab to remove the tape from
both
print cartridges.
Do not touch the
copper-colored
contacts or retape the
cartridges.