HP Designjet 2000/3000cp HP DesignJet 2000/2500 - User's Guide - Page 86
Remove the old Take Up Core
 |
View all HP Designjet 2000/3000cp manuals
Add to My Manuals
Save this manual to your list of manuals |
Page 86 highlights
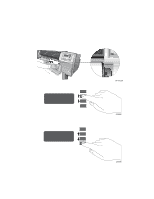
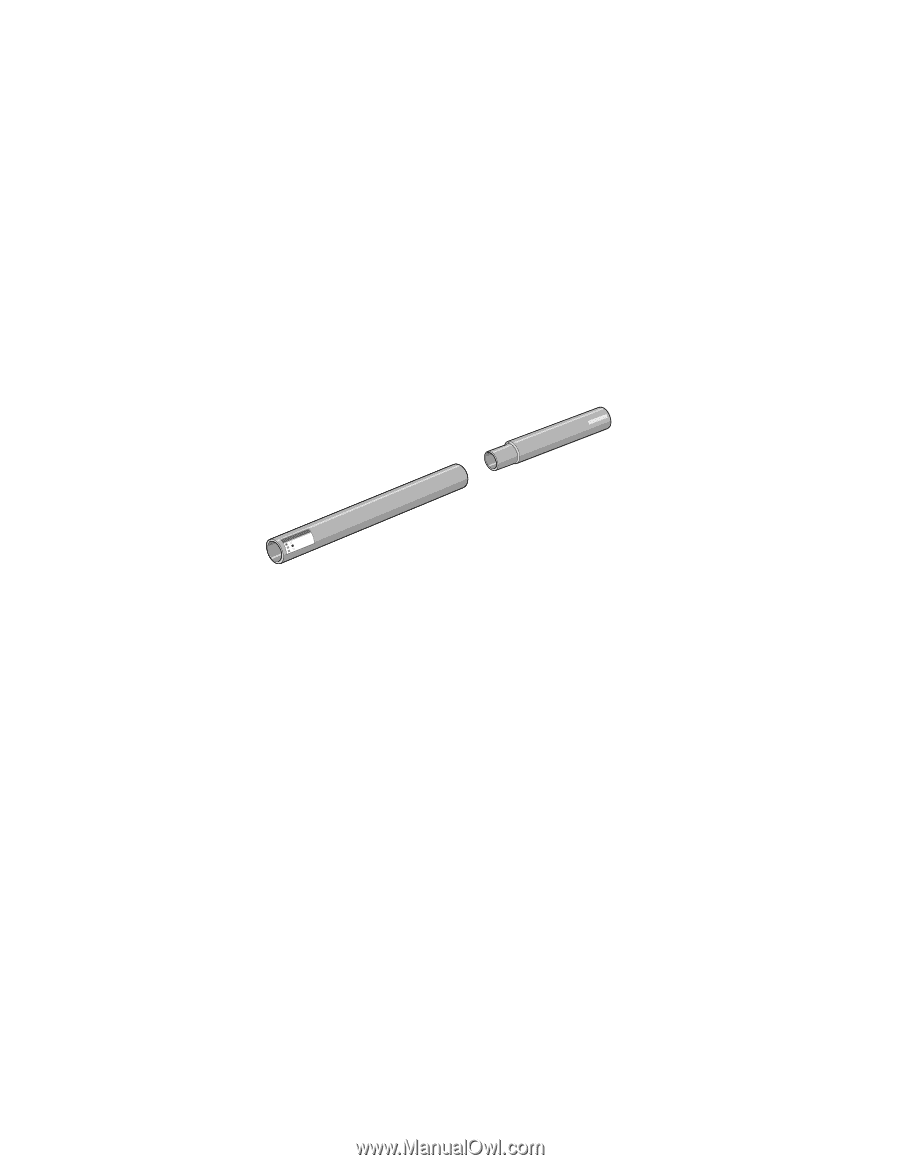
Working with Media Changing the Core Tube on the Take Up Reel Accessory 3 Remove the left-hand media guide. 4 Remove the old Take Up Core. 5 Install the new Core you have chosen onto the spindle and re-install the left hand guide assembly. NOTE:You can also use an empty cardboard tube to replace the plastic Take Up Core that was supplied with your printer. It is important that the Take Up Core is the same width as the media you are using. By matching color coded lengths of plastic tube, you can make a Take Up Core for different widths of standard media sizes: 24",36". 12'' / 305mm +2+4''=/=3=66515'0'0/4'9'm'/'11/152m3m770m2mmmm + C470367a 3-36
-
 1
1 -
2
-
3
-
4
-
5
-
6
-
7
-
8
-
9
-
10
-
11
-
12
-
13
-
14
-
15
-
16
-
17
-
18
-
19
-
20
-
21
-
22
-
23
-
24
-
25
-
26
-
27
-
28
-
29
-
30
-
31
-
32
-
33
-
34
-
35
-
36
-
37
-
38
-
39
-
40
-
41
-
42
-
43
-
44
-
45
-
46
-
47
-
48
-
49
-
50
-
51
-
52
-
53
-
54
-
55
-
56
-
57
-
58
-
59
-
60
-
61
-
62
-
63
-
64
-
65
-
66
-
67
-
68
-
69
-
70
-
71
-
72
-
73
-
74
-
75
-
76
-
77
-
78
-
79
-
80
-
 81
81 -
 82
82 -
 83
83 -
 84
84 -
 85
85 -
 86
86 -
 87
87 -
 88
88 -
 89
89 -
 90
90 -
 91
91 -
92
-
93
-
94
-
95
-
96
-
97
-
98
-
99
-
100
-
101
-
102
-
103
-
104
-
105
-
106
-
107
-
108
-
109
-
110
-
111
-
112
-
113
-
114
-
115
-
116
-
117
-
118
-
119
-
120
-
121
-
122
-
123
-
124
-
125
-
126
-
127
-
128
-
129
-
130
-
131
-
132
-
133
-
134
-
135
-
136
-
137
-
138
-
139
-
140
-
141
-
142
-
143
-
144
-
145
-
146
-
147
-
148
-
149
-
150
-
151
-
152
-
153
-
154
-
155
-
156
-
157
-
158
-
159
-
160
-
161
-
162
-
163
-
164
-
165
-
166
-
167
-
168
-
169
-
170
-
171
-
172
-
173
-
174
-
175
-
176
-
177
-
178
-
179
-
180
-
181
-
182
-
183
-
184
-
185
-
186
-
187
-
188
-
189
-
190
-
191
-
192
-
193
-
194
-
195
-
196
-
197
-
198
-
199
-
200
-
201
-
202
-
203
-
204
-
205
-
206
-
207
-
208
-
209
-
210
-
211
-
212
-
213
-
214
-
215
-
216
-
217
-
218
-
219
-
220
-
221
-
222
-
223
-
224
-
225
-
226
-
227
-
228
-
229
-
230
-
231
-
232
-
233
-
234
-
235
-
236
-
237
-
238
-
239
-
240
-
241
-
242
-
243
-
244
-
245
-
246
-
247
-
248
-
249
-
250
-
251
-
252
-
253
-
254
-
255
-
256
-
257
-
258
-
259
-
260
-
261
-
262
-
263
-
264
-
265
-
266
-
267
-
268
-
269
-
270
-
271
-
272
-
273
-
274
-
275
-
276
-
277
-
278
-
279
-
280
-
281
-
282
-
283
-
284
-
285
-
286
-
287
-
288
-
289
-
290
-
291
-
292
-
293
-
294
-
295
-
296
-
297
-
298
-
299
-
300
-
301
-
302
-
303
-
304
-
305
-
306
-
307
-
308
-
309
-
310
-
311
-
312
-
313
-
314
-
315
-
316
-
317
-
318
-
319
-
320
-
321
-
322
-
323
-
324
-
325
-
326
-
327
-
328
-
329
-
330
-
331
-
332
-
333
-
334
-
335
-
336
-
337
-
338
-
339
-
340
 |
 |
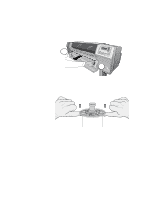
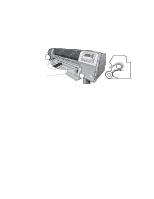
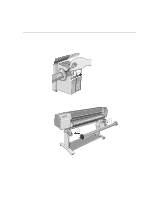
Working with Media
Changing the Core Tube on the Take Up Reel Accessory
3-36
3
Remove the left-hand media guide.
4
Remove the old Take Up Core.
5
Install the new Core you have chosen onto the spindle and re-install the left hand
guide assembly.
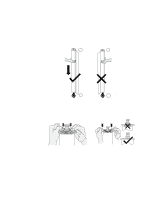
NOTE:
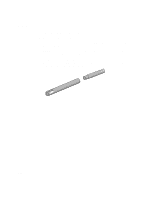
You can also use an empty cardboard tube to replace the plastic Take Up
Core that was supplied with your printer.
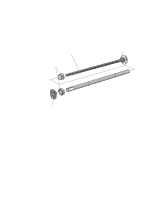
It is important that the Take Up Core is the same width as the media you are using.
By matching color coded lengths of plastic tube, you can make a Take Up Core for
different widths of standard media sizes: 24”,36”.
12'' / 305mm
+
54''/1372mm
=
+
36''/915mm
=
+
50''/1270mm
=
24'' / 610mm
+
54''/1372mm
=
+
36''/915mm
=
+
50''/1270mm
=
24'' / 610mm
C470367a