HP Photosmart 7520 Reference Guide - Page 2
Get to know your HP Photosmart - and fax
 |
View all HP Photosmart 7520 manuals
Add to My Manuals
Save this manual to your list of manuals |
Page 2 highlights
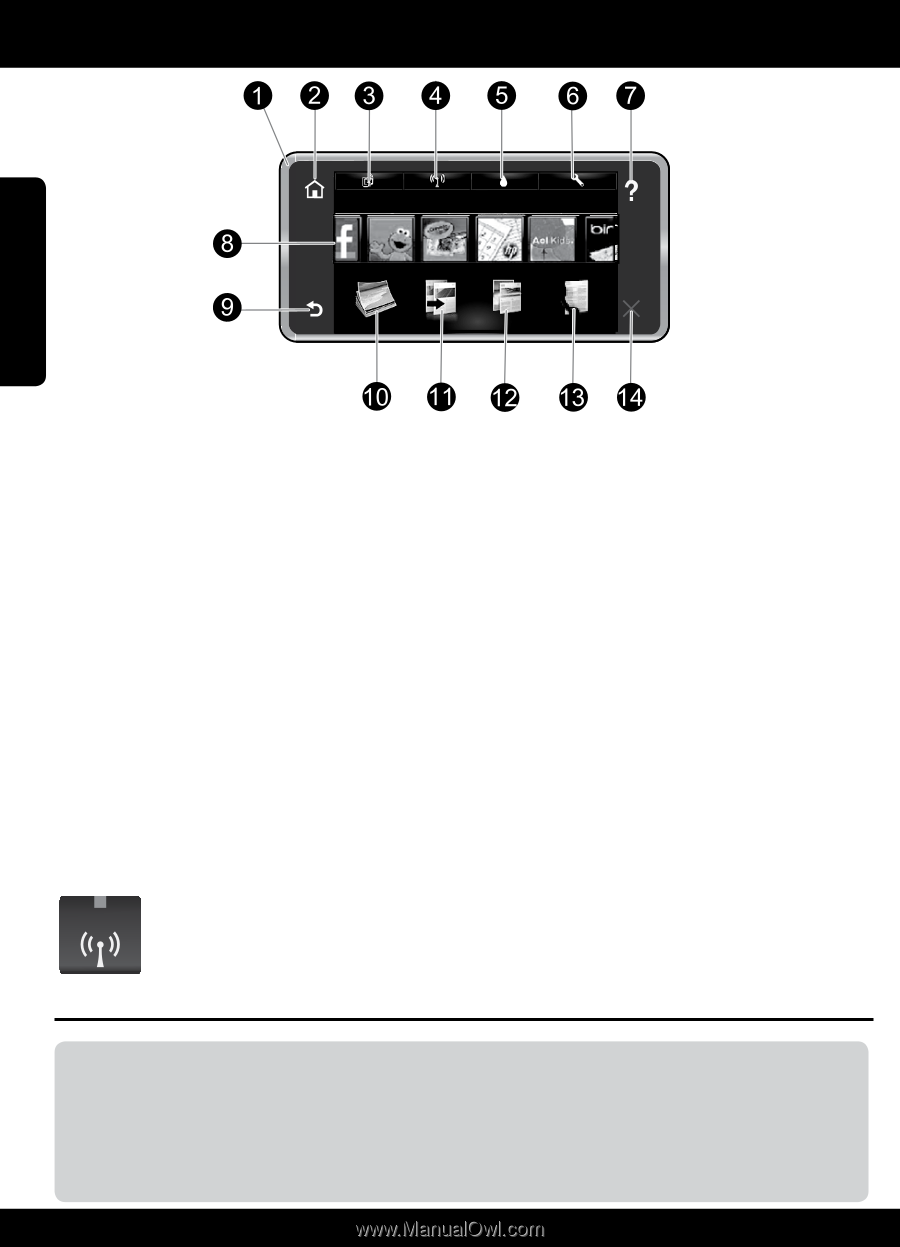
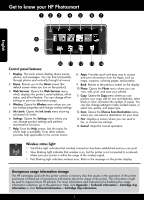
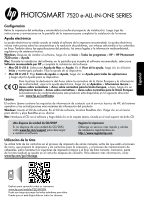
Get to know your HP Photosmart English Control panel features: 1. Display: The touch screen display shows menus, photos, and messages. You can flick horizontally through photos and vertically through list menus. 2. Home: Returns you to the Home screen (the default screen when you turn on the product). 3. Web Services: Opens the Web Services menu, which displays the printer's email address, ePrint status, and ePrint feature. You can change ePrint settings or print an information page. 4. Wireless: Opens the Wireless menu where you can see wireless properties and change wireless settings. 5. Ink Levels: Opens the Ink Levels menu showing estimated ink levels. 6. Settings: Opens the Settings menu where you can change product settings and perform maintenance functions. 7. Help: From the Help screen, lists the topics for which help is available. From other screens, provides help applicable to the current screen. 8. Apps: Provides quick and easy way to access and print information from the Apps, such as maps, coupons, coloring pages, and puzzles. 9. Back: Returns to the previous screen on the display. 10. Photo: Opens the Photo menu where you can view, edit, print, and save your photos. 11. Copy: Opens the Copy menu where you can preview your copy, edit for size and darkness, select black or color, and select the number of copies. You can also change settings to make 2-sided copies, or select size, quality, and paper type. 12. Scan: Opens the Choose Scan Destination menu, where you can select a destination for your scan. 13. Fax: Displays a screen where you can send a fax, or choose fax settings. 14. Cancel: Stops the current operation. Wireless status light: •• Solid blue light indicates that wireless connection has been established and you can print. •• Slow blinking light indicates that wireless is on, but the printer is not connected to a network. Make sure your printer is within the range of the wireless signal. •• Fast blinking light indicates wireless error. Refer to the message on the printer display. Anonymous usage information storage The HP cartridges used with this printer contain a memory chip that assists in the operation of the printer and stores a limited set of anonymous information about the usage of the printer. This information might be used to improve future HP printers. For more information and instructions for disabling this usage information collection, go to the electronic Help, click Appendix > Technical information > Cartridge chip information or click Technical information > Cartridge chip information. 2
-
 1
1 -
 2
2 -
 3
3 -
 4
4 -
 5
5 -
 6
6 -
 7
7 -
 8
8 -
9
-
10
-
11
-
12
-
13
-
14
-
15
-
16
-
17
-
18
 |
 |