HP Scanjet Enterprise 7000n HP Scanjet Enterprise 7000n - (multiple language) - Page 11
Con the control-panel settings - user manual
 |
View all HP Scanjet Enterprise 7000n manuals
Add to My Manuals
Save this manual to your list of manuals |
Page 11 highlights
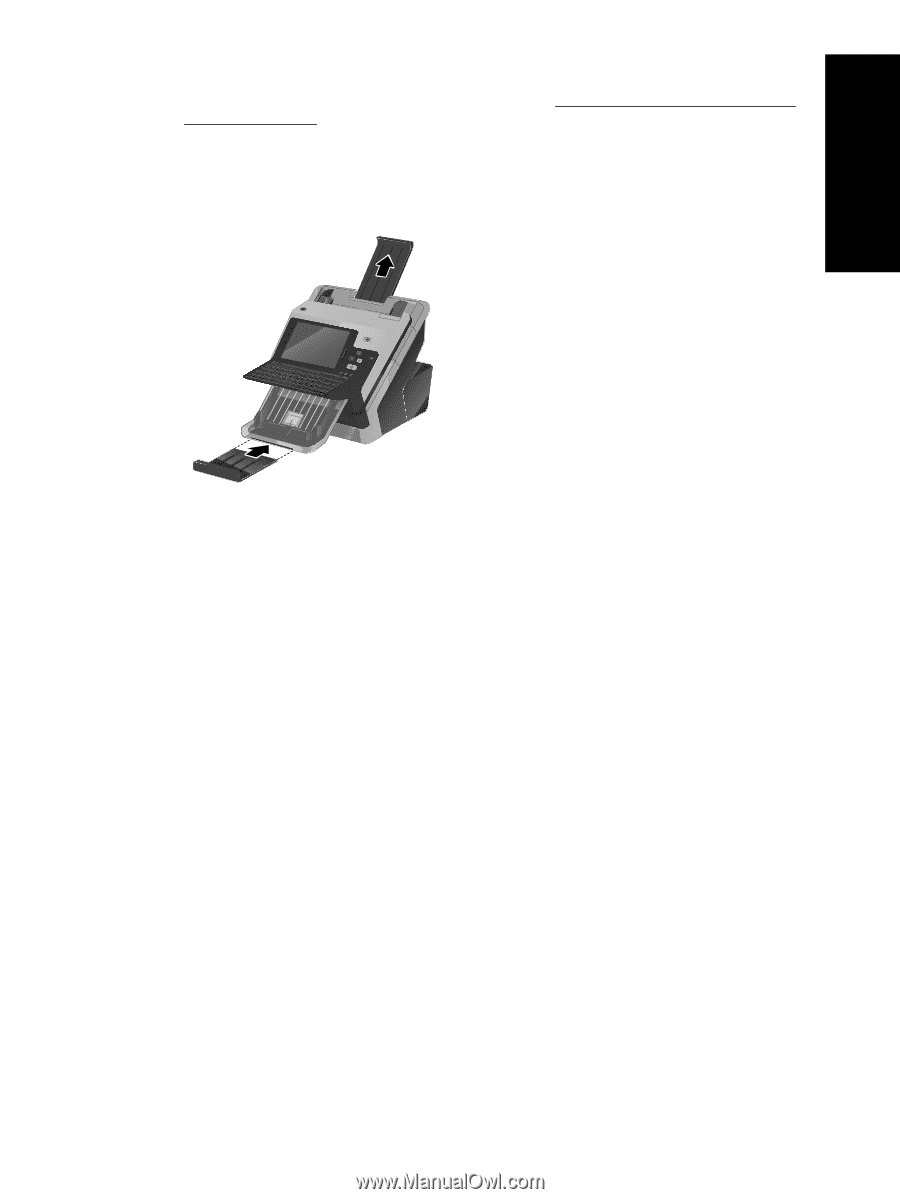
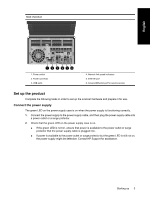
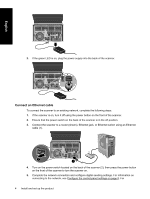
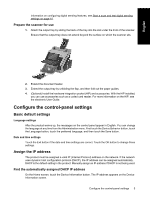
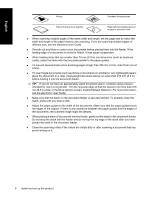
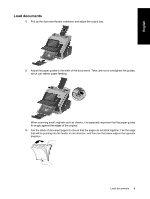
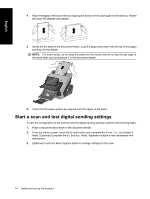
English information on configuring digital sending features, see Start a scan and test digital sending settings on page 10. Prepare the scanner for use 1. Attach the output tray by sliding the back of the tray into the slot under the front of the scanner. Ensure that the output tray does not extend beyond the surface on which the scanner sits. 2. Extend the document feeder. 3. Extend the output tray by unfolding the flap, and then fold out the paper guides. 4. (Optional) Install the hardware integration pocket (HIP) and accessories. With the HIP installed, you can use accessories such as a coded card reader. For more information on the HIP, see the electronic User Guide. Configure the control-panel settings Basic default settings Language settings After the product warms up, the messages on the control panel appear in English. You can change the language at any time from the Administration menu. First touch the Device Behavior button, touch the Language button, touch the preferred language, and then touch the Save button. Date and time settings Touch the Exit button if the date and time settings are correct. Touch the OK button to change these settings. Assign the IP address The product must be assigned a valid IP (Internet Protocol) address on the network. If the network uses dynamic host configuration protocol (DHCP), the IP address can be assigned automatically. DHCP is the default setting in the product. Manually assign an IP address if DHCP is not being used. Find the automatically assigned DHCP IP address On the Home screen, touch the Device Information button. The IP address appears on the Device Information screen. Configure the control-panel settings 5
-
 1
1 -
2
-
3
-
4
-
5
-
 6
6 -
 7
7 -
 8
8 -
 9
9 -
 10
10 -
 11
11 -
 12
12 -
 13
13 -
 14
14 -
 15
15 -
 16
16 -
17
-
18
-
19
-
20
-
21
-
22
-
23
-
24
-
25
-
26
-
27
-
28
-
29
-
30
-
31
-
32
-
33
-
34
-
35
-
36
-
37
-
38
-
39
-
40
-
41
-
42
-
43
-
44
-
45
-
46
-
47
-
48
-
49
-
50
-
51
-
52
-
53
-
54
-
55
-
56
-
57
-
58
-
59
-
60
-
61
-
62
-
63
-
64
-
65
-
66
-
67
-
68
 |
 |