HP Vectra VT 6/xxx HP Vectra VT 6/xxx, Familiarization guide - Page 22
Installing the New, System Board
 |
View all HP Vectra VT 6/xxx manuals
Add to My Manuals
Save this manual to your list of manuals |
Page 22 highlights
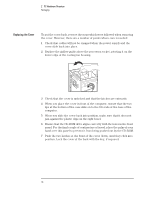
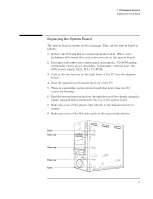
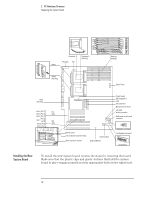
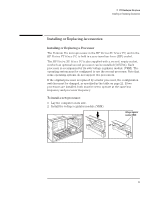
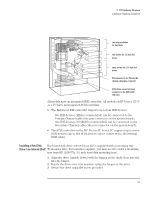
2 PC Hardware Structure Replacing the System Board Installing the New System Board To install the new system board, reverse the steps for removing the board. Make sure that the plastic clips and plastic buttons that hold the system board in place engage properly in their appropriate holes in the right bezel. 18
-
 1
1 -
2
-
3
-
4
-
5
-
6
-
7
-
8
-
9
-
10
-
11
-
12
-
13
-
14
-
15
-
16
-
 17
17 -
 18
18 -
 19
19 -
 20
20 -
 21
21 -
 22
22 -
 23
23 -
 24
24 -
 25
25 -
 26
26 -
 27
27 -
28
-
29
-
30
-
31
-
32
-
33
-
34
-
35
-
36
-
37
-
38
-
39
-
40
-
41
-
42
-
43
-
44
-
45
-
46
-
47
-
48
-
49
-
50
-
51
-
52
-
53
-
54
-
55
-
56
 |
 |

18
2
PC Hardware Structure
Replacing the System Board
Installing the New
System Board
To install the new system board, reverse the steps for removing the board.
Make sure that the plastic clips and plastic buttons that hold the system
board in place engage properly in their appropriate holes in the right bezel.