HP s520 HP s520 Digital Camera - User Manual - Page 25
Removing Red-eye, Dynamic Lighting Feature
 |
View all HP s520 manuals
Add to My Manuals
Save this manual to your list of manuals |
Page 25 highlights
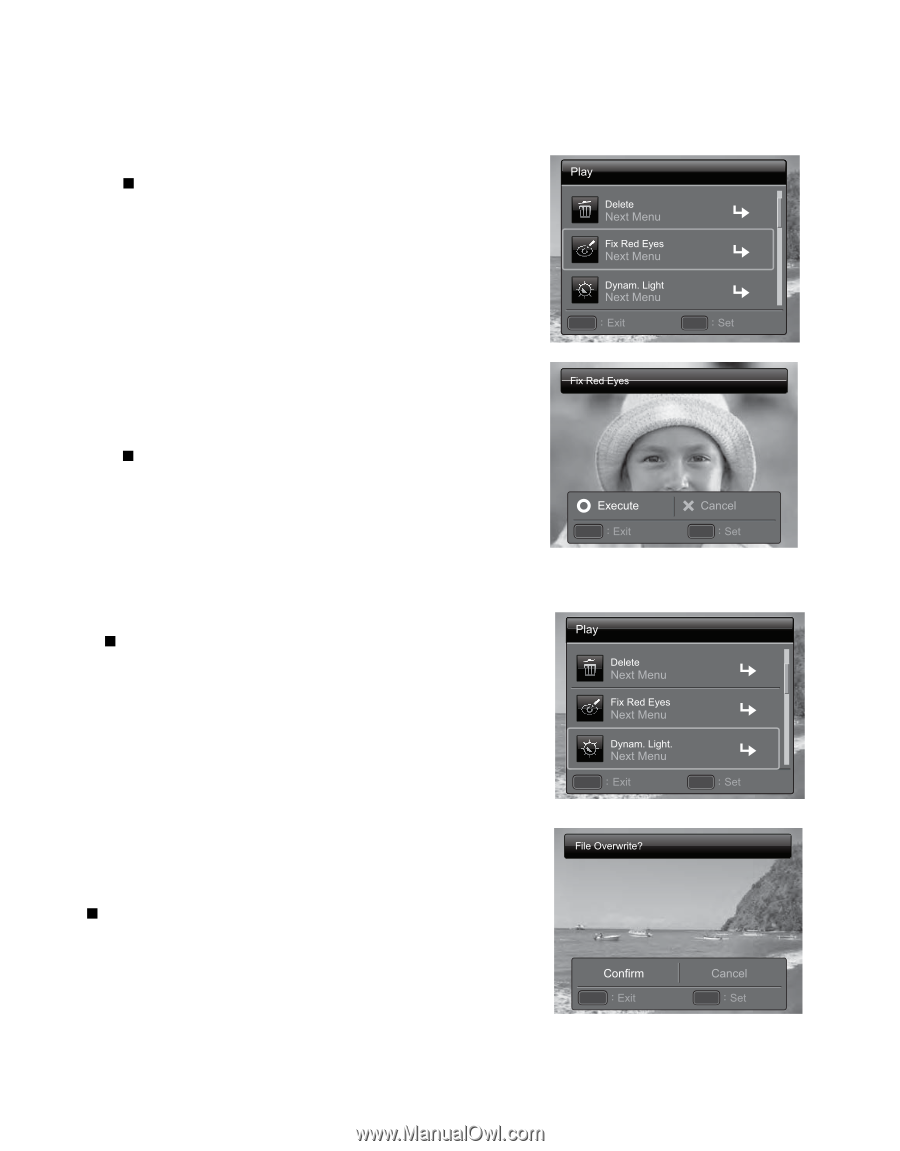
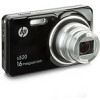
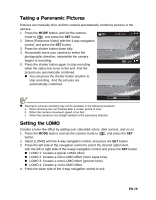
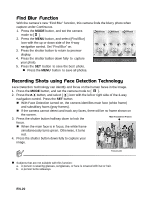
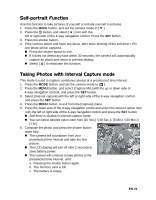
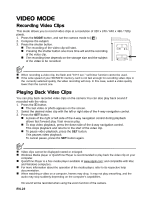
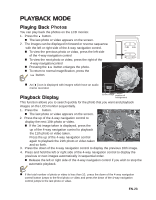
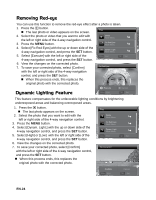
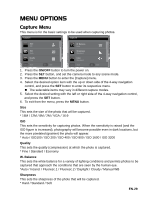
Removing Red-eye You can use this function to remove the red-eye effect after a photo is taken. 1. Press the 7 button. „ The last photo or video appears on the screen. 2. Select the photo or video that you want to edit with the left or right side of the 4-way navigation control. 3. Press the MENU button. 4. Select [Fix Red Eyes] with the up or down side of the 4-way navigation control, and press the SET button. 5. Select [Execute] with the left or right side of the MENU ; SET ; 4-way navigation control, and press the SET button. 6. View the changes on the corrected photo. 7. To save your corrected photo, select [Confirm] with the left or right side of the 4-way navigation control, and press the SET button. „ When this process ends, this replaces the original photo with the corrected photo. Dynamic Lighting Feature MENU ; SET ; This feature compensates for the unfavorable lighting conditions by brightening underexposed areas and balancing overexposed areas. 1. Press the 7 button. „ The last photo appears on the screen. 2. Select the photo that you want to edit with the left or right side of the 4-way navigation control. 3. Press the MENU button. 4. Select [Dynam. Light.] with the up or down side of the 4-way navigation control, and press the SET button. 5. Select [High] or [Low] with the left or right side of the MENU ; SET ; 4-way navigation control, and press the SET button. 6. View the changes on the corrected photo. 7. To save your corrected photo, select [Confirm] with the left or right side of the 4-way navigation control, and press the SET button. „ When this process ends, this replaces the original photo with the corrected photo. MENU ; SET ; EN-24
-
 1
1 -
2
-
3
-
4
-
5
-
6
-
7
-
8
-
9
-
10
-
11
-
12
-
13
-
14
-
15
-
16
-
17
-
18
-
19
-
 20
20 -
 21
21 -
 22
22 -
 23
23 -
 24
24 -
 25
25 -
 26
26 -
 27
27 -
 28
28 -
 29
29 -
 30
30 -
31
-
32
-
33
-
34
-
35
-
36
-
37
-
38
-
39
-
40
-
41
-
42
 |
 |