Hitachi CMP307XU Owners Guide - Page 23
Reset Settings Initialization, Signal Check - user guide
 |
View all Hitachi CMP307XU manuals
Add to My Manuals
Save this manual to your list of manuals |
Page 23 highlights
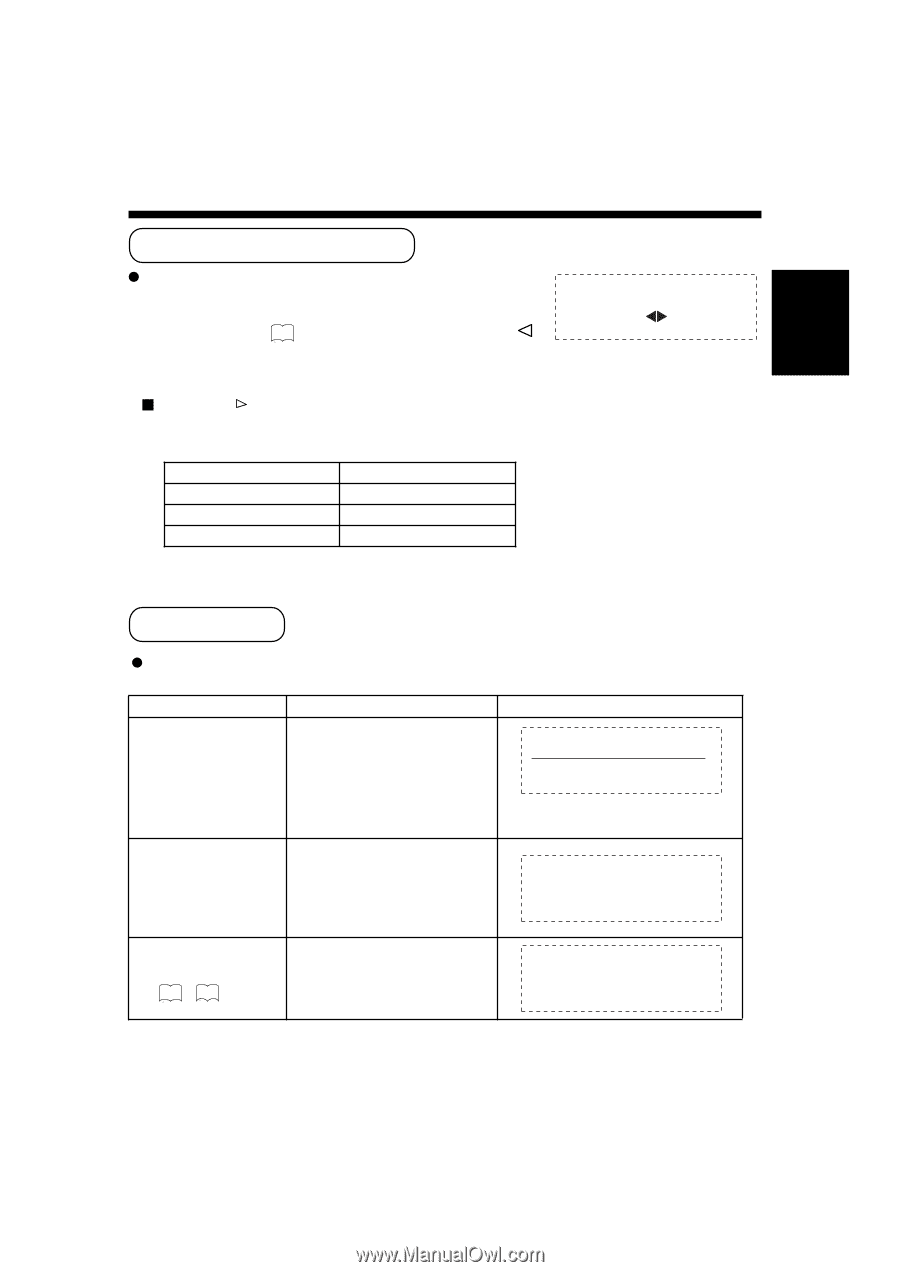
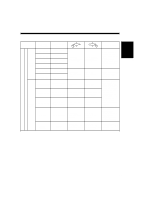
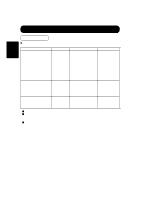
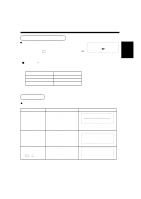
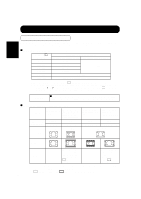
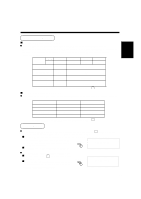
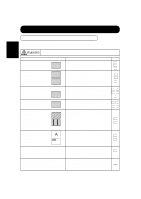
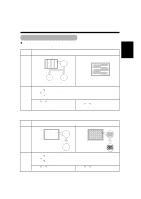
ENGLISH Reset (Settings Initialization) The Easy Menu shown to the right will be displayed when the SELECT button is used to select DISPLAY and moreover INITIALIZE? DISPLAY INT is selected from the On-screen Display System Easy Menu 16 during RGB1/RGB2 input. If the YES NO key (select Yes) of the SELECT button is pressed at this time, the user adjustment values in the table below for the signal currently being received will be deleted and the factory settings will be restored. Pressing the key (select No) cancels deletion and returns the DISPLAY menu. DISPLAY menu item Horizontal position Vertical position Dot clock frequency Dot clock phase H.POSITION V.POSITION CLOCK PHASE Signal Check The status of signal reception is checked automatically and the result is displayed on the screen. Status Signals are received normally. Display •The input terminal and the horizontal and vertical frequencies are displayed in a guidance image. Example RGB1 [D-SUB] H : 46.5kHz, V : 60Hz A sync signal could not be detected. pAlso includes the status of the VESA-DPMS sync signal. •The guidance message "POWER SAVE" is displayed for about 5 seconds. •In the event of continued absence of a sync signal, the power indicating lamp flickers and the monitor enters power save mode. The input signal does not meet display specifications or erratic. 28 30 •Displays OUT OF FREQUENCY. and the Guide. (After 5 sec. have elapsed, the display darkens and display continues until the correct signal is received.) Eithe VIDEO1 or VIDEO2 is displayed on VIDEO input. POWER SAVE OUT OF FREQUENCY. 23
-
 1
1 -
2
-
3
-
4
-
5
-
6
-
7
-
8
-
9
-
10
-
11
-
12
-
13
-
14
-
15
-
16
-
17
-
 18
18 -
 19
19 -
 20
20 -
 21
21 -
 22
22 -
 23
23 -
 24
24 -
 25
25 -
 26
26 -
 27
27 -
 28
28 -
29
-
30
 |
 |