Hoover UH70055 Product Manual
Hoover UH70055 - Turbo Cyclonic Upright Manual
 |
UPC - 073502030745
View all Hoover UH70055 manuals
Add to My Manuals
Save this manual to your list of manuals |
Hoover UH70055 manual content summary:
- Hoover UH70055 | Product Manual - Page 1
Owner's Manual Operating and Servicing Instructions www.hoover.com Please review this manual before operating your Hoover® product. ©2009 Healthy Gain Investments, Ltd. All rights reserved. #59156542-R0 2/09. Guide d'utilisation Instructions d'utilisation et d'entretien www.hoover.com Lire - Hoover UH70055 | Product Manual - Page 2
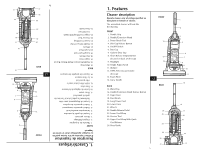
3 Features 5 How to Assemble 6 How To Use 6 Floor/Carpet Cleaning 7 Above Floor Cleaning 7 Maintenance 8 Dirt Cup & Filter: Removal & Replacement 8 Belt or Brushroll: Removal & Replacement 10 Lightbulb: Removal & Replacement 11 If You Have A Problem 12 Service 13 Warranty 14 Merci - Hoover UH70055 | Product Manual - Page 3
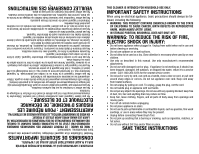
they may be present. • Unplug before connecting Power Brush Tool. • Do not pick up anything that is burning or smoking, such as cigarettes, matches, or hot ashes. • Do not use without Dirt Cup and/or filters in place. SAVE THESE INSTRUCTIONS 3 N'UTILISER L'ASPIRATEUR QU'À LA TENSION ÉLECTRIQUE SP - Hoover UH70055 | Product Manual - Page 4
from the electrical outlet. 2. Check dirt cup and filters for dirt accumulation. 3. Refer to "If You Have A Problem" section. 4. When cleaner is unplugged and the motor cools for 30 minutes, the thermal protector automatically resets and cleaning may continue. If the thermal protector continues - Hoover UH70055 | Product Manual - Page 5
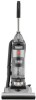
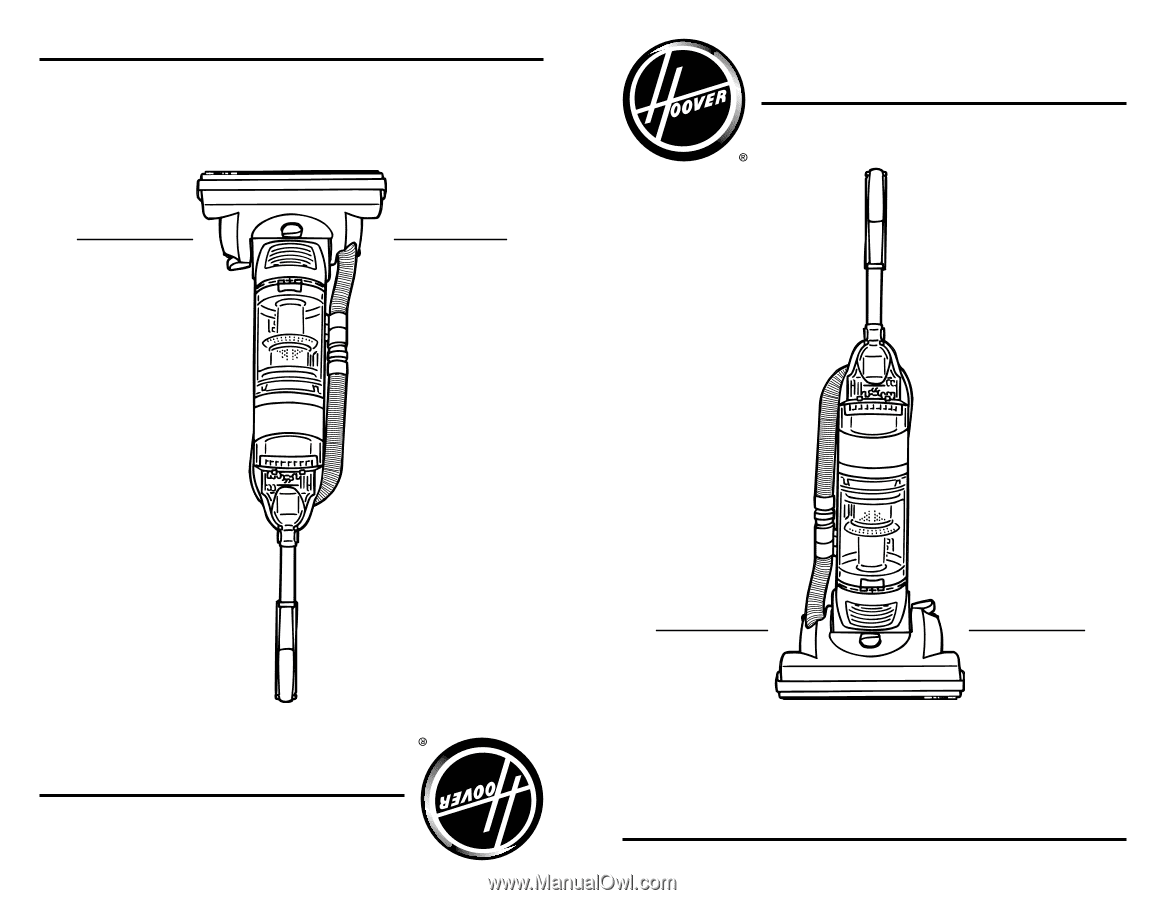
cleaner will look like the drawing. FRONT 1. Handle Grip 2. Handle/Extension Wand 3. Power Brush Tool 4. Dirt Cup Release Button 5. On/Off Switch 6. Dirt Cup 7. Cyclone Dust Cup 8. Clean Release Empty Button (located on back of dirt cup) 9. Headlight 10. Height Adjust Knob 11. Bumper 12. HEPA Filter - Hoover UH70055 | Product Manual - Page 6
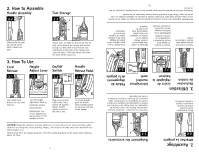
parts of body away from brushroll area while cleaner is on. Cleaner must be in the upright position to lift the rotating brushroll off the carpet when cleaning above the floor back of the cleaner and snap into place. Clip Power Brush Tool onto the front of the cleaner (c). BACK FRONT c b Tournez - Hoover UH70055 | Product Manual - Page 7
du tuyau pour le dégager du tuyau inférieur et retirez le tuyau du support à accessoires. 3.10 Soulevez le capuchon du tube pour fixer le tuyau sur a storing the upright, (b) operating the cleaner, and (c) de- Move the handle and adjust it to the desired position for (a) Floor/Carpet Cleaning - Hoover UH70055 | Product Manual - Page 8
-263-6376 ou visitez le site www.hoover.com pour connaître le centre de service le plus proche. Pour vider et nettoyer le collecteur de poussière 4.1 4.2 Twist and remove cyclone dust cup. Replace Cyclone Dust Cup 4.5 Remove Foam Filter 4.6 Tap the cyclone dust cup on the inside of a garbage - Hoover UH70055 | Product Manual - Page 9
. Retirez le filtre HEPA 4.10 4.11 Clean HEPA Media Filter 4.12 4.13 4.14 Replace HEPA Media Filter Press tab on HEPA Media filter and lift filter out of base of cleaner. Replace Dirt Cup 4.15 Return foam filter assembly to cleaner and snap into place. Replace foam filter cover and snap - Hoover UH70055 | Product Manual - Page 10
Rotate brushroll manually to make sure belt is properly cleaner right side up. Rotate nozzle guard forward and lift off. 4.18 Lift and remove brushroll. Dispose of old belt. 4.16 For Belt Style 20 replacement, please visit our website at www.hoover.com to buy online or call customer service - Hoover UH70055 | Product Manual - Page 11
èces automobiles. 4.24 4.25 4.26 Debris Removal WARNING: TO REDUCE THE RISK OF INJURY FROM MOVING PARTS UNPLUG CLEANER BEFORE SERVICING. Debris Removal from Hose Check to see if dirt cup is full; empty if needed. Plug cleaner in and check to see if there is any suction at end of hose. If there - Hoover UH70055 | Product Manual - Page 12
L'ASPIRATEUR AVANT LE SERVICE One or both filters are clogged. Remove both filters and clean. Broken or worn belt. Replace belt. Brushroll worn. Replace brushroll. suction Dirt Cup full. pick-up or low Review "Dirt Cup Removal and Replacement". Empty Dirt Cup. Cleaner won't Dirt cup - Hoover UH70055 | Product Manual - Page 13
To obtain approved Hoover® service and genuine Hoover® parts, locate the nearest Authorized Hoover® Warranty Service Dealer (Depot) by: • Checking the Yellow Pages under "Vacuum Cleaners" or "Household". • Visit our website at hoover.com (U.S. Customers) or hoover.ca (Canadian customers). Follow - Hoover UH70055 | Product Manual - Page 14
ée de un an (Usage domestique) WHAT THIS WARRANTY COVERS When used and maintained in normal household use and in accordance with the Owner's Manual, your HOOVER® product is warranted against original defects in material and workmanship for a full one year from date of purchase (the "Warranty Period
-
 1
1 -
 2
2 -
 3
3 -
 4
4 -
 5
5 -
 6
6 -
 7
7 -
8
-
9
-
10
-
11
-
12
-
13
-
14
 |
 |
Please review this manual before operating your Hoover® product.
www.hoover.com
Owner’s Manual
Operating and Servicing Instructions
©2009 Healthy Gain Investments, Ltd. All rights reserved. #59156542-R0 2/09.
Lire attentivement ce guide avant d’utiliser votre appareil
Hoover
MD
produit.
www.hoover.com
Guide d’utilisation
Instructions d’utilisation et d’entretien
©2009 Healthy Gain Investments, Ltd. Tous droits réservés. #59156542-R0 2/09.