Konica Minolta bizhub PRESS 1250 EF-102 User Guide
Konica Minolta bizhub PRESS 1250 Manual
 |
View all Konica Minolta bizhub PRESS 1250 manuals
Add to My Manuals
Save this manual to your list of manuals |
Konica Minolta bizhub PRESS 1250 manual content summary:
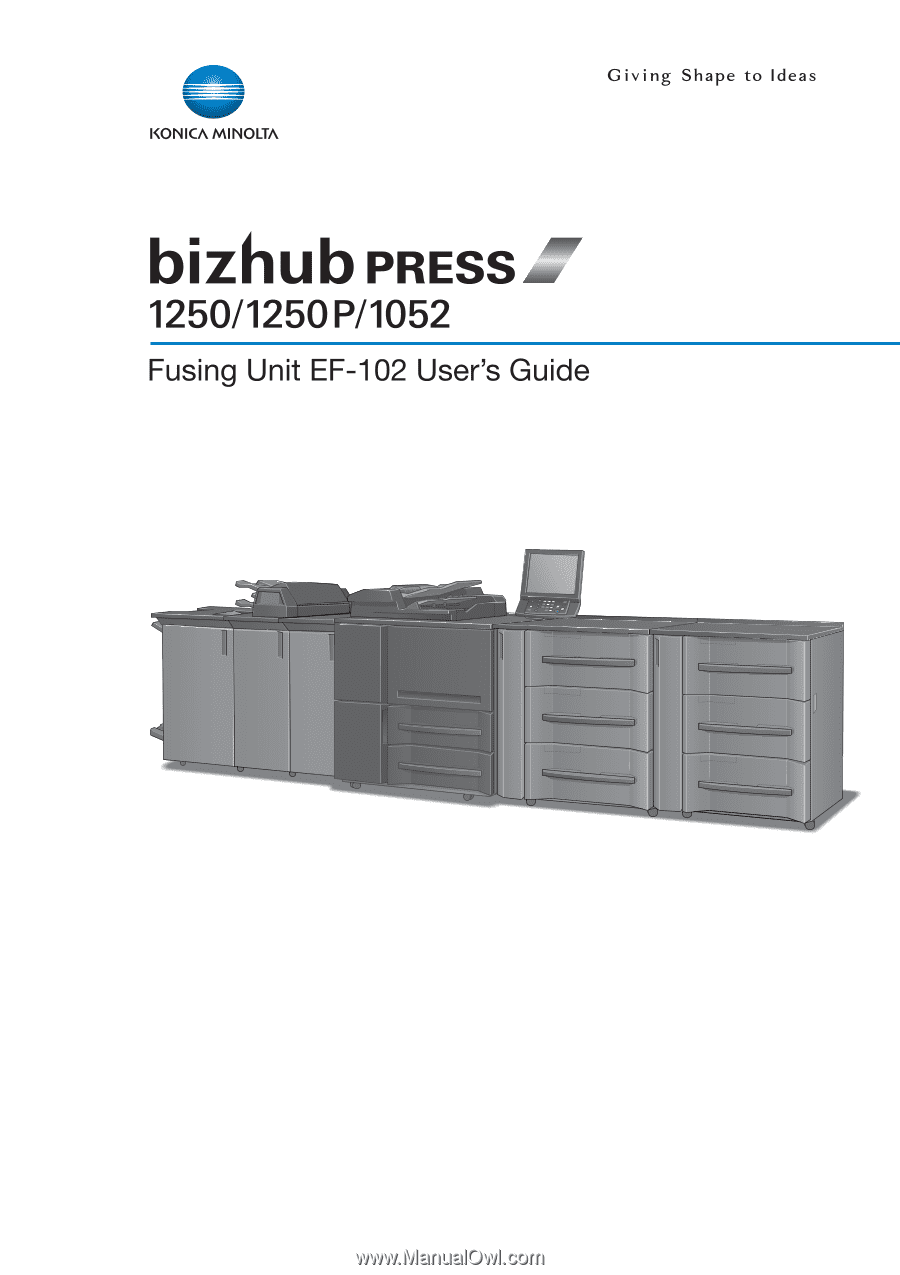
- Konica Minolta bizhub PRESS 1250 | EF-102 User Guide - Page 1
- Konica Minolta bizhub PRESS 1250 | EF-102 User Guide - Page 2
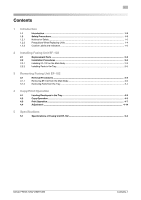
- Konica Minolta bizhub PRESS 1250 | EF-102 User Guide - Page 3
Parts from the Tray ...3-4 4 Copy/Print Operation 4.1 Loading Envelopes in the Tray...4-2 4.2 Copy Operation ...4-3 4.3 Print Operation ...4-7 4.4 Adjustment ...4-14 5 Specifications 5.1 Specifications of Fusing Unit EF-102 5-2 bizhub PRESS 1250/1250P/1052 Contents-1 - Konica Minolta bizhub PRESS 1250 | EF-102 User Guide - Page 4
1 Introduction - Konica Minolta bizhub PRESS 1250 | EF-102 User Guide - Page 5
this User's Guide and do not lose them If you lose the document, please contact your service representative. Registered Trademarks bizhub PRESS is a trademark of Konica Minolta Business Technologies, Inc. Copyright © 2012 Konica Minolta Business Technologies, Inc. bizhub PRESS 1250/1250P/1052 1-2 - Konica Minolta bizhub PRESS 1250 | EF-102 User Guide - Page 6
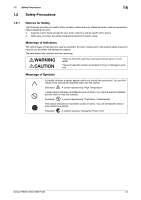
sure to read the precautions before replacing the units. - Keep the User's Guide at hand for your future reference and be careful not to lose it. - Make . You can find specific instructions within the symbols. (Example) A symbol meaning "Unplug the Power Cord" bizhub PRESS 1250/1250P/1052 1-3 - Konica Minolta bizhub PRESS 1250 | EF-102 User Guide - Page 7
Before Replacing Units When replacing the units, be sure to receive instructions from our customer engineer, read the User' Guide in entirety and perform tasks in the specified order with appropriate tools or wires of the unit may cause falling or personal injury. bizhub PRESS 1250/1250P/1052 1-4 - Konica Minolta bizhub PRESS 1250 | EF-102 User Guide - Page 8
the power plug may be difficult to pull out when an emergency occurs. Actions in Response to Troubles If it becomes inordinately hot or emits smoke, or an unusual odor or noise, immediately turn off , etc.) which are indicated by a "High Temperature" caution label. bizhub PRESS 1250/1250P/1052 1-5 - Konica Minolta bizhub PRESS 1250 | EF-102 User Guide - Page 9
due to soilage, please contact your service representative. 7 CAUTION DO NOT touch the fusing part of the fixing conveyance unit. - Otherwise, you may get burned. Please be especially careful in withdrawing the fixing conveyance unit or opening the fusing part. bizhub PRESS 1250/1250P/1052 1-6 - Konica Minolta bizhub PRESS 1250 | EF-102 User Guide - Page 10
your hand or arm between the main body and fixing conveyance unit. - Touching connecting terminals of electric parts may damage the machine or cause unexpected trouble. Please do not try to work yourself, but contact your service representative. bizhub PRESS 1250/1250P/1052 1-7 - Konica Minolta bizhub PRESS 1250 | EF-102 User Guide - Page 11
2 Installing Fusing Unit EF-102 - Konica Minolta bizhub PRESS 1250 | EF-102 User Guide - Page 12
unit, be sure to receive instructions from our customer engineer. NOTICE guide/Front 2 Front cover 1 7 Regulation 1 guide/Rear 3 Rear cover 1 8 Stopper 2 4 Auxiliary 1 9 Duct cover 2 guide/Front 5 Auxiliary 1 10 Positioning 4 guide/Rear screw bizhub PRESS 1250/1250P/1052 - Konica Minolta bizhub PRESS 1250 | EF-102 User Guide - Page 13
the front door, and then the left side door of the main body. 5 While releasing the ADU drawer lock by pressing it to the left (Arrow [1]) with a screwdriver inserted into the gap under the lever [M4], turn the lever Hold the lever [M4] and pull out the ADU drawer. bizhub PRESS 1250/1250P/1052 2-3 - Konica Minolta bizhub PRESS 1250 | EF-102 User Guide - Page 14
until it knocks in place. 11 Push in the lock screw (purple) and rotate the screw to the direction of arrow to lock the unit. bizhub PRESS 1250/1250P/1052 2-4 - Konica Minolta bizhub PRESS 1250 | EF-102 User Guide - Page 15
. Using Envelopes of 100 to 140 mm in Width The following parts need to be installed when envelopes of the above size are used. - Auxiliary guide/Front - Auxiliary guide/Rear - Stopper x 2 - Duct cover x 2 - Positioning screw x 4 1 Pull out the tray. bizhub PRESS 1250/1250P/1052 2-5 - Konica Minolta bizhub PRESS 1250 | EF-102 User Guide - Page 16
/rear) and secure them with 2 stoppers. % To insert the auxiliary guides (front/rear) into the holes in the bottom plate of the tray, move the side guides to align the notches in the bottom tray. 5 Move the 2 duct lock levers to the direction of arrow to lock them. bizhub PRESS 1250/1250P/1052 2-6 - Konica Minolta bizhub PRESS 1250 | EF-102 User Guide - Page 17
guide/Rear 1 Pull out the tray. 2 Install the regulation guides (front/rear) onto the top of the small size guides (front/rear). % Be sure to install the regulation guides by pushing them to the direction of arrow. 3 Push in the tray until it locks into place. bizhub PRESS 1250/1250P/1052 - Konica Minolta bizhub PRESS 1250 | EF-102 User Guide - Page 18
3 Removing Fusing Unit EF-102 - Konica Minolta bizhub PRESS 1250 | EF-102 User Guide - Page 19
Fusing Unit EF-102 This section describes the procedures to remove EF-102 and the feed guide parts for envelopes. When using paper other than envelopes, follow the procedure below to replace the lock screw (purple) to the direction of arrow to release the lock. bizhub PRESS 1250/1250P/1052 3-2 - Konica Minolta bizhub PRESS 1250 | EF-102 User Guide - Page 20
the rear cover after EF-102 cools down. NOTICE Be sure to use the packaging box of EF-102 for storing the removed EF-102. bizhub PRESS 1250/1250P/1052 3-3 - Konica Minolta bizhub PRESS 1250 | EF-102 User Guide - Page 21
- Stopper x 2 - Duct cover x 2 1 Pull out the tray. 2 Remove the 2 stoppers installed on the positioning screws before removing the auxiliary guides (front/rear). 3 Remove the 4 positioning screws, and then install the 4 screws that have been installed before. bizhub PRESS 1250/1250P/1052 3-4 - Konica Minolta bizhub PRESS 1250 | EF-102 User Guide - Page 22
to the direction of arrow to un- lock them. 5 Move the small size guides (front/rear) to the direction of arrow to align them with the side guides. 6 Remove the 2 duct covers. NOTICE Be sure to remove the duct covers 7 Push in the tray until it locks into place. bizhub PRESS 1250/1250P/1052 3-5 - Konica Minolta bizhub PRESS 1250 | EF-102 User Guide - Page 23
the above size have been used. - Regulation guide/Front - Regulation guide/Rear 1 Pull out the tray. 2 Remove the regulation guides (front/rear) which are in- stalled on the top of the small size guides (front/rear). 3 Push in the tray until it locks into place. bizhub PRESS 1250/1250P/1052 3-6 - Konica Minolta bizhub PRESS 1250 | EF-102 User Guide - Page 24
4 Copy/Print Operation - Konica Minolta bizhub PRESS 1250 | EF-102 User Guide - Page 25
on the right. 4 Align the side guides and rear guide to the edge of the envelopes. NOTICE Please do not apply excessive force to the side guides when moving them. It may be a cause of failure of the auxiliary guides. 5 Push in the tray until it locks into place. bizhub PRESS 1250/1250P/1052 4-2 - Konica Minolta bizhub PRESS 1250 | EF-102 User Guide - Page 26
Setting] on the Machine Screen when using the modified setting as a default, or from [Paper Presetting] on the Copy Screen to use it temporarily 1 Press [Tray Setting] on the Machine Screen. 2 Select [Tray 4], then press [Change Set] on the right of "Paper Size." bizhub PRESS 1250/1250P/1052 4-3 - Konica Minolta bizhub PRESS 1250 | EF-102 User Guide - Page 27
unavailable) on the screen. In this case, modify the items as necessary. % Press [Change Set] on the right of [Recall] to display the Change Individual Set Screen. [Envelope] is automatically selected for Paper Type (other types are unavailable) on the screen. bizhub PRESS 1250/1250P/1052 4-4 - Konica Minolta bizhub PRESS 1250 | EF-102 User Guide - Page 28
135 g/m2] as required. % Make other paper settings as necessary. When all the setting is completed, press [OK] to return to the Machine Screen. 5 Place the original on the original glass or ADF. 6 Press the [COPY] tab to display the Copy Screen. 7 Select [Tray 4]. bizhub PRESS 1250/1250P/1052 4-5 - Konica Minolta bizhub PRESS 1250 | EF-102 User Guide - Page 29
4 8 Select [Face Up] for the output side in the Output Setting. % Press [OK] on the Output Setting Screen to return to the Copy Screen. 9 Make details on how to make the setting, see Section 6 of [User's Guide - Copier]. 10 Press Start on the control panel. bizhub PRESS 1250/1250P/1052 4-6 - Konica Minolta bizhub PRESS 1250 | EF-102 User Guide - Page 30
driver (the initial name: [KONICA MINOLTA 1250/1052 PS]). 2 Click [Properties]. The properties window of the printer driver EF-102 is correctly installed on the machine and there is no network trouble. 5 Click [ - Konica Minolta bizhub PRESS 1250 | EF-102 User Guide - Page 31
trouble. % Click [OK] to finish verifying the connection. 4 Select the Print command of your application, then select the appropriate printer driver (the initial name:[KONICA MINOLTA 1250/1052 PCL ." 8 Click [OK] at the bottom of the window to start printing. bizhub PRESS 1250/1250P/1052 4-8 - Konica Minolta bizhub PRESS 1250 | EF-102 User Guide - Page 32
application, then select the appropriate printer driver (the initial name: [KONICA MINOLTA 1250/1052 PS(P)]). 5 Click [Properties]. The properties window of the printer driver is displayed. 6 Select [Tray 12 Click [OK] at the bottom of the Advanced Options window. bizhub PRESS 1250/1250P/1052 4-9 - Konica Minolta bizhub PRESS 1250 | EF-102 User Guide - Page 33
. For Macintosh with PS-Plug-in Driver 1 Select the Print command of your application, then select the appropriate printer driver name. 2 Select [bizhub PRESS 1250/1052PS] from the pull-down list in . 4 Make sure that the [Envelope Fusing Unit] checkbox is on. bizhub PRESS 1250/1250P/1052 4-10 - Konica Minolta bizhub PRESS 1250 | EF-102 User Guide - Page 34
on, please make sure that Fusing Unit EF-102 is correctly installed on the machine and there is no network trouble. 5 Click [ - Konica Minolta bizhub PRESS 1250 | EF-102 User Guide - Page 35
application, then select the appropriate printer driver name. 5 Click the pull-down menu next to [Paper Size] and select [Manage Custom Size]. 6 Click [+] at the bottom-left corner of the Custom Paper Sizes window and enter a name and the size of the envelope. bizhub PRESS 1250/1250P/1052 4-12 - Konica Minolta bizhub PRESS 1250 | EF-102 User Guide - Page 36
5 "Specifications." 7 Click the pull-down menu next to [Paper Size] and select the name which you have entered in step 6. 8 You can now start printing. bizhub PRESS 1250/1250P/1052 4-13 - Konica Minolta bizhub PRESS 1250 | EF-102 User Guide - Page 37
100 100 60 100 50 100 50 50 1 Press [Adjustment] on the Machine Screen. 2 Press [07 Productivity for Env. Print] on the Adjustment Menu Screen. 3 Select a key according to the size of envelopes loaded in the tray as well as your desired productivity. bizhub PRESS 1250/1250P/1052 4-14 - Konica Minolta bizhub PRESS 1250 | EF-102 User Guide - Page 38
4.4 Adjustment 4 4 Press [Return] to return to the Adjustment Menu Screen. 5 Press [Exit] to return to the Machine Screen. bizhub PRESS 1250/1250P/1052 4-15 - Konica Minolta bizhub PRESS 1250 | EF-102 User Guide - Page 39
5 Specifications - Konica Minolta bizhub PRESS 1250 | EF-102 User Guide - Page 40
(D) e 230 (H) mm (6.68" (W) e 26.92" (D) e 9.04" (H)) (Fusing unit: excluding projection portions) 18.5 kg (40.8 lb) (Fusing unit: 17 kg (37.5 lb), feeding guide parts: 1 kg (2.2 lb), back cover: 0.5 kg (1.1 lb)) 200 VAC, 5 VDC (supplied from the main body) 2,500 W bizhub PRESS 1250/1250P/1052 5-2 - Konica Minolta bizhub PRESS 1250 | EF-102 User Guide - Page 41
- Konica Minolta bizhub PRESS 1250 | EF-102 User Guide - Page 42
http://konicaminolta.com
-
 1
1 -
 2
2 -
 3
3 -
 4
4 -
 5
5 -
 6
6 -
 7
7 -
8
-
9
-
10
-
11
-
12
-
13
-
14
-
15
-
16
-
17
-
18
-
19
-
20
-
21
-
22
-
23
-
24
-
25
-
26
-
27
-
28
-
29
-
30
-
31
-
32
-
33
-
34
-
35
-
36
-
37
-
38
-
39
-
40
-
41
-
42
 |
 |