LG LRFD25850ST User Guide - Page 25
OUTSIDE, INSIDE WALLS, to warm up so, cloth won't stick - stainless
 |
View all LG LRFD25850ST manuals
Add to My Manuals
Save this manual to your list of manuals |
Page 25 highlights
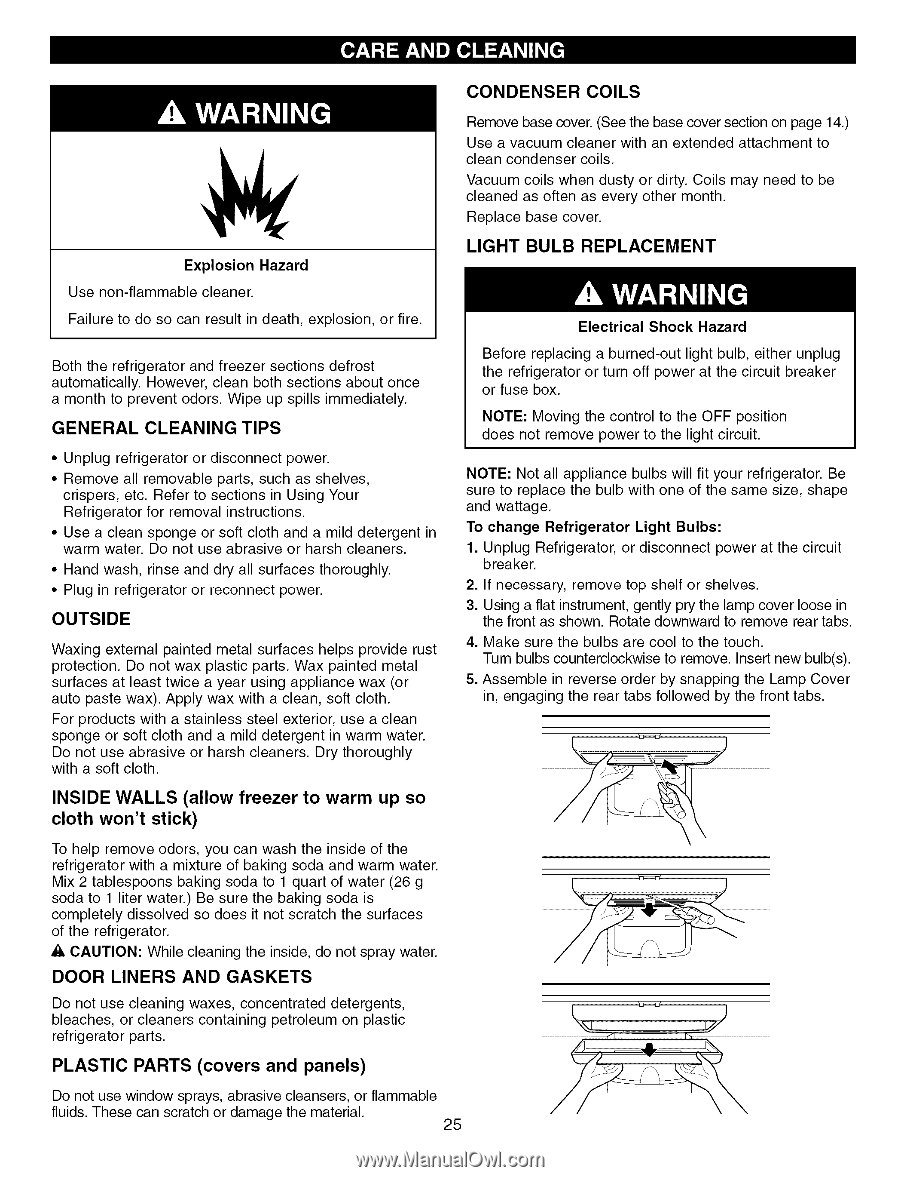
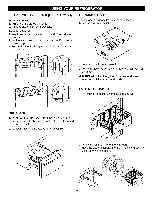
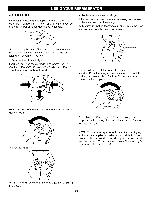
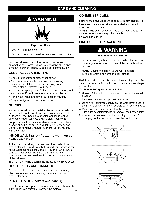
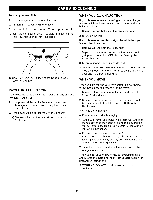
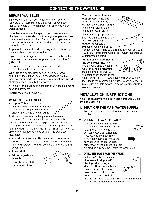
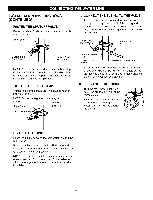
CONDENSER COILS Explosion Hazard Use non-flammable cleaner. Failure to do so can result in death, explosion, or fire. Both the refrigerator and freefler sections defrost automatically. However, clean both sections about once a month to prevent odors. Wipe up spills immediately. GENERAL CLEANING TIPS • Unplug refrigerator or disconnect power. • Remove all removable parts, such as shelves, crispers, etc. Refer to sections in Using Your Refrigerator for removal instructions. • Use a clean sponge or soft cloth and a mild detergent in warm water. Do not use abrasive or harsh cleaners. • Hand wash, rinse and dry all surfaces thoroughly. • Plug in refrigerator or reconnect power. OUTSIDE Waxing external painted metal surfaces helps provide rust protection. Do not wax plastic parts. Wax painted metal surfaces at least twice a year using appliance wax (or auto paste wax). Apply wax with a clean, soft cloth. For products with a stainless steel exterior, use a clean sponge or soft cloth and a mild detergent in warm water. Do not use abrasive or harsh cleaners. Dry thoroughly with a soft cloth. Remove base cover. (See the base cover section on page 14.) Use a vacuum cleaner with an extended attachment to clean condenser coils. Vacuum coils when dusty or dirty. Coils may need to be cleaned as often as every other month. Replace base cover. LIGHT BULB REPLACEMENT Electrical Shock Hazard Before replacing a burned-out light bulb, either unplug the refrigerator or turn off power at the circuit breaker or fuse box. NOTE: Moving the control to the OFF position does not remove power to the light circuit. NOTE: Not all appliance bulbs will fit your refrigerator. Be sure to replace the bulb with one of the same size, shape and wattage. To change Refrigerator Light Bulbs: 1. Unplug Refrigerator, or disconnect power at the circuit breaker. 2. If necessary, remove top shelf or shelves. 3. Using a flat instrument, gently pry the lamp cover loose in the front as shown. Rotate downward to remove rear tabs. 4. Make sure the bulbs are cool to the touch. Turn bulbs counterclockwise to remove. Insert new bulb(s). 5. Assemble in reverse order by snapping the Lamp Cover in, engaging the rear tabs followed by the front tabs. INSIDE WALLS (allow freezer to warm up so cloth won't stick) To help remove odors, you can wash the inside of the refrigerator with a mixture of baking soda and warm water. Mix 2 tablespoons baking soda to 1 quart of water (26 g soda to 1 liter water.) Be sure the baking soda is completely dissolved so does it not scratch the surfaces of the refrigerator. & CAUTION: While cleaning the inside, do not spray water. DOOR LINERS AND GASKETS Do not use cleaning waxes, concentrated detergents, bleaches, or cleaners containing petroleum on plastic refrigerator parts. PLASTIC PARTS (covers and panels) Do not use window sprays, abrasive cleansers, or flammable fluids. These can scratch or damage the material. 25
-
 1
1 -
2
-
3
-
4
-
5
-
6
-
7
-
8
-
9
-
10
-
11
-
12
-
13
-
14
-
15
-
16
-
17
-
18
-
19
-
 20
20 -
 21
21 -
 22
22 -
 23
23 -
 24
24 -
 25
25 -
 26
26 -
 27
27 -
 28
28 -
 29
29 -
 30
30 -
31
-
32
-
33
-
34
-
35
-
36
 |
 |