Lexmark C530DN Clearing Jams Guide - Page 5
Clearing jams between the fuser and the standard exit bin, Clearing jams in the standard exit bin
 |
UPC - 734646030908
View all Lexmark C530DN manuals
Add to My Manuals
Save this manual to your list of manuals |
Page 5 highlights
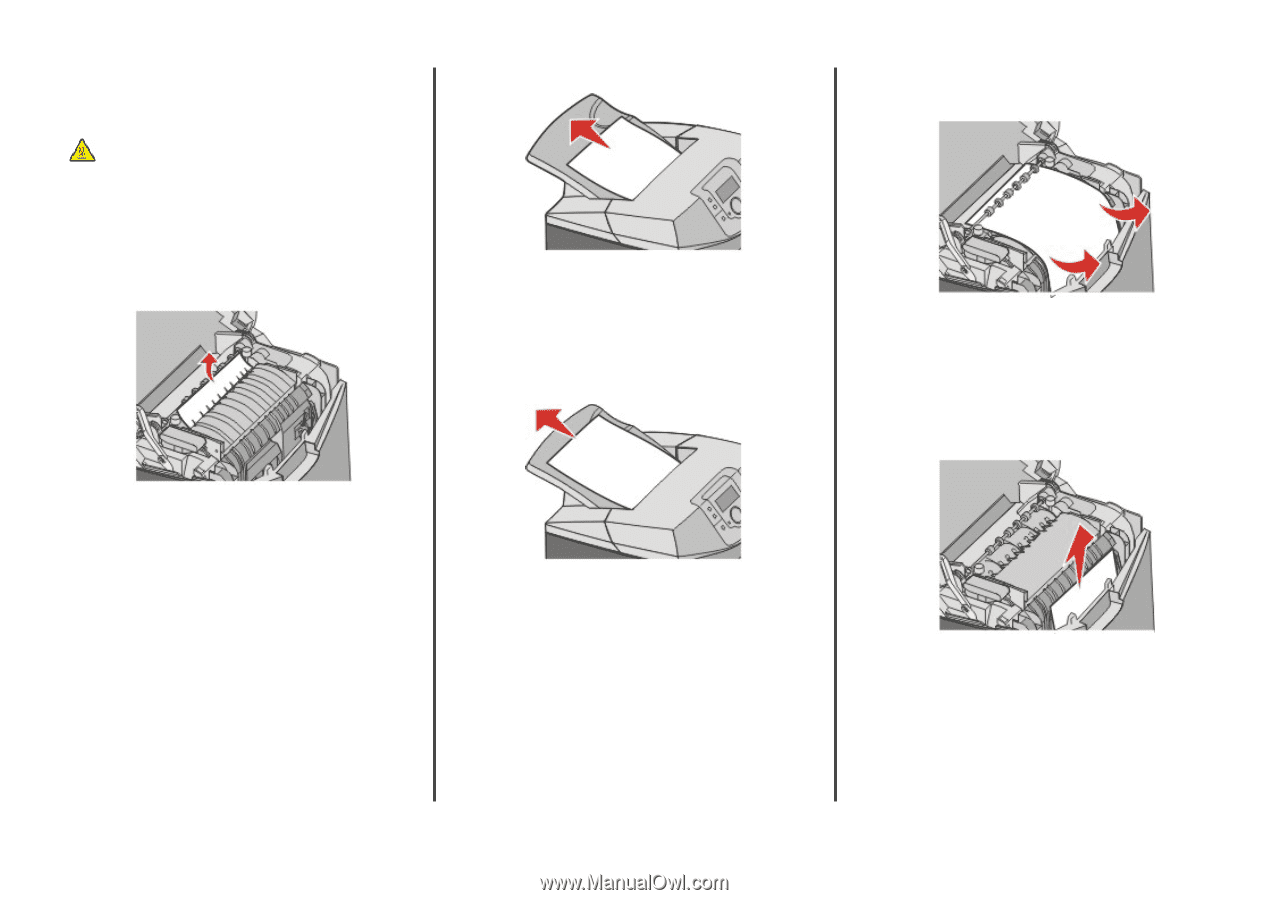
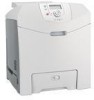
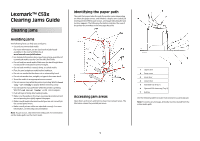
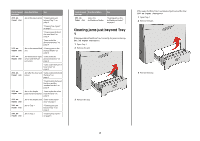
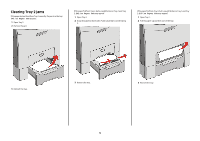
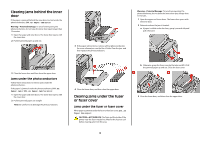
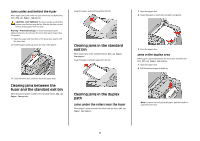
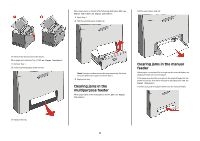
Jams under and behind the fuser When paper jams both under the fuser and in the slot behind the fuser, 202.xx Paper Jam appears. CAUTION-HOT SURFACE: The fuser and the inside of the printer near the fuser may be hot. Wait for the fuser to cool before clearing jams from this area. Warning-Potential Damage: To avoid overexposing the photoconductors, do not leave the inner door open longer than 10 minutes. 1 Open the upper and inner doors. The lower door opens with the inner door. 2 Pull the paper gently up and to the rear of the printer. Grasp the paper, and pull it away from the bin. Clearing jams in the standard exit bin When paper jams in the standard exit bin, 203.xx Paper Jam appears. Grasp the paper and pull it away from the bin. 3 Close the lower door, and then close the upper door. Clearing jams between the fuser and the standard exit bin When the jammed paper is visible in the standard exit bin, 202.xx Paper Jam appears. Clearing jams in the duplex path Jams under the rollers near the fuser When paper is jammed under the rollers near the fuser, 203.xx Paper Jam appears. 1 Open the upper door. 2 Grasp the paper on each side, and pull it out gently. 3 Close the upper door. Jams in the duplex area When paper is jammed between the inner door and the lower door, 230.xx Paper Jam appears. 1 Open the upper door. 2 Pull the jammed paper straight up. Note: For more room to grasp the paper, pull the handle to open the lower door. 5
-
 1
1 -
 2
2 -
 3
3 -
 4
4 -
 5
5 -
 6
6
 |
 |