Lexmark Forms Printer 2400 Service Manual - Page 42
Operator Panel Service, Check on Pull Tractor Sensor, Service Check
 |
View all Lexmark Forms Printer 2400 manuals
Add to My Manuals
Save this manual to your list of manuals |
Page 42 highlights
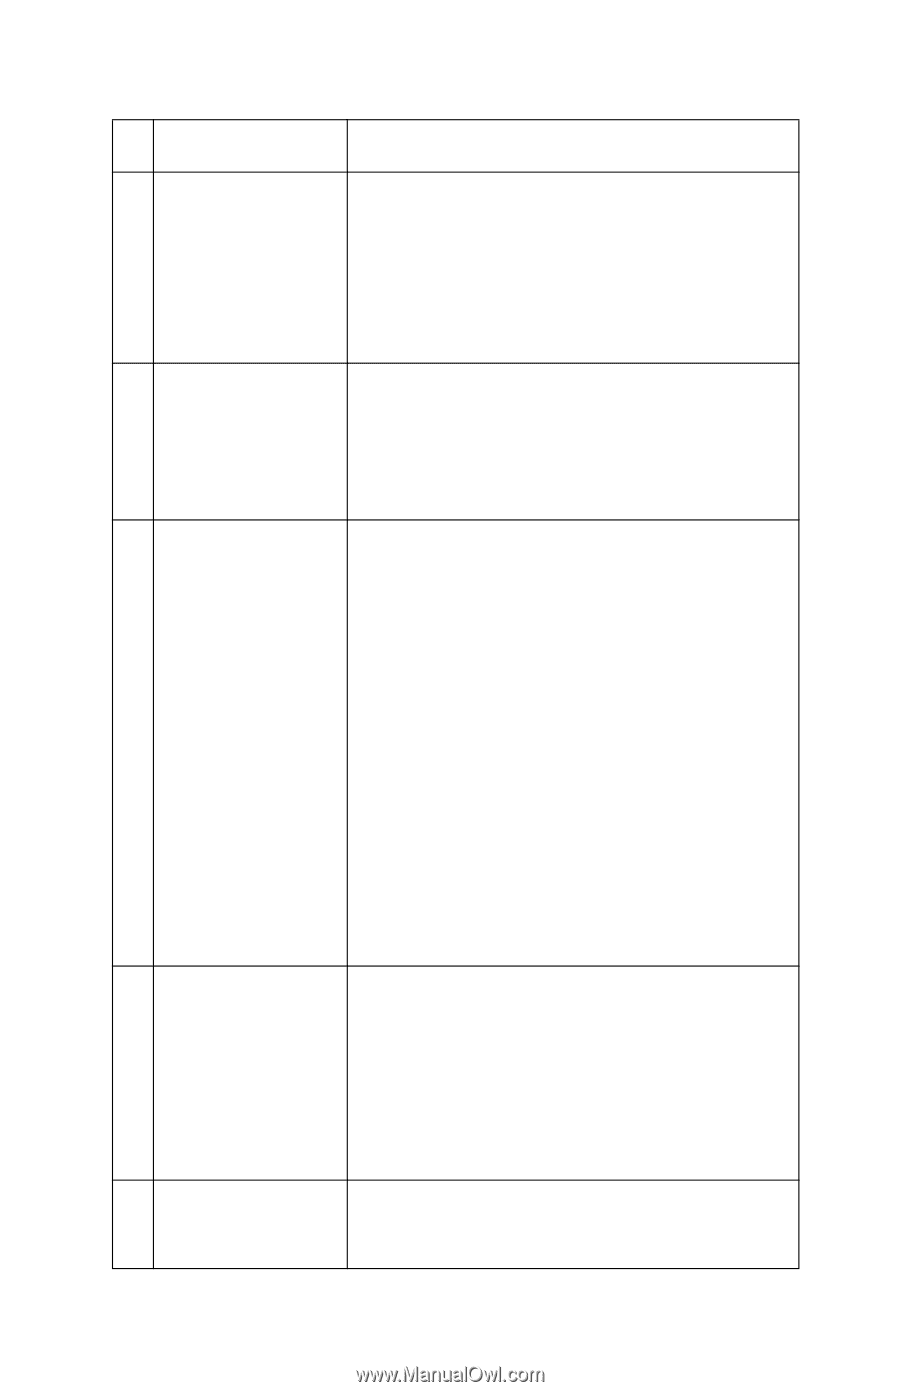
24xx FRU / Symptom Action 4 Operator Panel If paper does not move at all, verify the Load/Unload button is working as follows: With the tractor in the push position, power off, power on and then press Load/Unload. The carrier should move to the center of the platen. If it does not, go to "Operator Panel Service Check" on page 2-21. 5 Paper Feed Motor Disconnect the paper feed motor cable CN1 from the logic board. No pin should have continuity to ground. The resistance should be between 8 to 9 ohms, between CN10 - 1 and CN10 - 5, CN10 - 2 and CN10 - 5, CN10 - 3 and CN10 - 5, CN10 - 4 and CN10 - 5. 6 Paper Select Sensor Remove all paper from the printer and place the tractor in the push position. Press FormFeed and time how long the gear train rotates. • With the paper select lever in the cut sheet position (sensor open) the gear train should rotate for less than 2 seconds. • With the lever in the continuous forms position (sensor closed), the gear train should rotate for more than 3 seconds. If the printer does not do either of the above: • Inspect the sensor to be sure it opens and closes by the paper separator. • Replace the sensor if the resistance does not change from zero to infinite as the paper select lever is moved. 7 Pull Tractor Sensor If the pull tractor sensor fails to close, Load/Unload and Auto Tear Off do not work when using push tractors. If the sensor fails to open, Load/Unload tries to park paper when using pull tractors, but the paper feeds all the way out of the tractors and cannot reload. See "Pull Tractor Sensor Service Check" on page 2-31. 8 Logic Board If no other problem is found, replace the logic board and reset the "Bidirectional Print Adjustment" on page 4-4. 2-24 Service Manual
-
 1
1 -
2
-
3
-
4
-
5
-
6
-
7
-
8
-
9
-
10
-
11
-
12
-
13
-
14
-
15
-
16
-
17
-
18
-
19
-
20
-
21
-
22
-
23
-
24
-
25
-
26
-
27
-
28
-
29
-
30
-
31
-
32
-
33
-
34
-
35
-
36
-
 37
37 -
 38
38 -
 39
39 -
 40
40 -
 41
41 -
 42
42 -
 43
43 -
 44
44 -
 45
45 -
 46
46 -
 47
47 -
48
-
49
-
50
-
51
-
52
-
53
-
54
-
55
-
56
-
57
-
58
-
59
-
60
-
61
-
62
-
63
-
64
-
65
-
66
-
67
-
68
-
69
-
70
-
71
-
72
-
73
-
74
-
75
-
76
-
77
-
78
-
79
-
80
-
81
-
82
-
83
-
84
-
85
-
86
-
87
-
88
-
89
-
90
-
91
-
92
-
93
-
94
-
95
-
96
-
97
-
98
-
99
-
100
-
101
-
102
-
103
-
104
-
105
-
106
-
107
-
108
-
109
-
110
-
111
-
112
-
113
-
114
-
115
-
116
-
117
-
118
-
119
-
120
-
121
-
122
-
123
-
124
-
125
-
126
-
127
-
128
-
129
-
130
-
131
-
132
-
133
-
134
-
135
-
136
-
137
-
138
-
139
-
140
-
141
-
142
-
143
-
144
-
145
-
146
-
147
-
148
-
149
-
150
-
151
-
152
-
153
-
154
-
155
-
156
-
157
-
158
-
159
-
160
-
161
-
162
-
163
-
164
-
165
-
166
-
167
-
168
-
169
-
170
 |
 |