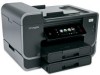
Lexmark Platinum Pro900 SmartSolutions User's Guide - Page 34
Invalid or no confirmation code shown, Solutions troubleshooting, Solutions do not show in the printer
 |
View all Lexmark Platinum Pro900 manuals
Add to My Manuals
Save this manual to your list of manuals |
Page 34 highlights
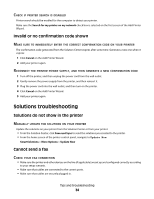
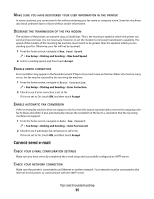
CHECK IF PRINTER SEARCH IS DISABLED Printer search should be enabled for the computer to detect your printer. Make sure the Search for my printer on my network check box is selected on the first screen of the Add Printer Wizard. Invalid or no confirmation code shown MAKE SURE TO IMMEDIATELY ENTER THE CORRECT CONFIRMATION CODE ON YOUR PRINTER The confirmation code generated from the Solution Center expires after some time. Generate a new one when it expires: 1 Click Cancel on the Add Printer Wizard. 2 Add your printer again. RECONNECT THE PRINTER POWER SUPPLY, AND THEN GENERATE A NEW CONFIRMATION CODE 1 Turn off the printer, and then unplug the power cord from the wall outlet. 2 Gently remove the power supply from the printer, and then reinsert it. 3 Plug the power cord into the wall outlet, and then turn on the printer. 4 Click Cancel on the Add Printer Wizard. 5 Add your printer again. Solutions troubleshooting Solutions do not show in the printer MANUALLY UPDATE THE SOLUTIONS ON YOUR PRINTER Update the solutions on your printer from the Solution Center or from your printer: • From the Solution Center, click Save and Sync to send the solutions you created to the printer. • From the home screen of the printer control panel, navigate to Update Now: SmartSolutions > More Options > Update Now Cannot send a fax CHECK YOUR FAX CONNECTION • Make sure the printer and other devices on the line (if applicable) are set up and configured correctly according to your setup scenario. • Make sure that cables are connected to the correct ports. • Make sure that cables are securely plugged in. Tips and troubleshooting 34
-
 1
1 -
2
-
3
-
4
-
5
-
6
-
7
-
8
-
9
-
10
-
11
-
12
-
13
-
14
-
15
-
16
-
17
-
18
-
19
-
20
-
21
-
22
-
23
-
24
-
25
-
26
-
27
-
28
-
 29
29 -
 30
30 -
 31
31 -
 32
32 -
 33
33 -
 34
34 -
 35
35 -
 36
36 -
 37
37 -
 38
38 -
 39
39 -
40
-
41
-
42
-
43
-
44
-
45
-
46
-
47
-
48
-
49
-
50
-
51
 |
 |