Magnavox 32MF339B User Manual - Page 14
These operations are accessible by remote control. Some may also be accessible by controls on - 32
 |
UPC - 609585163980
View all Magnavox 32MF339B manuals
Add to My Manuals
Save this manual to your list of manuals |
Page 14 highlights
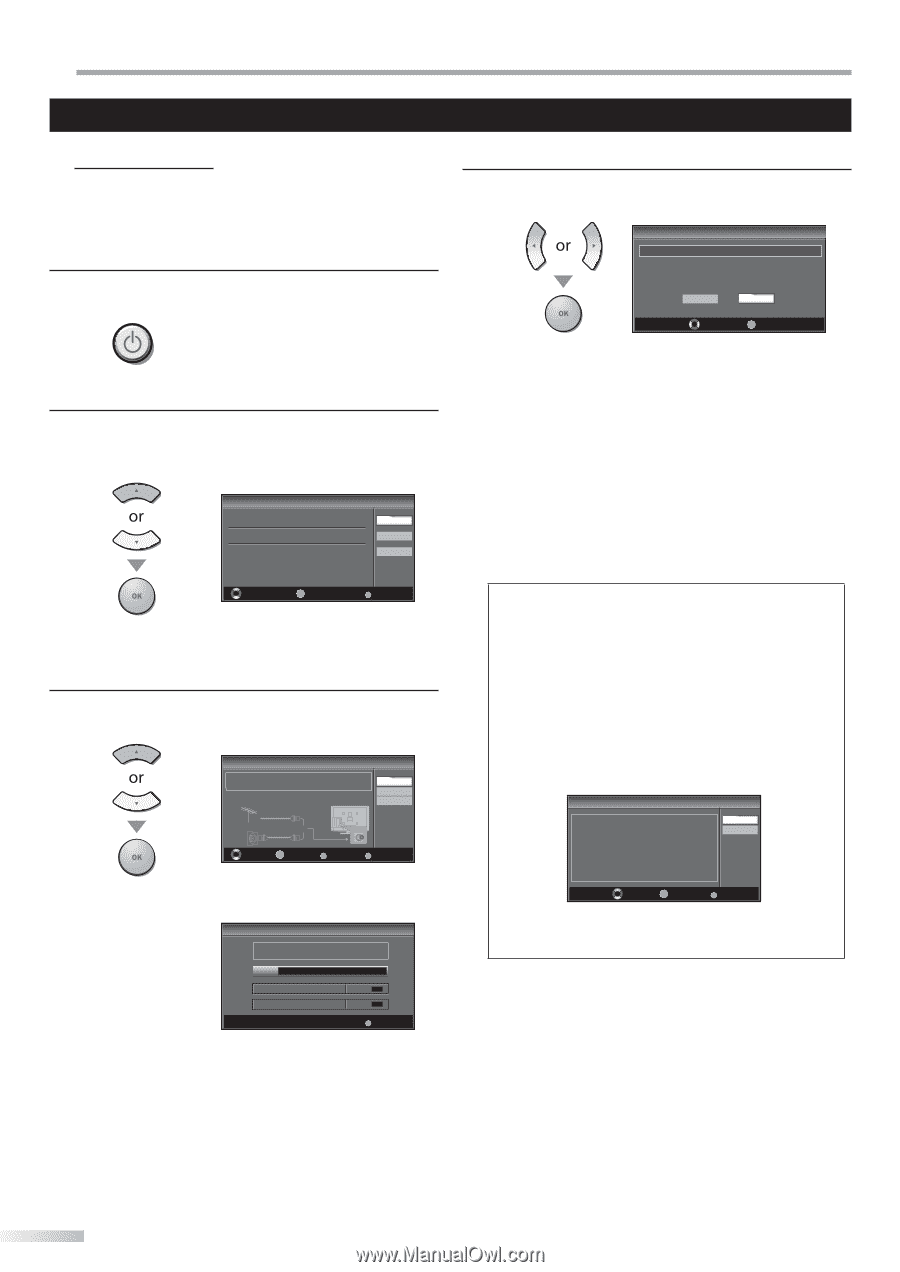
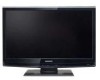
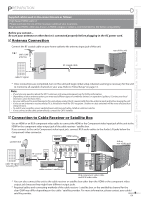
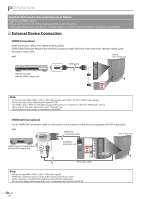
PREPARATION These operations are accessible by remote control. Some may also be accessible by controls on the main unit. Initial Setup This section will guide you through the unit's initial setting which includes selecting a language for your on-screen menu and autoprogram, which automatically scans and memorizes viewable channels. Before you begin: Make sure the unit is connected to antenna or cable. 1 After making all the necessary connections, press [y (power)] to turn on the unit. • This operation may take a few moments. 2 Use [Cursor K/L] to select the on-screen language from the choices on the right side of the TV screen. (English / Español / Français) Initial Setup Select the language for setup display. Elija el idioma de ajuste. Sélectionner langue écran config. English Español Français Select OK OK MENU Skip • "Initial Setup" menu on step 3 will be displayed in the selected language after you press [OK]. 3 Use [Cursor K/L] to select "Antenna" for TV channels or "Cable" for CATV channels, then press [OK]. Initial Setup Make sure the antenna is connected to ''ANT. IN'' jack. Select your signal source. Antenna Cable Skip Antenna Cable Or ANT.IN Select OK OK BACK Back MENU Skip • "Autoprogram" will begin. Initial Setup Now the system is scanning for channels, please wait. Auto programming will take up to 20 minutes to complete. 0% Analog channels Digital channels 0ch 0ch MENU Skip 4 Use [Cursor s/ B] to select the desired location setting, then press [OK]. Initial Setup Select "Retail" or "Home" for your location. Retail Home Select OK OK • Select "Retail", the unit will be set up with predefined setting for retail displays. In this setting, the power consumption may possibly exceed the limited requirement of the ENERGY STAR® qualification. • Select "Home", the unit is set to maximize the energy efficiency for home setting and it can be adjusted through a choice of picture and sound quality according to your preference. • When the initial setup is completed, the lowest memorized channel with the confirmation message of the location setting will be displayed on the TV screen. Note: • If you connect the cable system directly, contact the CATV installer. • If you press [y(power)] or [MENU] during autoprogram, this setting will be canceled. • The initial autoprogram function can be executed for either "Antenna" or "Cable" only once. When you change the connection (Antenna / Cable), set autoprogram again. Refer to page 19. • If there is no signal input from the antenna terminal and no operation for several seconds after you turn on the unit, "Helpful Hints" appears. Follow the instructions listed on the TV screen. Initial Setup No channel is registered. Try Autoprogram again? Verify that you have a cable connected to the "ANT. IN" jack on the back of the TV, the channel installation process searches this connection. If you are using a cable or satellite box, please confirm the input which you have connected the box and press "SOURCE" key on the remote control to select the appropriate source input. Retry Later Select OK OK MENU Skip • You must set "Home" in step 4. Otherwise, the settings of picture and sound quality you adjusted will not be memorized after you turn off the unit. After an initial setup is completed... • If you want to scan the channels automatically again, refer to "Autoprogram" on page 19. • You can add the desired channels unmemorized by "Autoprogram". Refer to "Add Channels" on page 20. • If you want to change to another language, refer to "Language Selection" on page 21. • If you want to change the location setting, refer to "Location" on page 32. 14 EN
-
 1
1 -
2
-
3
-
4
-
5
-
6
-
7
-
8
-
 9
9 -
 10
10 -
 11
11 -
 12
12 -
 13
13 -
 14
14 -
 15
15 -
 16
16 -
 17
17 -
 18
18 -
 19
19 -
20
-
21
-
22
-
23
-
24
-
25
-
26
-
27
-
28
-
29
-
30
-
31
-
32
-
33
-
34
-
35
-
36
-
37
-
38
-
39
 |
 |