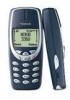
Nokia 3360 User Guide
Nokia 3360 - Cell Phone - AMPS Manual
 |
UPC - 844602105455
View all Nokia 3360 manuals
Add to My Manuals
Save this manual to your list of manuals |
Nokia 3360 manual content summary:
- Nokia 3360 | User Guide - Page 1
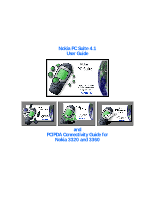
Nokia PC Suite 4.1 User Guide and PC/PDA Connectivity Guide for Nokia 3320 and 3360 - Nokia 3360 | User Guide - Page 2
PRIOR NOTICE. All rights reserved. Important safety notes All the safety instructions in your phone's user guide and computer also apply when this product is used with the phone. Remember to make backup copies of all important data to protect against possible loss or alteration. Do not point the - Nokia 3360 | User Guide - Page 3
Suite installation instructions 5 Uninstall PC Suite 6 3 Nokia Content Copier 7 Compatible phones 7 Content Copier basics 7 Copying information from the source phone 8 Nokia Connection Manager 8 Copying information to the target phone 9 Nokia Content Copier log 9 Other phones 9 4 Nokia PC - Nokia 3360 | User Guide - Page 4
users 16 Other PIM applications 17 Number format and your PIM application 18 6 3320/3360 modem setup 19 Download modem driver ( new connection 22 Connect to the network 22 Notes about data calls 23 Other data applications 23 REMINDERS 23 For America Online (AOL) users 23 Modify "Locations - Nokia 3360 | User Guide - Page 5
software must be running and must be configured to recognize your Nokia phone as the active modem (instructions to follow later in this document). Note: This feature is available only if your service provider's network supports digital data calls. You may also be required to subscribe to digital - Nokia 3360 | User Guide - Page 6
guide for detailed safety instructions. Do not connect incompatible products. 3 To avoid any potential loss of data, you should not make or receive calls while synchronizing data between the phone devices have to be pointing at each other. Your Nokia phone is a Class 1 Laser Product. Enable infrared - Nokia 3360 | User Guide - Page 7
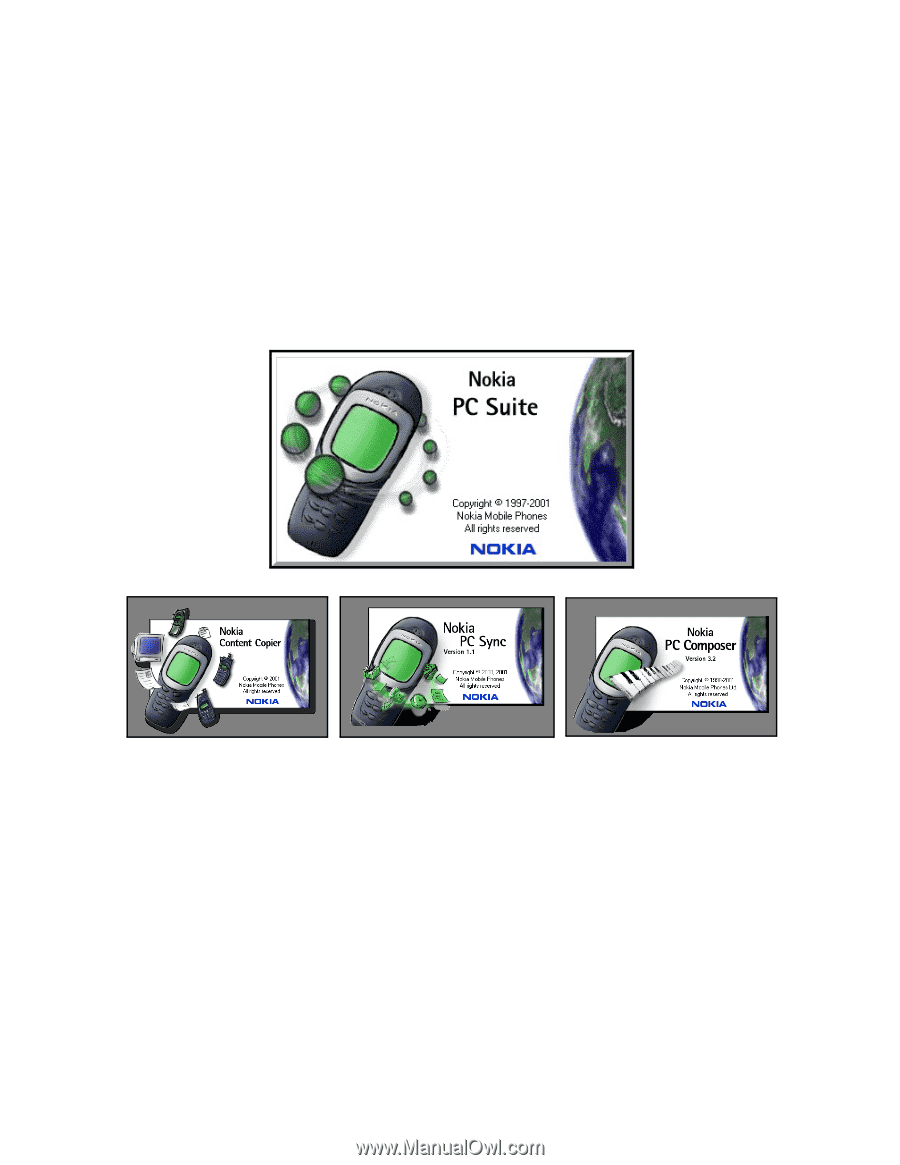
can use to manage your phone's features and data. PC Suite consists of the following components: 2 • Nokia Content Copier allows you to copy data between two Nokia phones, to back up your phone's data to your PC, and erase data from your phone. • Nokia Connection Manager allows you to monitor - Nokia 3360 | User Guide - Page 8
use it with Nokia PC Sync, it is recommended that you select the same language used by your PIM. 7 Follow the instructions provided on the to remove PC Suite (including all components), please use Add/Remove Programs (located in Control Panel). Remember to close any PC Suite applications that are - Nokia 3360 | User Guide - Page 9
data back 3 to your phone. • Erase data from your phone. • COMPATIBLE PHONES One of the most powerful features of this application is its support of other compatible phones. This capability is especially useful if you are upgrading to a new handset and want to transfer data from your old phone - Nokia 3360 | User Guide - Page 10
you are copying your phone's data and want to save it on your PC, Nokia Content Copier guides you through the process of saving the information to a comma-separated value text file (.csv) on your PC's hard drive. SAVE THE SOURCE PHONE DATA Once the source phone's data has been read, Content Copier - Nokia 3360 | User Guide - Page 11
the following options: • Click Save to save the log (.LOG) file to your PC's hard drive. • Click New Action to return to the beginning of the Nokia Content Copier wizard. • Click Finish to exit Nokia Content Copier. • OTHER PHONES Due to software and hardware differences between generations of - Nokia 3360 | User Guide - Page 12
www.Nokiausa.com for more information about the availability of this feature. Nokia PC Composer allows you to create new ringing tones for your 3320 or 3360 phone. Once you create a new ringing tone, you can transfer it to your phone via infrared. PC Composer also allows you to open Standard MIDI - Nokia 3360 | User Guide - Page 13
staff to the correct location. CHANGE THE DURATION OF format (.ott) before sending your new ringing tone to the phone. Use the Save as type drop down box to select the desired file type. Note: You can create and save as many new ringing tones as you have space on your hard drive. However, your phone - Nokia 3360 | User Guide - Page 14
Nokia PC Composer • TRANSFER RINGING TONE TO YOUR PHONE Once you have created a new ringing tone and have saved it to your PC, you can transfer the tone to your phone using infrared. When your phone receives the new ringing tone, it will display the message New ringing tone received. Press the - Nokia 3360 | User Guide - Page 15
locate the desired track. Track list box Nokia PC Composer 4 4 Click the Convert to Tone button to convert MIDI information to ringing tone format in ringing tone (.ota) format, and send the new tone to your phone. For more information on saving, please refer to "Save your new ringing tone" on page - Nokia 3360 | User Guide - Page 16
and your Nokia mobile phone. You can use Nokia PC Sync to keep information up-to-date in both locations. PC Sync supports a variety about the capacity of your phone's phone book and reminder list, please refer to the technical specifications section of your phone's user guide. 1 Click the Calendar/ - Nokia 3360 | User Guide - Page 17
and text information you want to appear in your phone book. Then, use the PIM properties tab to select the location of the new folder Troubleshooting document in the event synchronization is not successful, or if PC Suite notifies you of errors. A link to this document can be found in the Nokia - Nokia 3360 | User Guide - Page 18
at some point you change PIM applications or upgrade to a newer version of your current PIM, you must configure PC Sync to work with the new application. Select New Synchronization from the Nokia PC Suite program group, then follow the instructions on page 14. • CREATING A CUSTOM CONTACT LIST Users - Nokia 3360 | User Guide - Page 19
new folder. UPDATE PC SYNC'S OUTLOOK SETTINGS To update PC Sync's settings to synchronize with your custom list: 1 Establish an infrared connection between your phone and PC. 2 Launch Nokia C). 6 Use the Windows Task Bar to switch back to your new contacts list, then click the Contacts tab. 7 - Nokia 3360 | User Guide - Page 20
and custom phone list. • NUMBER FORMAT AND YOUR PIM APPLICATION Your PIM application may automatically reformat phone numbers for dialing with GSM wireless phones (e.g. adding +1 to longdistance phone numbers). For example, a phone number outside of your home area code may be displayed in your - Nokia 3360 | User Guide - Page 21
properly, your phone works in conjunction with your existing data software, allowing you to connect to the Internet or check e-mail wherever you are. Note: This feature is available only if your service provider's network supports digital data services. A subscription to these services may also be - Nokia 3360 | User Guide - Page 22
that your Nokia phone connected via infrared appears in the list of modems. Complete the process by configuring your data software to work with the new infrared modem configuration. For more information, refer to "Configure your data software" on page 22. • INSTALL INFRARED SUPPORT FOR WINDOWS - Nokia 3360 | User Guide - Page 23
Use this new device with your data application (example: Dial-up Networking). • GETTING CONNECTED FOR THE FIRST TIME: IR (WINDOWS XP HOME AND PROFESSIONAL) 6 Wireless modem support using IR with Windows XP is similar to that of Windows 2000 with the security update applied. To install your phone as - Nokia 3360 | User Guide - Page 24
you establish an infrared connection between your phone and PC before making a digital data call. 1 Double-click the new connection (example: Internet-Nokia phone). 2 Enter your user name and password, then click Connect. 3 Your phone will display Connecting... while establishing a connection. Once - Nokia 3360 | User Guide - Page 25
's User Guide or Help menu for more information. • Review the information, "Requirements for digital data calls" on page 3. • FOR AMERICA ONLINE (AOL) USERS Your America Online software can be configured to use your Nokia phone as a wireless modem. MODEM SETUP To add your Nokia phone as a new modem - Nokia 3360 | User Guide - Page 26
Locations settings to use your Nokia phone as the active modem. LOCATIONS SETUP To modify an existing location: 1 From the Connection Setup screen, click the Locations tab. 2 Double-click the number for the location you wish to use with your Nokia phone . Configure your data software 7 [ 24 ] - Nokia 3360 | User Guide - Page 27
. Click OK when finished, then click OK to close the Edit window. 6 Your new Nokia phone configuration should now appear in the list of Connection options, and is available to all applications that support a modem connection. • TCP/IP DIAL-UP AND OTHER CONNECTIONS Once you have a configuration - Nokia 3360 | User Guide - Page 28
CONNECTION To create a new modem connection to your Internet service provider or corporate network: 1 Tap the Start icon , then tap Settings. 9 2 Tap the Connections tab, then tap Modem. 3 Tap New Connection, then enter a name for the connection (example: Internet-Nokia phone). 4 Click the - Nokia 3360 | User Guide - Page 29
your handheld device's documentation. 9 Use your new modem connection To connect to your Internet service provider or corporate network: 1 Tap the Start icon , then tap Programs. 2 Tap Connections, then tap your new modem connection (example: Internet-Nokia phone). 3 Enter your user name, password - Nokia 3360 | User Guide - Page 30
or e-mail software, please consult your device's documentation. Before you make a digital data call Before initiating the data call from your Pocket PC device, make sure you enable infrared communications on your phone, then align the infrared ports of the two devices. Please also see "Requirements - Nokia 3360 | User Guide - Page 31
7 basics 7 compatible phones 7 log 9 saving data 8 source phone 8 target phone 8 unsupported phones 9 Copy data from source phone 8 to target phone 9 Copy data to target phone 9 Create a new connection 22 Custom contact list 16 D Data applicatons 23 Data call configure data software 20 establish IR - Nokia 3360 | User Guide - Page 32
PIM applications 16 exit application 15 New Synchronization 16 options 16 starting application 15 supported PIMs 14 synchronize for the first time 4 Save new ringing tone 11 Saving phone data 8 Send ringing tone options 12 Sending ringing tone to phone 12 Sound card setup 10 Source phone 8 Standard
-
 1
1 -
 2
2 -
 3
3 -
 4
4 -
 5
5 -
 6
6 -
 7
7 -
8
-
9
-
10
-
11
-
12
-
13
-
14
-
15
-
16
-
17
-
18
-
19
-
20
-
21
-
22
-
23
-
24
-
25
-
26
-
27
-
28
-
29
-
30
-
31
-
32
 |
 |
Nokia PC Suite 4.1
User Guide
and
PC/PDA Connectivity Guide for
Nokia 3320 and 3360