Oki B6250n B6250 Setup Guide (E, Fr, Sp, BPort) - Page 8
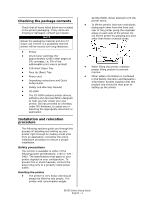
The Control Panel and Menu system
 |
View all Oki B6250n manuals
Add to My Manuals
Save this manual to your list of manuals |
Page 8 highlights
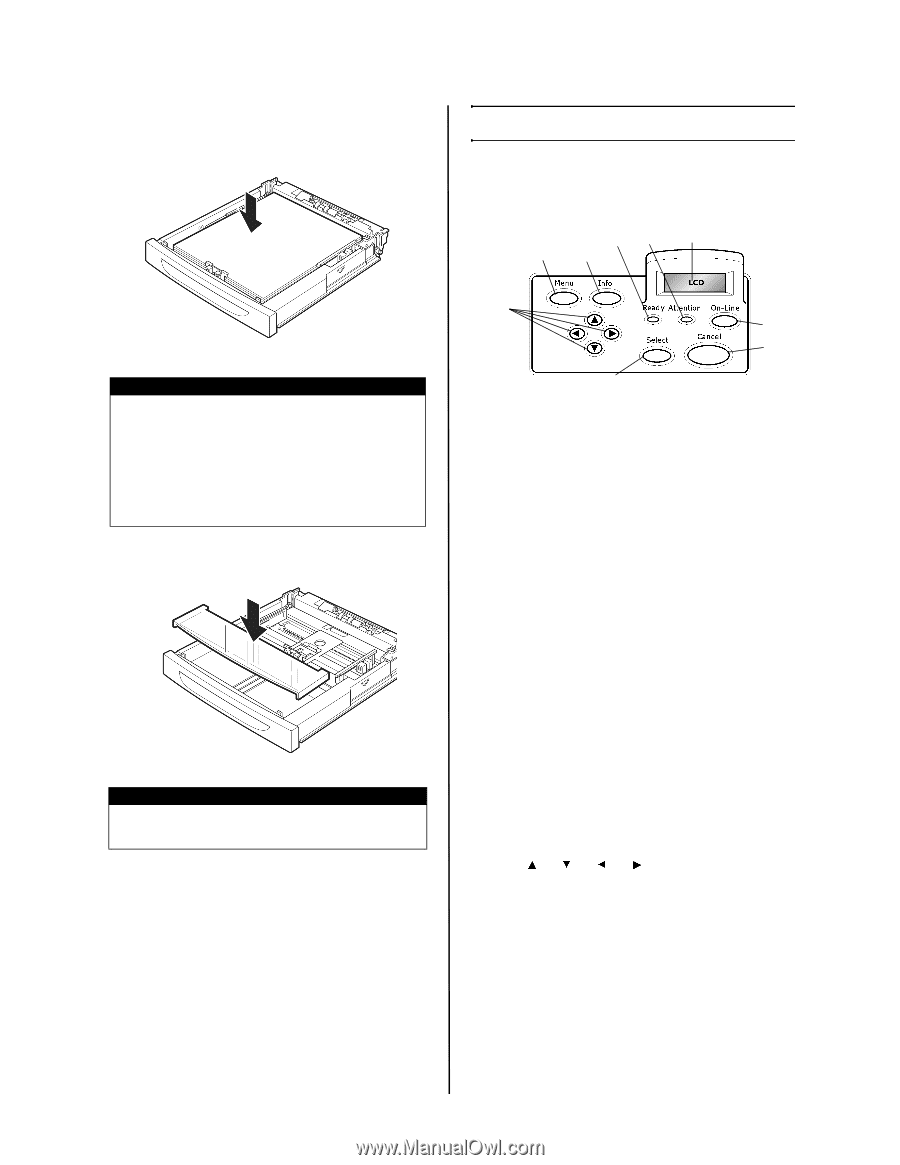
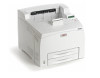
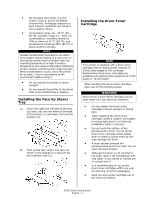
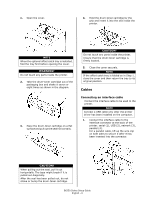
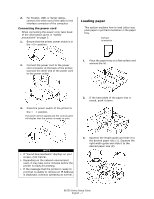
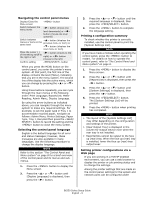
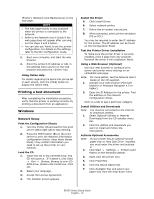
4. Load the paper with the side to be printed facing up and with all four corners aligned. The Control Panel and Menu system For full details on the control panel and menu structure, refer to the User's Guide. The control panel components and their functions are described below: 35 4 1 2 CAUTION! Do not place paper over the right width guide. Do not load paper exceeding the maximum fill line or the maximum capacity allowed. Align the right width guide with the paper width correctly. If the right width guide is not in place, the paper will not be properly fed and this may cause paper jams. 5. Close the lid of the paper tray and push the tray completely into the printer. CAUTION! The lid of the tray must be firmly closed. If not, the paper may become misaligned. 6. Depending on the types and sizes of the loaded paper, you need to configure settings on the control panel. Change the paper type when non-plain paper such as recycled paper, heavyweight paper or transparencies is loaded. Configure the paper size when custom size paper is loaded. 9 6 7 8 1 button Press to move to menu operation. 2 button Press to print the menu map. The menu map (2pages) will print with all the current printer settings. 3 indicator When the light is on, the printer is ready to receive data from the computer. 4 LCD display Displays the setting items, machine status, and messages. 5 indicator When the light is on, there is a malfunction in the printer. 6 button Press to enter the off-line status. When in the off-line status, the machine cannot receive data or process printing. Press again to exit the offline status and enter the on-line status (where the machine can receive data from the computer). 7 button Press to cancel printing. Press to exit Menu Mode. 8 button Press to select the currently displayed menu on setting. 9 buttons Press these to move to the required menu, item and candidate value on the display. B6250 Series Setup Guide English - 8
-
 1
1 -
2
-
 3
3 -
 4
4 -
 5
5 -
 6
6 -
 7
7 -
 8
8 -
 9
9 -
 10
10 -
 11
11 -
 12
12 -
 13
13 -
14
-
15
-
16
-
17
-
18
-
19
-
20
-
21
-
22
-
23
-
24
-
25
-
26
-
27
-
28
-
29
-
30
-
31
-
32
-
33
-
34
-
35
-
36
-
37
-
38
-
39
-
40
-
41
-
42
-
43
-
44
 |
 |