Oki ML591 PrintView for Oki Installation and Quick Setup - Page 3
Uninstalling PrintView, Quick Set-up - parts
 |
View all Oki ML591 manuals
Add to My Manuals
Save this manual to your list of manuals |
Page 3 highlights
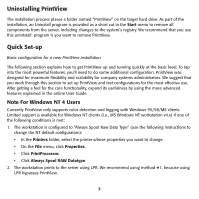
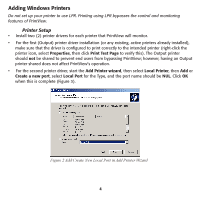
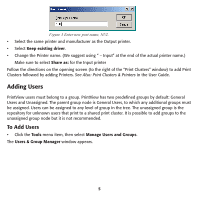
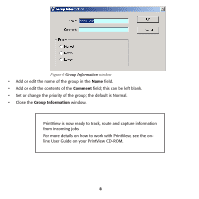
Uninstalling PrintView The installation process places a folder named "PrintView" on the target hard drive. As part of the installation, an Uninstall program is provided as a short cut in the Start menu to remove all components from the server, including changes to the system's registry. We recommend that you use this unintstall program is you want to remove PrintView. Quick Set-up Basic configuration for a new PrintView installation The following section explains how to get PrintView up and running quickly at the basic level. To tap into the most powerful features, you'll need to do some additional configuration. PrintView was designed for maximum flexibility and scalability for company systems administrators. We suggest that you work through this section to set up PrintView and test configurations for the most effective use. After getting a feel for the core functionality, expand its usefulness by using the more advanced features explained in the online User Guide. Note For Windows NT 4 Users Currently PrintView only supports color detection and logging with Windows 95/98/ME clients. Limited support is available for Windows NT clients (i.e., MS Windows NT workstation v4.x) if one of the following conditions is met: 1. The workstation is configured to "Always Spool Raw Data Type" (use the following instructions to change the NT default configuration): • In the Printers folder, select the printer whose properties you want to change. • On the File menu, click Properties. • Click PrintProcessor. • Click Always Spool RAW Datatype. 2. The workstation prints to the server using LPR. We recommend usnig method #1, because using LPR bypasses PrintView. 3
-
 1
1 -
 2
2 -
 3
3 -
 4
4 -
 5
5 -
 6
6 -
 7
7 -
 8
8
 |
 |