Onkyo TX-SR876 Owner Manual - Page 72
Using the Sleep Timer, Using Headphones, Adjusting the Bass & Treble, Displaying Source Information
 |
UPC - 751398008337
View all Onkyo TX-SR876 manuals
Add to My Manuals
Save this manual to your list of manuals |
Page 72 highlights
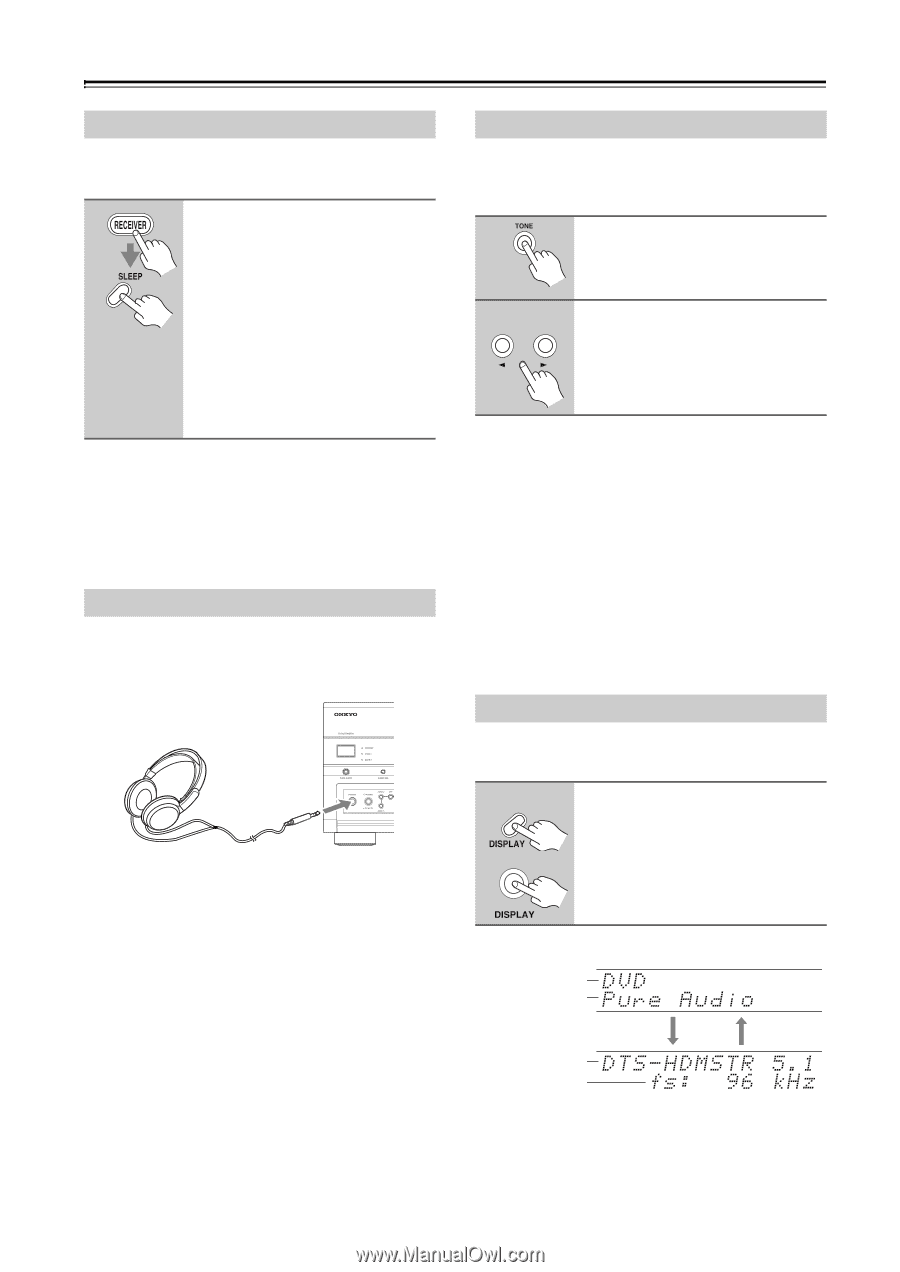
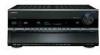
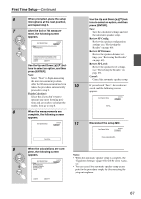
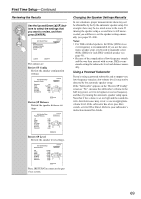
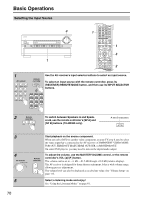
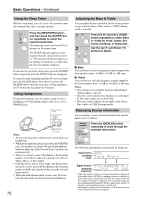
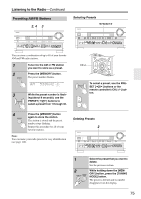
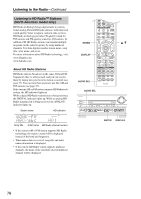
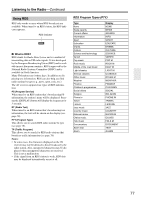
Basic Operations-Continued Using the Sleep Timer With the sleep timer, you can set the AV receiver to turn off automatically after a specified period. Press the [RECEIVER] button, and then press the [SLEEP] button repeatedly to select the required sleep time. The sleep time can be set from 90 to 10 minutes in 10 minute steps. The SLEEP indicator appears on the display when the sleep timer has been set. The specified sleep time appears on the display for about five seconds, then the previous display reappears. If you need to cancel the sleep timer, press the [SLEEP] button repeatedly until the SLEEP indicator disappears. To check the time remaining until the AV receiver sleeps, press the [SLEEP] button. Note that if you press the [SLEEP] button while the sleep time is being displayed, you'll shorten the sleep time by 10 minutes. Using Headphones For private listening, you can connect a pair of stereo headphones (1/4-inch phone plug) to the AV receiver's PHONES jack. Notes: • Always turn down the volume before connecting your headphones. • While the headphones plug is inserted in the PHONES jack, the speakers are turned off and the Headphone indicator lights up. (The Powered Zone 2 speakers are not turned off.) • When you connect a pair of headphones, the listening mode is set to Stereo, unless it's already set to Stereo, Mono, Direct, or Pure Audio. • Only the Stereo, Direct, Pure Audio, and Mono listening modes can be used with headphones (the listening modes available also depend on the currently selected input source). • When the multichannel input is used, only the front left and right audio can be heard in the headphones. 72 Adjusting the Bass & Treble You can adjust the bass and treble for the front speakers, except when the Direct, Pure Audio or THX listening mode is selected. 1 Press the AV receiver's [TONE] button repeatedly to select Bass or Treble for Front, Center, Sur- round, SurrBack, or Subwoofer. 2 Use the Up [S] and Down [F] buttons to adjust. ■ Bass You can boost or cut low-frequency sounds output by the front speakers from -10 dB to +10 dB in 1 dB steps. ■ Treble You can boost or cut high-frequency sounds output by the front speakers from -10 dB to +10 dB in 1 dB steps. Notes: • This setting is not available when the multichannel Analog input is selected. • The tone can be adjusted for Speakers A or Speakers B. The same values are used for both. • The tone control settings do not apply to the Direct, Pure Audio, or THX listening modes. Displaying Source Information You can display various information about the current input source as follows. Remote controller AV receiver Press the [DISPLAY] button repeatedly to cycle through the available information. The following information can typically be displayed: Input source Listening mode Signal format* Sampling frequency * If the input signal is analog, no format information is displayed. If the input signal is PCM, the sampling frequency is displayed. If the input signal is digital but not PCM, the signal format and the number of channels is displayed. For some digital input signals, including multichannel PCM, the signal format, number of channels, and sampling frequency is displayed. Information is displayed for about three seconds, then the previously displayed information reappears.
-
 1
1 -
2
-
3
-
4
-
5
-
6
-
7
-
8
-
9
-
10
-
11
-
12
-
13
-
14
-
15
-
16
-
17
-
18
-
19
-
20
-
21
-
22
-
23
-
24
-
25
-
26
-
27
-
28
-
29
-
30
-
31
-
32
-
33
-
34
-
35
-
36
-
37
-
38
-
39
-
40
-
41
-
42
-
43
-
44
-
45
-
46
-
47
-
48
-
49
-
50
-
51
-
52
-
53
-
54
-
55
-
56
-
57
-
58
-
59
-
60
-
61
-
62
-
63
-
64
-
65
-
66
-
 67
67 -
 68
68 -
 69
69 -
 70
70 -
 71
71 -
 72
72 -
 73
73 -
 74
74 -
 75
75 -
 76
76 -
 77
77 -
78
-
79
-
80
-
81
-
82
-
83
-
84
-
85
-
86
-
87
-
88
-
89
-
90
-
91
-
92
-
93
-
94
-
95
-
96
-
97
-
98
-
99
-
100
-
101
-
102
-
103
-
104
-
105
-
106
-
107
-
108
-
109
-
110
-
111
-
112
-
113
-
114
-
115
-
116
-
117
-
118
-
119
-
120
-
121
-
122
-
123
-
124
-
125
-
126
-
127
-
128
-
129
-
130
-
131
-
132
-
133
-
134
-
135
-
136
-
137
-
138
-
139
-
140
-
141
-
142
-
143
-
144
-
145
-
146
-
147
-
148
-
149
-
150
 |
 |