Pfaff expression 150 Owner's Manual - Page 28
Beading foot, 4 mm, Piping foot
 |
View all Pfaff expression 150 manuals
Add to My Manuals
Save this manual to your list of manuals |
Page 28 highlights
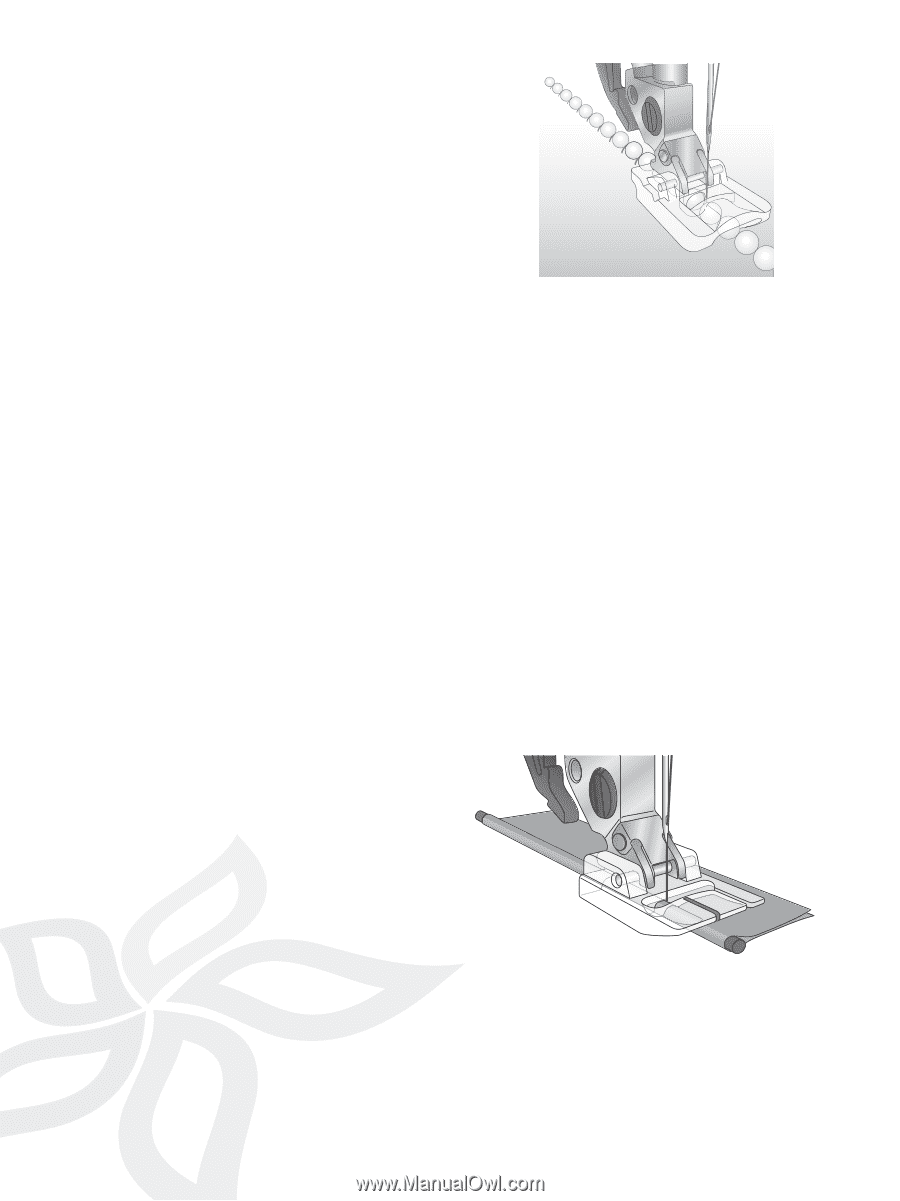
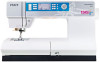
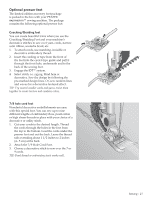
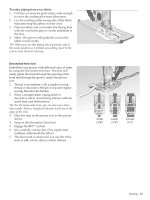
Beading foot, 4 mm For that extra touch, highlight any sewing project with strings of pearls or beads. The beads will run smoothly through the groove under the foot while you sew for beautiful results. 1. Snap on the Beading Foot. 2. Thread your machine with invisible thread in the needle and regular sewing thread that matches the fabric in the bobbin. 3. Select either the zigzag stitch or the blindhem stitch with the following settings: Zigzag stitch: length 3.5, width 4.0 Blindhem stitch: length 1.0, width 4.5 4. Lower the needle thread tension to achieve a beautiful stitch. 5. Place stabilizer under the fabric and position both under the foot. 6. Place the bead string under the foot in the groove on the underside of the beading foot. Lower the presser foot. 7. Turn the hand wheel to create manual stitches to set the beads in place. 8. Stitch slowly. Note: Stitch the bead string to a scrap piece of fabric Àrst to test thread tension, stitch length and stitch width according to the beads and the fabric. Make adjustments as needed. Piping foot Insert packaged piping into seams and edges for a tailored Ànish. Cover cord with fabric for specialty piping. To stitch piping into a seam: 1. Snap on the Piping Foot 2. Place piping along the seam line on right side of fabric. Place second piece of fabric on top with right sides together. 3. Put fabric and piping layers under Piping Foot with the piping in the groove on the underside of the foot. Sew with a straight stitch, length 2.5. The groove on the underside of the foot will guide the piping as you sew. 28 - Sewing
-
 1
1 -
2
-
3
-
4
-
5
-
6
-
7
-
8
-
9
-
10
-
11
-
12
-
13
-
14
-
15
-
16
-
17
-
18
-
19
-
20
-
21
-
22
-
 23
23 -
 24
24 -
 25
25 -
 26
26 -
 27
27 -
 28
28 -
 29
29 -
 30
30 -
 31
31 -
 32
32 -
 33
33 -
34
-
35
-
36
 |
 |