Philips CD3653Q User manual
Philips CD3653Q Manual
 |
UPC - 609585176768
View all Philips CD3653Q manuals
Add to My Manuals
Save this manual to your list of manuals |
Philips CD3653Q manual content summary:
- Philips CD3653Q | User manual - Page 1
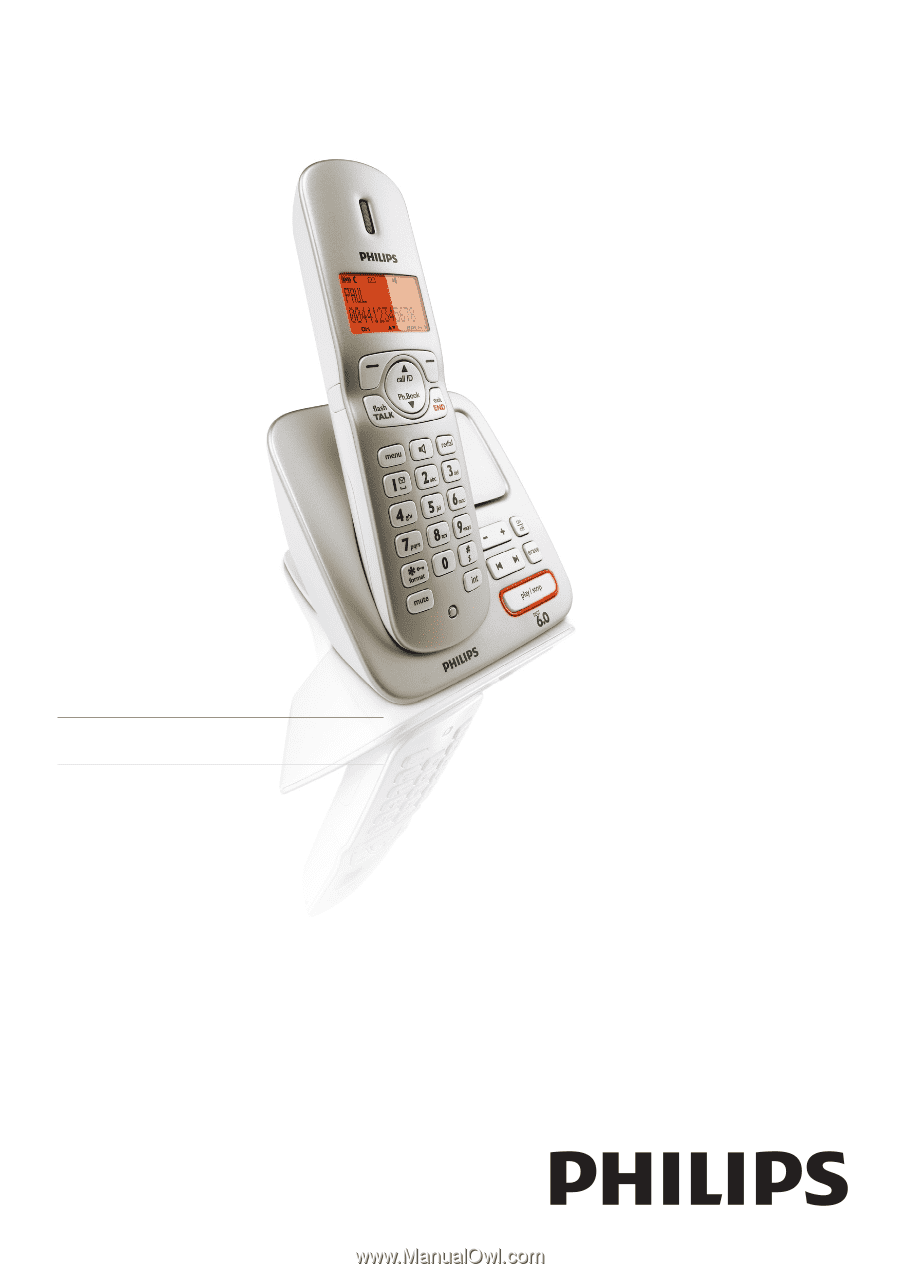
Register your product and get support at www.philips.com/welcome CD360 CD365 EN User manual - Philips CD3653Q | User manual - Page 2
- Philips CD3653Q | User manual - Page 3
safety instructions 5 Equipment approval Information 5 Notification to the local phone company 6 Rights of the phone handset 15 Check the battery level 16 Set the date and time 16 Set the date and time format 16 What is standby mode? 17 Check the signal strength 17 Switch the - Philips CD3653Q | User manual - Page 4
35 Turn off the answering machine 35 Set the answering machine language 35 Set the answer mode 36 Outgoing messages (OGM) 36 Incoming messages (ICM) 37 15 Default settings 40 16 Technical data 41 17 Frequently asked questions 42 4 EN - Philips CD3653Q | User manual - Page 5
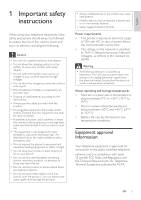
•• Risk of explosion if battery is replaced by an incorrect type. •• Dispose of used batteries according to the instructions. •• Always use the expose the phone to excessive heat caused by heating equipment or direct sunlight. •• Do not drop your phone or allow objects to fall on your phone. •• - Philips CD3653Q | User manual - Page 6
that is also compliant. See installation instructions for details. Note •• This equipment may not be used on coin service provided by the telephone company. •• company or a qualified installer. Rights of the phone company Should your equipment cause trouble on your line which may harm the telephone - Philips CD3653Q | User manual - Page 7
accordance with the instruction manual, may cause equipment off and on, the user is encouraged to try to correct Resolve Radio/TV Interference Problems". This booklet is operated with a minimum distance of 20 centimeters between For hand held operation, this phone has been tested and meets the - Philips CD3653Q | User manual - Page 8
should be made by an authorized maintenance facility designated by the supplier. Service Centers USA and CANADA Phone: 1-800-233-8413 Support: www.support.philips.com Compliance with EMF Koninklijke Philips Electronics N.V. manufactures and sells many products targeted at consumers, which, like any - Philips CD3653Q | User manual - Page 9
at local retailers participating in RBRC® program or at authorized Philips product service centers. Please call 1-800-8-BATTERY for information on Ni-MH battery recycling and disposal bans/ restrictions in your area. Philips's involvement in this program is part of its commitment to protecting - Philips CD3653Q | User manual - Page 10
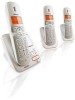
to Philips! To fully benefit from the support that Philips offers, register your product at www.philips. com/welcome. Power supply What is in the box Line cord Base station with bracket (CD360) Belt clip Base station with bracket (CD365) Handset 10 EN Guarantee User Manual Quick start guide - Philips CD3653Q | User manual - Page 11
English Note •• In multi-handset packs, there are additional handsets and chargers with power supply units. Key Name Descriptions 1 Earpiece 2 OK key • Confirm the selection • Enter the options menu 3 Back/Clear • Delete the text or key digits • Cancel the o operation • View more - Philips CD3653Q | User manual - Page 12
and receive key calls • Send the flash signal 7 End /On/Off • End the lock/unlock keypad • Edit the caller's number in the call log review 12 Ringer Off/ • Press and hold Pause key to enter a 17 Belt clip 18 Headset jack 19 Battery door Overview of the base station CD360 - Philips CD3653Q | User manual - Page 13
on the main screen tell you what features are available on your handset. Icon Descriptions The battery is fully charged, the talk time can go up to 14 hours. The battery is empty. It indicates if your phone is linked to a base. The call is in progress. The alarm is activated. The speaker - Philips CD3653Q | User manual - Page 14
product damage! Ensure that the power supply voltage corresponds to the voltage printed on the back or the underside of the phone. •• Use only the supplied power socket to charge the battery. Note •• The type plate is located on the bottom of the base station. 1 Connect the output plug of the power - Philips CD3653Q | User manual - Page 15
Warning •• You must follow the instructions below to wall mount the base batteries away from heat, sunshine or fire. Never discard batteries in fire. •• Use only the supplied batteries. •• Risk of decreased battery life! Never mix different brands or types of batteries. Note •• Charge the batteries - Philips CD3653Q | User manual - Page 16
charged, it is normal. Check the battery level The battery icon displays the current battery level. The battery is full, the talk time can go up to 14 hours. The battery is empty. Charge it. The handsets turn off if the battery is empty. If you are on the phone, you hear warning tones when the - Philips CD3653Q | User manual - Page 17
»» The setting is saved. What is standby mode? Your phone is in standby mode when it is idle. The standby screen displays the handset name, handset number, date and time, signal icon, and battery icon. Check the signal strength • The signal icon displays the link status between the handset and base - Philips CD3653Q | User manual - Page 18
, the phone cannot access emergency services. Tip •• Check the signal strength before you make a call or when you are in a call. For more information, see "Check the signal strength" out of battery or the handset is out of range. Charge the battery or move the handset nearer to the base station. - Philips CD3653Q | User manual - Page 19
charging cradle if the auto hang up is activated. Answer a call When the phone rings. Press flash TALK or to answer the call. Warning •• When the away from your ear to avoid ear damage. Note •• The caller ID service is network dependent. Note •• When there is a missed call, the handset - Philips CD3653Q | User manual - Page 20
. 2 Press flash TALK and to end the current call and answer the second call. Make a conference call Note •• This service is network dependent. Check with the service provider for additional charges. When you are connected to two calls, press [OK], select [CONFERENCE] and then press [OK] again - Philips CD3653Q | User manual - Page 21
handset is occupied in a call, you hear a busy tone. While you are on the phone You can go from one handset to another during a call: 1 Press int. 2 The call A 3-way conference call is a call between you, another handset user and the outside callers. It requires two handsets to share the same base - Philips CD3653Q | User manual - Page 22
4 Press and hold int on your handset. »» You are now on a 3-way conference call with the external call and the selected handset. 5 Press exit END to end the conference call. Note •• Press flash TALK to join an ongoing conference with another handset if [ADVANCED SET] > [CONFERENCE - Philips CD3653Q | User manual - Page 23
English 6 Text and numbers You can enter text and numbers for handset name, phonebook records, and other menu items. Enter text and number 1 Press once or several times on the alphanumeric key to enter the selected character. 2 Press [BACK] to delete the character. Press call ID / Ph.Book to - Philips CD3653Q | User manual - Page 24
Depending on your country, keys and are preset to the voice mail number and information service number of your service provider respectively. When you press and hold on the key in standby mode , the saved phone number is dialed automatically. View the phonebook Note •• You can view the phonebook on - Philips CD3653Q | User manual - Page 25
English Note •• The phonebook only saves new number. Tip •• Press and hold to insert a pause. »» Your new record is saved. Edit a record 1 Press menu. 2 Select [PHONEBOOK] > [EDIT ENTRY], then press [OK] to confirm. 3 Select the contact, then press [OK] to confirm. 4 Edit the name, then press [OK] - Philips CD3653Q | User manual - Page 26
the name and number of the caller, call time and date.This feature is available if you have registered to the caller ID service with your service provider. Your phone can store up to 20 call records.The call log icon on the handset flashes to remind you of any unanswered calls. If - Philips CD3653Q | User manual - Page 27
English 9 Redial list The redial list stores the call history of dialed calls. It includes the names and/or numbers you have called.This phone can store up to 10 redial records. View the redial records 1 Press redial to enter the list of dialed calls. 2 Select a record then press [OK] - Philips CD3653Q | User manual - Page 28
the settings to make it your own phone. Personalize the phone display Name the handset The name of . Set the display language Note •• This feature only applies to models with multiple-language support. •• Languages available for selection vary with different countries. 1 Press menu. 2 Select - Philips CD3653Q | User manual - Page 29
English Enhance the audio quality XHD (Extreme High Definition) sound mode is an exclusive feature which transmits high fidelity signals to the handset. It makes the phone conversations sound like real-life conversations. When you are in standby mode, 1 Press menu. 2 Select [ADVANCED SET] > [XHD - Philips CD3653Q | User manual - Page 30
. Dial mode Note •• This feature only applies to models that support both tone and pulse dial. Dial mode is the telephone signal used in your country.The phone supports tone (DTMF) and pulse (rotary) dial. Consult the service provider for detailed information. Set the dial mode 1 Press menu - Philips CD3653Q | User manual - Page 31
ID displays on the screen. After the phone is reset, it can detect automatically if the caller ID service is subscribed and start to suppress the first ring.You can change this setting to suit your preference.This feature only applies to models with first ring support. Turn the first ring on/off - Philips CD3653Q | User manual - Page 32
ringer volume. If the ringer is off, the alarm volume is set to level 1. Auto clock Note •• This service is network dependent. It synchronizes the date and time on your phone with the public switched telephone network (PSTN) automatically. For the date to be synchronized, ensure the current year is - Philips CD3653Q | User manual - Page 33
English Note •• When the keypad is locked, no call can be made. You can still answer the incoming calls. The keypad is unlocked during the call but is locked automatically after you finish the call. Unlock the keypad 1 Press and hold . format »» The keypad is unlocked. Locate the handset 1 Press - Philips CD3653Q | User manual - Page 34
a handset number to the handset. Manual registration If auto registration fails, register your handset manually to the base station. 1 Press handset name in standby mode. Restore default settings You can reset your phone settings to the original factory settings. 1 Press menu. 2 Select [ADVANCED - Philips CD3653Q | User manual - Page 35
machine Note •• Available only for CD365. Your phone includes a telephone answering machine that records unanswered calls machine language Note •• This feature only applies to models with multiple-language support. The answering machine language is the language for the outgoing messages. 1 Press - Philips CD3653Q | User manual - Page 36
. 36 EN 6 Press [OK] to stop recording or the recording stops after 3 minutes. »» The recorded outgoing message plays back automatically for your review. Note •• To restore the pre-recorded outgoing message, delete your current outgoing message. Listen to the current outgoing message 1 Press menu - Philips CD3653Q | User manual - Page 37
on the answering machine and the handset displays a notification message. Note •• If you pick up the phone when the caller leaves a message, the recording stops and you can talk to the caller directly. DELETE ALL], then press [OK] to confirm. »» The handset displays a confirmation request. EN 37 - Philips CD3653Q | User manual - Page 38
the call after 5 rings. Remote access You can operate your answering machine when you are away from home. Simply make a call to your phone with a touch tone phone and enter your 4-digit PIN code. Note •• The preset remote access PIN code is 0000. Activate/deactivate the remote access You can allow - Philips CD3653Q | User manual - Page 39
have access to your answering machine, and the new messages start playing. Note •• You have 2 chances to enter the correct PIN code before your phone hangs up. 4 Press a key to carry out a function. See the Remote access commands table below for a list of available functions. Note •• When no message - Philips CD3653Q | User manual - Page 40
Handset ring melody Alarm tone Receiver volume Handset ring volume Handset key beep XHD sound Incoming call log Redial list PIN code Country dependent PHILIPS 01/01/09 MM/DD 12:00am 12-hour Off Unchanged On Country dependent Country dependent On Tone [Empty] [Empty] Melody 1 Melody 1 Volume 3 Level - Philips CD3653Q | User manual - Page 41
list and Call log • Phonebook list with 100 entries • Redial list with 10 entries • Call log with 20 entries Battery • 2 x AAA NiMH 1.2V Rechargeable 650mAh batteries Adaptor • Base: Input 120V 60Hz 0.1A, Output: 6V 0-0.58mA • Charger: Input 120V 60Hz 0.1A, Output: 6V 0-0.58mA Power consumption - Philips CD3653Q | User manual - Page 42
17 Frequently asked questions The signal icon flashes. •• The handset is out of range. Move it mail service is managed by your service provider but not the phone itself. Contact your service provider to change the settings. The handset on the charger does not charge. •• Ensure the batteries are - Philips CD3653Q | User manual - Page 43
- Philips CD3653Q | User manual - Page 44
0168 © 2009 Koninklijke Philips Electronics N.V. All rights reserved. Printed in China CD360-365_37_EN_UM_V4.0
-
 1
1 -
 2
2 -
 3
3 -
 4
4 -
 5
5 -
 6
6 -
 7
7 -
8
-
9
-
10
-
11
-
12
-
13
-
14
-
15
-
16
-
17
-
18
-
19
-
20
-
21
-
22
-
23
-
24
-
25
-
26
-
27
-
28
-
29
-
30
-
31
-
32
-
33
-
34
-
35
-
36
-
37
-
38
-
39
-
40
-
41
-
42
-
43
-
44
 |
 |
CD360
CD365
Register your product and get support at
www.philips.com/welcome
EN
User manual