Samsung MW1150WA Service Manual - Page 10
Replacement of Control Circuit Board - problems
 |
View all Samsung MW1150WA manuals
Add to My Manuals
Save this manual to your list of manuals |
Page 10 highlights
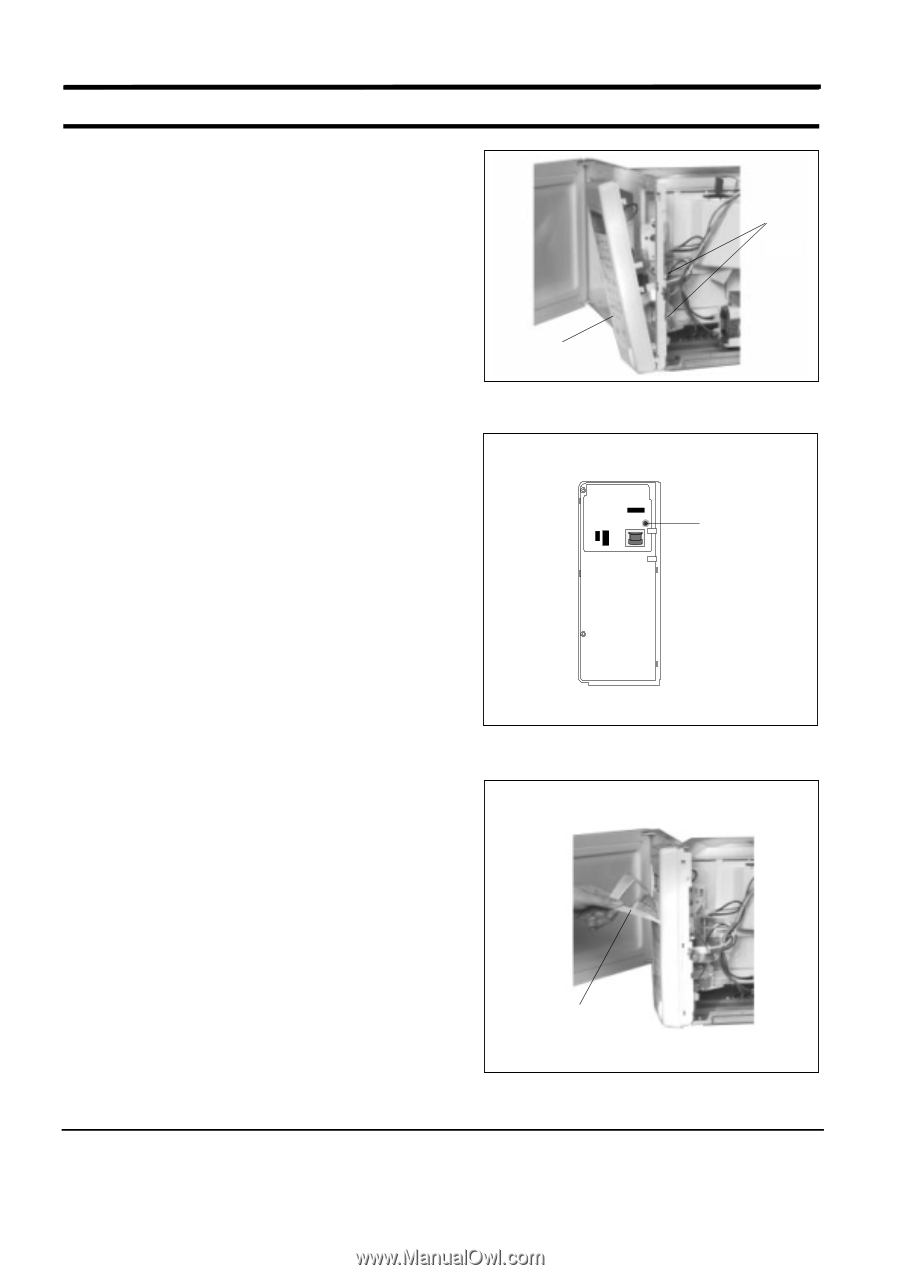
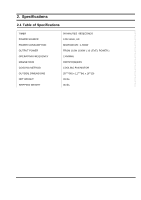
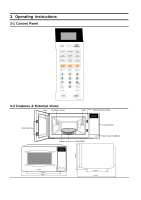
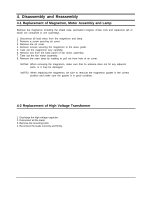
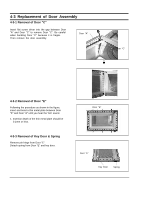
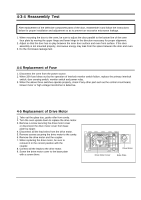
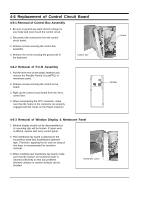
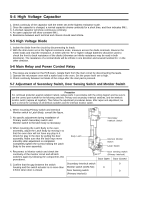
4-6 Replacement of Control Circuit Board 4-6-1 Removal of Control Box Assembly 1. Be sure to ground any static electric charge ini your body and never touch the control circult. 2. Disconnect the connectors from the control circuit board. 3. Remove screws securing the control box assembly. 4. Remove the screw securing the ground tail of the keyboard. Control box 4-6-2 Removal of P.C.B Assembly 1. Pull the lever end of the plastic fastener and remove the Flexible Printed Circuit(FPC) of membrane panel. 2. Remove screws securing the control circuit board. 3. Right up the control circuit board from the Ass'y control box. 4. When reconnecting the FPC connector, make sure that the holes on the connector are properly engaged with the hooks on the Plastic Fastener. Screw Screw 4-6-3 Removal of Window Display & Membrane Panel 1. Window display should not be disassembled as its mounting tabs will be broken. If repair work is difficult, replace with Ass'y control panel. 2. The membrane key board is attached to the escutcheon base with doublefaced adhesive tape. Therefore, applying hot air such as using of hair dryer is recommended for smoother removal. 3. When installing new membrane key board, make sure that the surface of escutcheon base is cleaned sufficiently so that any problems (shorted contacts or uneven surface) can be avoided. Membrane panel
-
 1
1 -
2
-
3
-
4
-
 5
5 -
 6
6 -
 7
7 -
 8
8 -
 9
9 -
 10
10 -
 11
11 -
 12
12 -
 13
13 -
 14
14 -
 15
15 -
16
-
17
-
18
-
19
-
20
-
21
-
22
-
23
 |
 |