Samsung SGH-A877 User Manual (user Manual) (ver.f15) (English) - Page 87
Using Contacts
 |
View all Samsung SGH-A877 manuals
Add to My Manuals
Save this manual to your list of manuals |
Page 87 highlights
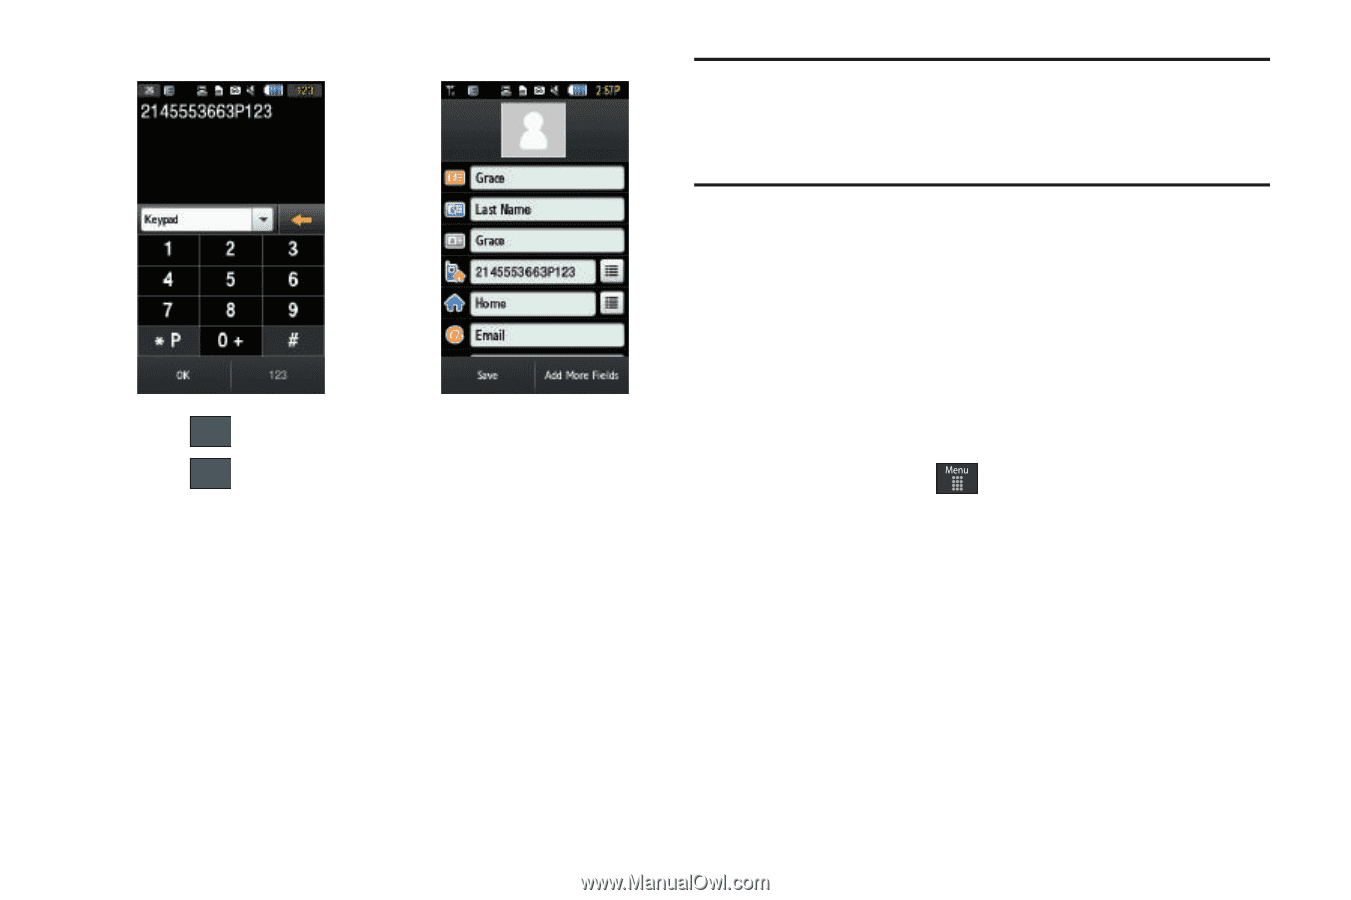
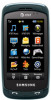
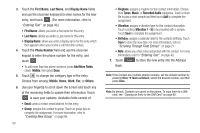
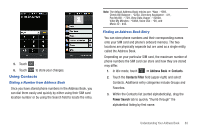
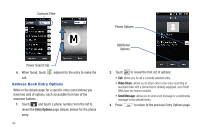
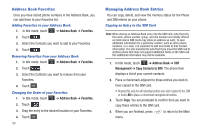
5. Touch OK . 6. Touch Save to store your changes. Using Contacts Dialing a Number from Address Book Once you have stored phone numbers in the Address Book, you can dial them easily and quickly by either using their SIM card location number or by using the Search field to locate the entry. Note: The default Address Book entries are: *Now - *669, Check Bill Balance - *225#, Directory Assistance - 411, Pay My Bill - *729, View Data Usage - *3282#, View My Minutes - *646#, Voice Dial - *08, and Music ID - #43. Finding an Address Book Entry You can store phone numbers and their corresponding names onto your SIM card and phone's onboard memory. The two locations are physically separate but are used as a single entity, called the Address Book. Depending on your particular SIM card, the maximum number of phone numbers the SIM card can store and how they are stored may differ. 1. In Idle mode, touch ➔ Address Book ➔ Contacts. 2. Touch the Contacts Filter field (upper-right) and select Contacts. Additional entry categories include Groups and Favorites. 3. Within the Contacts list (sorted alphabetically), drag the Power Search tab to quickly "thumb through" the alphabetical listing by first name. Understanding Your Address Book 83
-
 1
1 -
2
-
3
-
4
-
5
-
6
-
7
-
8
-
9
-
10
-
11
-
12
-
13
-
14
-
15
-
16
-
17
-
18
-
19
-
20
-
21
-
22
-
23
-
24
-
25
-
26
-
27
-
28
-
29
-
30
-
31
-
32
-
33
-
34
-
35
-
36
-
37
-
38
-
39
-
40
-
41
-
42
-
43
-
44
-
45
-
46
-
47
-
48
-
49
-
50
-
51
-
52
-
53
-
54
-
55
-
56
-
57
-
58
-
59
-
60
-
61
-
62
-
63
-
64
-
65
-
66
-
67
-
68
-
69
-
70
-
71
-
72
-
73
-
74
-
75
-
76
-
77
-
78
-
79
-
80
-
81
-
 82
82 -
 83
83 -
 84
84 -
 85
85 -
 86
86 -
 87
87 -
 88
88 -
 89
89 -
 90
90 -
 91
91 -
 92
92 -
93
-
94
-
95
-
96
-
97
-
98
-
99
-
100
-
101
-
102
-
103
-
104
-
105
-
106
-
107
-
108
-
109
-
110
-
111
-
112
-
113
-
114
-
115
-
116
-
117
-
118
-
119
-
120
-
121
-
122
-
123
-
124
-
125
-
126
-
127
-
128
-
129
-
130
-
131
-
132
-
133
-
134
-
135
-
136
-
137
-
138
-
139
-
140
-
141
-
142
-
143
-
144
-
145
-
146
-
147
-
148
-
149
-
150
-
151
-
152
-
153
-
154
-
155
-
156
-
157
-
158
-
159
-
160
-
161
-
162
-
163
-
164
-
165
-
166
-
167
-
168
-
169
-
170
-
171
-
172
-
173
-
174
-
175
-
176
-
177
-
178
-
179
-
180
-
181
-
182
-
183
-
184
-
185
-
186
-
187
-
188
-
189
-
190
-
191
-
192
-
193
-
194
-
195
-
196
-
197
-
198
-
199
-
200
-
201
-
202
-
203
-
204
-
205
-
206
-
207
-
208
-
209
-
210
-
211
-
212
-
213
-
214
-
215
-
216
-
217
-
218
-
219
-
220
-
221
-
222
-
223
-
224
-
225
-
226
-
227
-
228
-
229
-
230
 |
 |