Samsung SP-S4243 Quick Guide (easy Manual) (ver.1.0) (English) - Page 51
Preventing Screen Burn-in, Reducing the Effects of Screen Burn
 |
View all Samsung SP-S4243 manuals
Add to My Manuals
Save this manual to your list of manuals |
Page 51 highlights
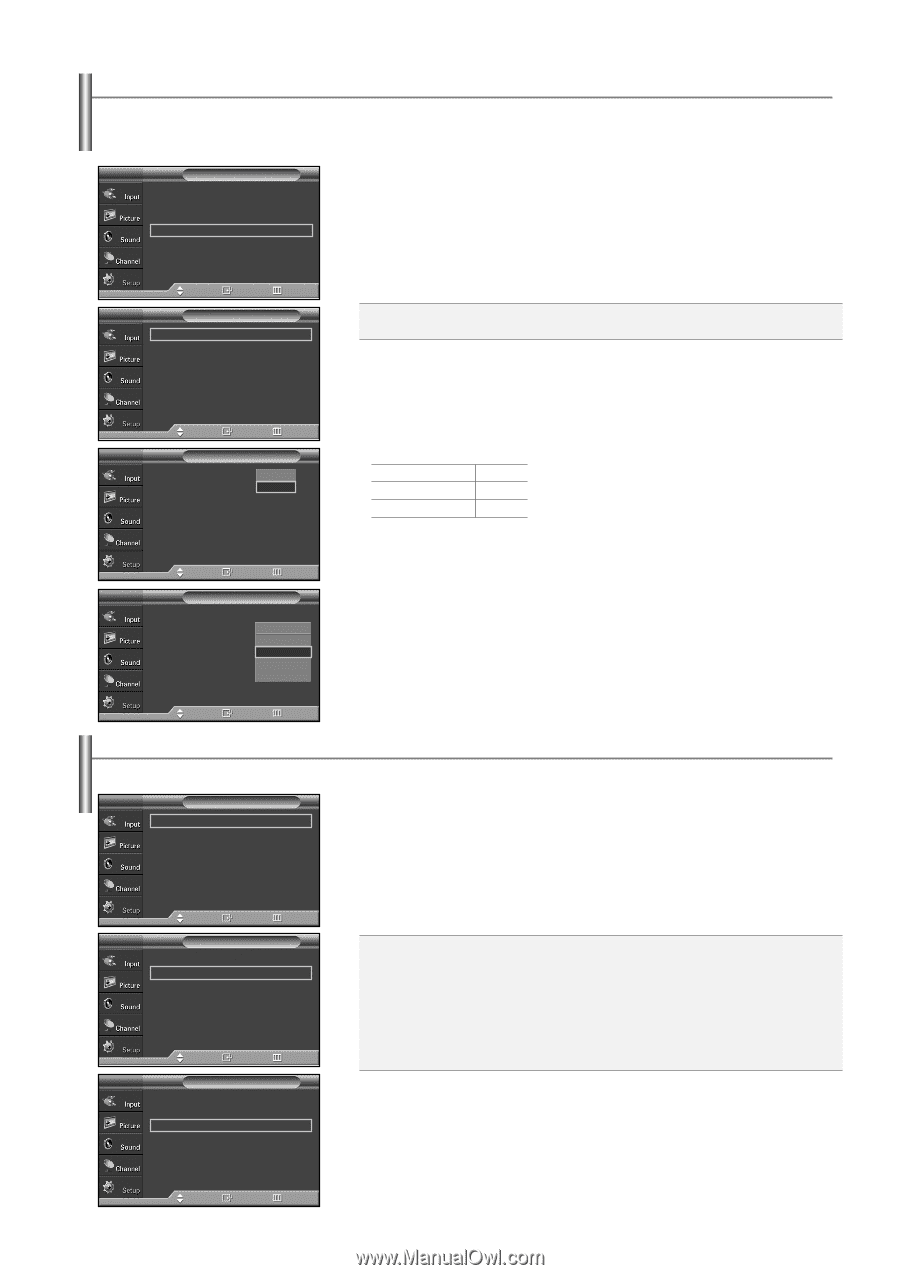
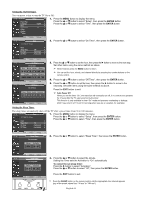
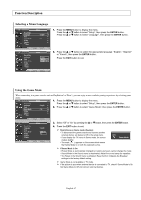
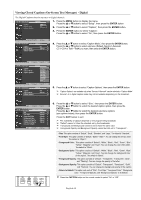
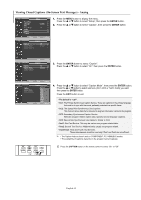
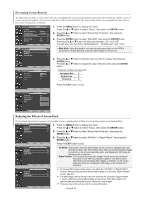
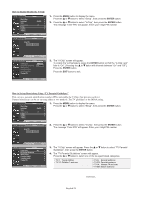
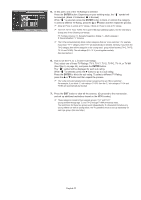
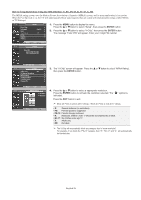
Preventing Screen Burn-in To reduce the possibility of screen burn, this unit is equipped with screen burn prevention technology. This technology enables you to set picture movement up/down (Vertical Line) and side to side (Horizontal Dot). The Time setting allows you to program the time between movement of the picture in minutes. TV Setup 1. Press the MENU button to display the menu. ... More Press the ... or † button to select "Setup", then press the ENTER button. Menu Transparency Energy Saving : Medium √ : Standard √ 2. Press the ... or † button to select "Screen Burn Protection", then press the Screen Burn Protection PC √ ENTER button. √ Function Help Blue Eye : On √ 3. Press the ENTER button to select "Pixel Shift", then press the ENTER button. : Off √ Pressing the ... or † button will alternate between "On" and "Off". Move Enter Return You will also see the items "Horizontal Dot", "Vertical Line" and "Time". TV Screen Burn Protection Pixel Shift √ All White √ Signal Pattern √ Pixel Shift: Using this function, you can minutely move pixels on the PDP in horizontal or vertical direction to prevent after-images on the screen. 4. Press the ... or † button to select the item you wish to change, then press the ENTER button. Press the ... or † button to change the value of the item, then press the ENTER Move Enter Return button. TV Pixel Shift Pixel Shift Horizontal Dot Vertical Line Time : OOnff : 2On : 2 : 2 Optimum condition for pixel shift; Horizontal Dot 2 Vertical Line 2 Time(min) 2 Move Enter Return TV Pixel Shift Pixel Shift : On Horizontal Dot : 40 Vertical Line : 41 Time : 42 3 4 Press the EXIT button to exit. Move Enter Return Reducing the Effects of Screen Burn If screen burn has occurred, you can select a white screen or signal pattern (rolling screen) to help remove screen burn artifacts. TV Screen Burn Protection Pixel Shift √ All White √ Signal Pattern √ 1. Press the MENU button to display the menu. Press the ... or † button to select "Setup", then press the ENTER button. 2. Press the ... or † button to select "Screen Burn Protection", then press the ENTER button. 3. Press the ... or † button to select "All White" or "Signal Pattern", then press the ENTER button. Move Enter Return TV Screen Burn Protection Pixel Shift √ All White √ Signal Pattern √ Move Enter Return Press the EXIT button to exit. All White: This function removes after-images on the screen by changing the color of pixels to white. Use this function when there are remaining after-images or symbols on the screen especially when you displayed a still image on the screen for a long time. Signal Pattern: This function removes after-images on the screen by moving all the pixels on the PDP according to a pattern. Use this function when there are remaining after-images or symbols on the screen especially when you displayed a still image on the screen for a long time. TV Screen Burn Protection Pixel Shift √ All White √ Signal Pattern √ ➢ To remove after-images on the screen, use either the "All White" or "Signal Pattern" function. Although both functions remove after-images on the screen, "Signal Pattern" is more effective. ➢ The after-image removal function has to be executed for a long time (approximately 1 hour) to effectively remove after-images on the screen. If the after-image is not removed after performing the function, repeat the function again. ➢ Press any key on the remote control to cancel this feature. Move Enter Return English-51
-
 1
1 -
2
-
3
-
4
-
5
-
6
-
7
-
8
-
9
-
10
-
11
-
12
-
13
-
14
-
15
-
16
-
17
-
18
-
19
-
20
-
21
-
22
-
23
-
24
-
25
-
26
-
27
-
28
-
29
-
30
-
31
-
32
-
33
-
34
-
35
-
36
-
37
-
38
-
39
-
40
-
41
-
42
-
43
-
44
-
45
-
 46
46 -
 47
47 -
 48
48 -
 49
49 -
 50
50 -
 51
51 -
 52
52 -
 53
53 -
 54
54 -
 55
55 -
 56
56 -
57
-
58
-
59
-
60
-
61
-
62
-
63
-
64
 |
 |