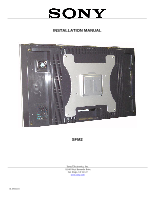
Sony FWD-32LX1 Mounting Bracket Instruction Manual - Page 5
Installation Procedures, Single Stud Installation - lcd
 |
View all Sony FWD-32LX1 manuals
Add to My Manuals
Save this manual to your list of manuals |
Page 5 highlights
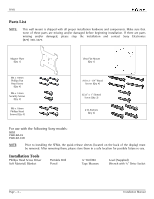
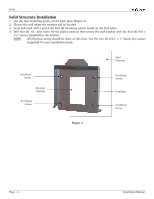
SFM2 Installation Procedures Check that you have all the hardware listed in the parts list (Page 5). If any of the hardware described is missing, do not continue. Contact Sony Electronics immediately at (877) 350-3477. Separate the plates and choose the location for the monitor and follow any precautions listed in the LCD owners' manual. Single Stud Installation 1. For single wood studs, use the two middle mounting points found on the back plate (Figure 1). 2. Locate the center of the wood stud behind the wall, mark the height and desired location. 3. Drill two 1/4 " pilot holes on the marked wall. 4. Secure the back plate to the center of the wood stud by using two (2) #10 wood screws (Figure 1). NOTE: Four wood screws will be used when mounting the backplate to a solid structure (Page 7). Also, all electrical wiring should be done at this time. Use the two (2) 6/32" x 1" handy box screws (supplied) for your installation needs. #10 Wood Screws Wooden Stud Electrical Opening Frontplate #10 Wood Screw Figure 1 Installation Manual Page - 5 -
-
 1
1 -
 2
2 -
 3
3 -
 4
4 -
 5
5 -
 6
6 -
 7
7 -
 8
8 -
 9
9 -
 10
10 -
 11
11 -
12
 |
 |
