Sony KP-61V85 Operating Instructions - Page 6
Using This Manual, Precautions, Safety, Note on cleaning, Installing - service manual
 |
View all Sony KP-61V85 manuals
Add to My Manuals
Save this manual to your list of manuals |
Page 6 highlights
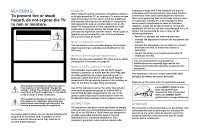
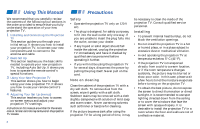
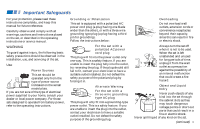
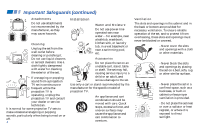
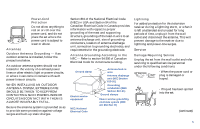
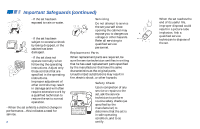
IUnssitnaglliTnhgisaMndanCuoanlnecting the PPrreocjeacuttiioonnsTV (continued) We recommend that you carefully review the contents of the following four sections in the order provided to ensure that you fully understand the operation of your new projection TV. 1 Installing and Connecting the Projection TV This section guides you through your initial set up. It shows you how to install your projection TV, to connect your new components and to connect to the antenna and cable. 2 Basic Set Up This section teaches you the basic skills needed to operate your new projection TV, including Auto Set Up. It shows you how to operate the remote control's special functions. 3 Using Your New Projection TV This section shows you how to begin using your new projection TV. It shows you how to use your remote control's features. 4 Adjusting Your Set Up (menus) This section teaches you how to access on-screen menus and adjust your projection TV's settings. Instructions in this manual are written for the remote control. Similar controls may be found on the projection TV console. Safety • Operate the projection TV only on 120 V AC. • The plug is designed, for safety purposes, to fit into the wall outlet only one way. If you are unable to insert the plug fully into the outlet, contact your dealer. • If any liquid or solid object should fall inside the cabinet, unplug the projection TV immediately and have it checked by qualified service personnel before operating it further. • If you will not be using the projection TV for several days, disconnect the power by pulling the plug itself. Never pull on the cord. Note on cleaning Clean the cabinet of the projection TV with a dry soft cloth. To remove dust from the screen, wipe it gently with a soft cloth. Stubborn stains may be removed with a cloth slightly dampened with solution of mild soap and warm water. Never use strong solvents such as thinner or benzine for cleaning. If the picture becomes dark after using the projection TV for a long period of time, it may be necessary to clean the inside of the projection TV. Consult qualified service personnel. Installing • To prevent internal heat buildup, do not block the ventilation openings. • Do not install the projection TV in a hot or humid place, or in a place subject to excessive dust or mechanical vibration. • Avoid operating the projection TV at temperatures below 5° C (41° F). • If the projection TV is transported directly from a cold to a warm location, or if the room temperature changes suddenly, the picture may be blurred or show poor color. In this case, please wait a few hours to let the moisture evaporate before turning on the projection TV. • To obtain the best picture, do not expose the screen to direct illumination or direct sunlight. It is recommended to use spot lighting directed down from the ceiling or to cover the windows that face the screen with opaque drapery. It is desirable to install the projection TV in a room where the floor and walls are not of a reflective material. 2
-
 1
1 -
 2
2 -
 3
3 -
 4
4 -
 5
5 -
 6
6 -
 7
7 -
 8
8 -
 9
9 -
 10
10 -
 11
11 -
 12
12 -
13
-
14
-
15
-
16
-
17
-
18
-
19
-
20
-
21
-
22
-
23
-
24
-
25
-
26
-
27
-
28
-
29
-
30
-
31
-
32
-
33
-
34
-
35
-
36
-
37
-
38
-
39
-
40
-
41
-
42
-
43
-
44
-
45
-
46
-
47
-
48
-
49
-
50
-
51
-
52
-
53
-
54
-
55
-
56
-
57
-
58
-
59
-
60
-
61
-
62
-
63
-
64
-
65
-
66
 |
 |
