TP-Link TL-WR842ND TL-WR842ND FTP Server Application Guide for USB function - Page 5
Configuration of the Wireless Router
 |
View all TP-Link TL-WR842ND manuals
Add to My Manuals
Save this manual to your list of manuals |
Page 5 highlights
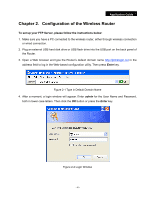
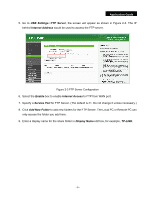
Application Guide Chapter 2. Configuration of the Wireless Router To set up your FTP Server, please follow the instructions below: 1. Make sure you have a PC connected to the wireless router, either through wireless connection or wired connection. 2. Plug an external USB hard disk drive or USB flash drive into the USB port on the back panel of the Router. 3. Open a Web browser and type the Router's default domain name http://tplinklogin.net in the address field to log in the Web-based configuration utility. Then press Enter key. Figure 2-1 Type in Default Domain Name 4. After a moment, a login window will appear. Enter admin for the User Name and Password, both in lower case letters. Then click the OK button or press the Enter key. Figure 2-2 Login Window - 4 -
-
 1
1 -
 2
2 -
 3
3 -
 4
4 -
 5
5 -
 6
6 -
 7
7 -
 8
8 -
 9
9 -
 10
10 -
 11
11 -
12
-
13
-
14
-
15
-
16
-
17
-
18
-
19
-
20
-
21
-
22
-
23
-
24
-
25
-
26
-
27
 |
 |
