Vivitar 5022 ViviCam5022 - Page 14
Self Timer
 |
View all Vivitar 5022 manuals
Add to My Manuals
Save this manual to your list of manuals |
Page 14 highlights
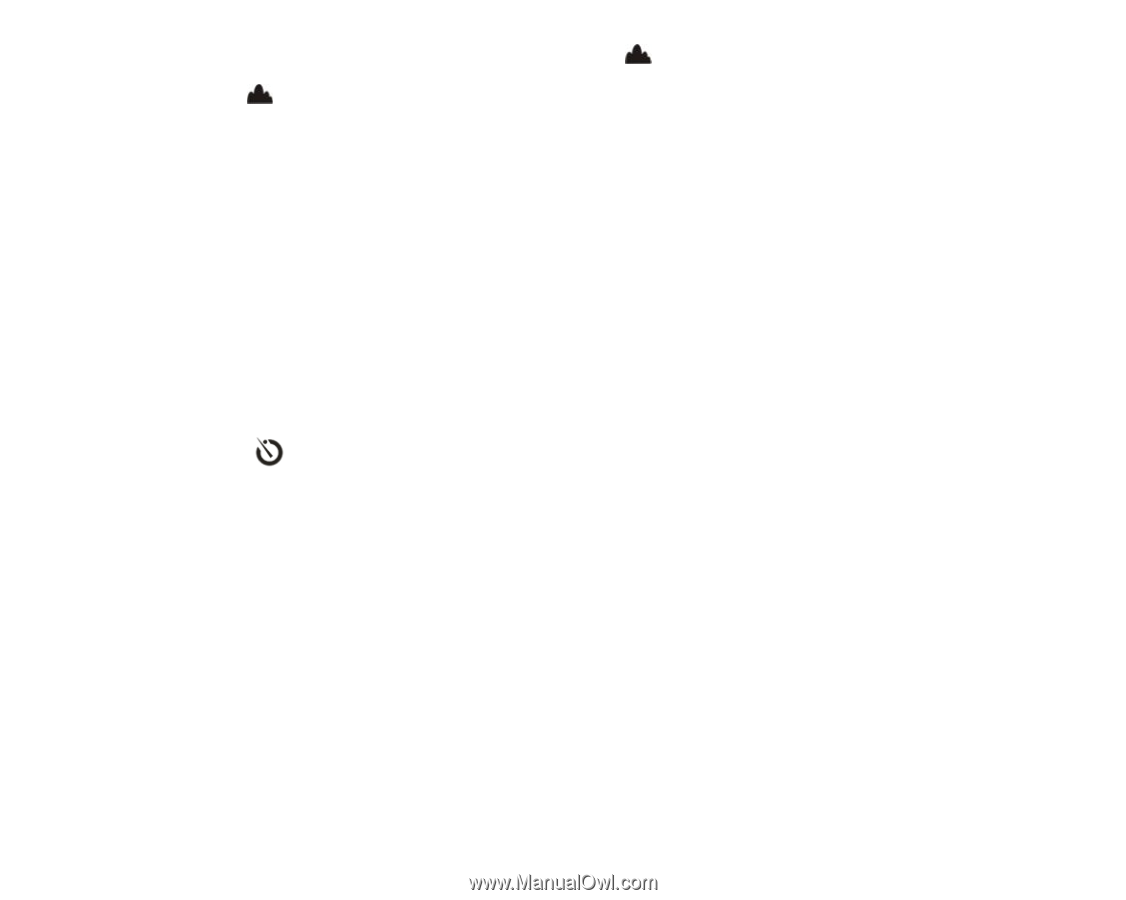
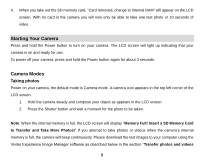
3. For far shooting slide the Macro/Far switch to the position. 4. The icon appears on the LCD screen to indicate that the far shooting is on. The mountain setting gives you maximum depth-of-field you can possibly get with the lens you are using. You now can have the overhead branch in focus as well as the mountains in focus - and everything in between! Self Timer You can include yourself in a photo by using the Self Timer feature to delay the time between your pressing the shutter and when the photo is actually taken. It is recommended that you use a tripod or place the camera on a flat and secure surface when you use the self-timer. 1. Press the Down or Timer button. 2. The timer icon will now appear instead of the camera icon on the top left corner of the LCD. 3. Press the Shutter button. 4. The camera will begin to emit beeps and a 10 seconds countdown appears on the LCD accompanied by a flashing red LED light. 5. At the end of the 10 seconds the camera will automatically take the picture. 6. To use the Self Timer again simply press the Shutter button once more. 7. To exit the Self Timer mode press the Down or Timer button. 8. The Timer icon on the top left corner of the LCD will disappear and the camera icon will reappear indicating that the camera is set back to the Camera mode. 13
-
 1
1 -
2
-
3
-
4
-
5
-
6
-
7
-
8
-
 9
9 -
 10
10 -
 11
11 -
 12
12 -
 13
13 -
 14
14 -
 15
15 -
 16
16 -
 17
17 -
 18
18 -
 19
19 -
20
-
21
-
22
-
23
-
24
-
25
-
26
-
27
-
28
-
29
 |
 |