Whirlpool SB160PEEB User Manual - Page 26
Before setting the controls, When the Self-Cleaning
 |
View all Whirlpool SB160PEEB manuals
Add to My Manuals
Save this manual to your list of manuals |
Page 26 highlights
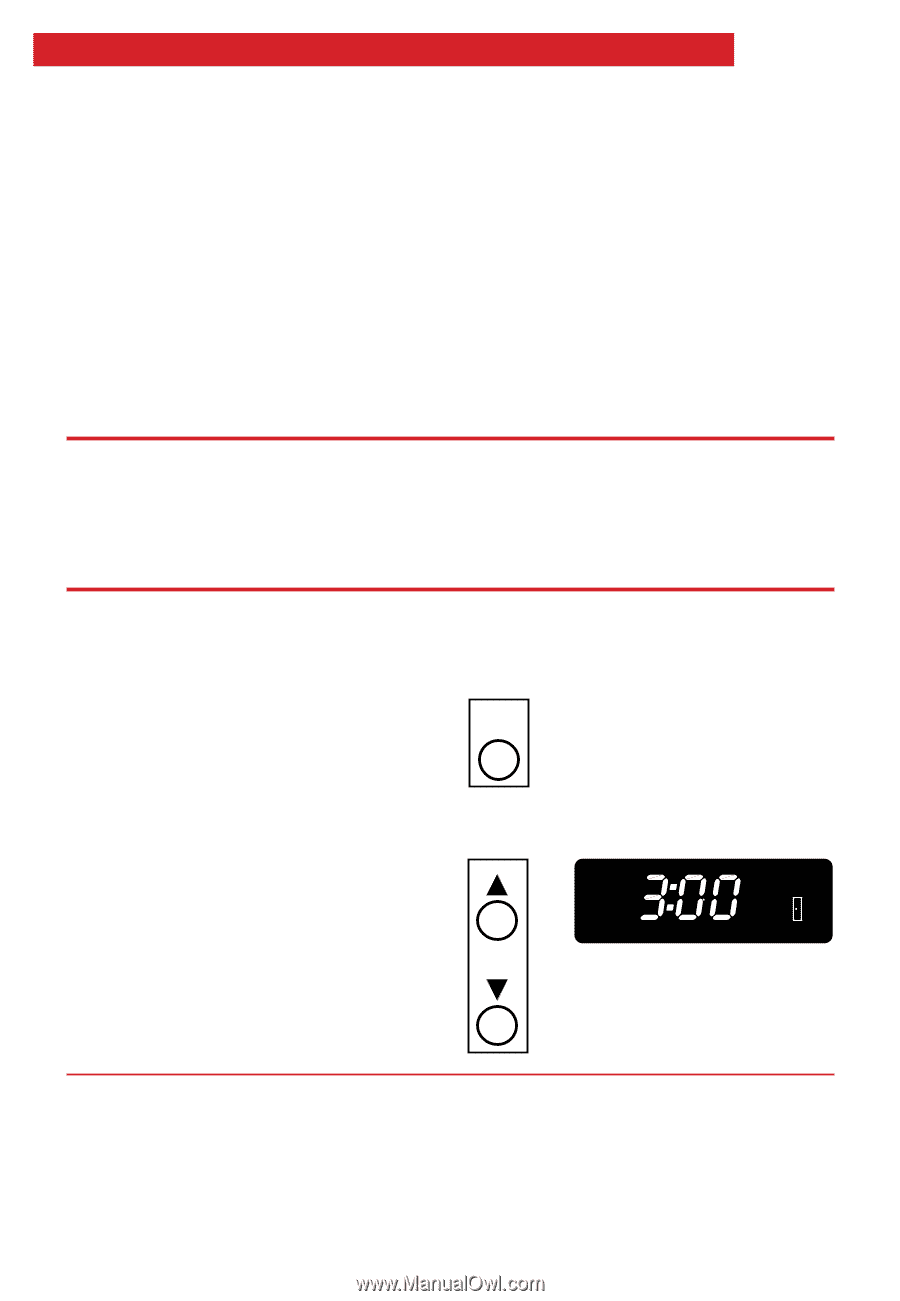
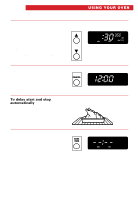
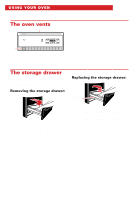
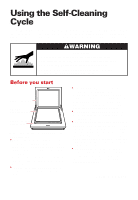
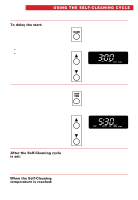
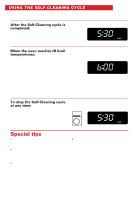
USING THE SELF-CLEANING CYCLE TIPS: • Do not force the door lock. You could bend or break it. The door lock is designed to stay locked until the oven is cool enough to safely open. Wait until it opens. • Do not block the vent during the SelfCleaning cycle. Air must move freely for best cleaning results. • Do not leave plastic utensils near the vent. They may melt. • Do not leave any foil in the oven during the Self-Cleaning cycle. Foil could burn or melt and damage the oven surface. • Make sure the oven light is off during the Self-Cleaning cycle. Keeping the oven light on will shorten bulb life. • This oven is equipped with an internal cooling fan. You will hear a fan sound during a normal Self-Cleaning cycle. This fan comes on automatically to keep the electronic controls cool. Canceling the oven will not turn off this fan. It will continue running until the electronic controls have cooled enough. The fan will then automatically turn off. Before setting the controls Make sure the clock is set to the correct time of day and the door is closed. (See "Setting the clock" on page 11.) Setting the controls To start cleaning immediately: Press the Clean button and press and hold the Up or Down arrow button until the desired cleaning time shows on the display. • Use 2 hours for light soil. • Use 3 hours to 4 hours maximum for moderate to heavy soil. PRESS CLEAN PRESS YOU SEE AND HOLD O N CLN TIME CLEAN LOCKED (example shows 3-hour cleaning time) When the Self-Cleaning temperature is reached: The Clean and Oven Indicator Lights will come on to tell you cleaning has begun. 26
-
 1
1 -
2
-
3
-
4
-
5
-
6
-
7
-
8
-
9
-
10
-
11
-
12
-
13
-
14
-
15
-
16
-
17
-
18
-
19
-
20
-
 21
21 -
 22
22 -
 23
23 -
 24
24 -
 25
25 -
 26
26 -
 27
27 -
 28
28 -
 29
29 -
 30
30 -
 31
31 -
32
-
33
-
34
-
35
-
36
-
37
-
38
-
39
-
40
 |
 |