Xerox 850DX Account Management Tool Administrator's Guide version 10.0 (Englis - Page 30
Administration > Printer Accounting Mode > Enable or Disable >
 |
UPC - 042215454865
View all Xerox 850DX manuals
Add to My Manuals
Save this manual to your list of manuals |
Page 30 highlights
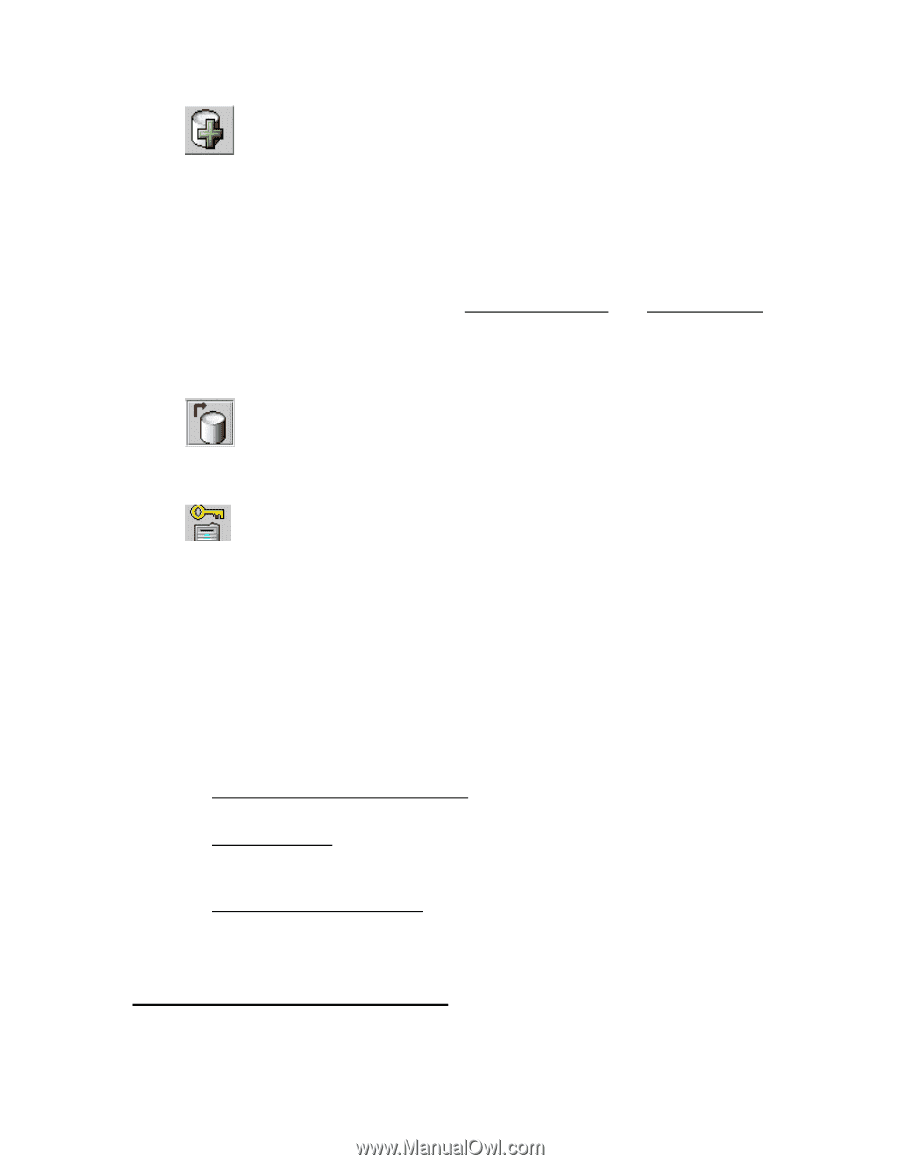
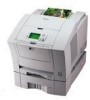
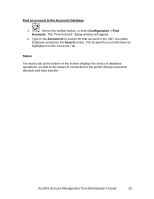
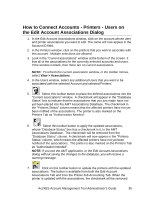
5. Press this toolbar button. The information will be cleared from the printer name, printer description, and IP Address fields. The defined printer will be moved to the bottom window as the connection to the printer is being made. When a printer is added, a command will be sent to the AccXES controller to start job accounting data logging in the printer. If job based accounting cannot be validated, you will be asked if yo u would still like to add the printer. 6. To associate the listed printers with all of the accounts and all of the users that are currently defined in the AMT database, select the checkbox in front of "Enable all accounts and users on these printers". The associations will be made to the AMT database, and the "Authorization Needed" checkmark will be checked on the Printers Tab. 7. Select this toolbar button to place the defined printers into the AccXES Printers Database. 8. Press the Close button. 9. On the Printers Tab, choose this toolbar button to update each printer's authorized accounts and users. The authorization command will be sent to each of the AMT defined printers whose "Authorization Needed" field shows a checkmark and whose "Unvalidated" box does not have a checkmark in it. When the authorizations have been successfully sent to a printer, the "Authorization Needed" box will be empty and the "Last Authorized" date will be modified. 10.For each added printer, job accounting needs to be set to "Enabled" or "Optional" for the job accounting data to be stored in the controller's job log file, from which the AMT will be retrieving the data. The Accounting Mode cannot be enabled on the AMT. It needs to be enabled at each printer or scanner by any of the following methods. Ÿ In the Web Printer Manager Tool: Select Accounting > Enabled or Optional > Update Printer toolbar button. Ÿ On the scanner: Press the Menu key > System Administration > Enter password > Job Accounting Mode > Accounting Mode > Enabled or Optional >Enter key. Ÿ In the printer user interface: Select the Online key > Enter key > System Administration > Enter Password > Accounting Administration > Printer Accounting Mode > Enable or Disable > Enter key > Online key. Edit a printer in the Printers Database Ÿ In the printer list, select the printer to be edited. 30 AccXES Account Management Tool Administrator's Guide
-
 1
1 -
2
-
3
-
4
-
5
-
6
-
7
-
8
-
9
-
10
-
11
-
12
-
13
-
14
-
15
-
16
-
17
-
18
-
19
-
20
-
21
-
22
-
23
-
24
-
 25
25 -
 26
26 -
 27
27 -
 28
28 -
 29
29 -
 30
30 -
 31
31 -
 32
32 -
 33
33 -
 34
34 -
 35
35 -
36
-
37
-
38
-
39
-
40
-
41
-
42
-
43
-
44
-
45
-
46
-
47
-
48
-
49
-
50
-
51
-
52
-
53
-
54
-
55
-
56
-
57
-
58
-
59
-
60
-
61
-
62
-
63
-
64
-
65
-
66
-
67
-
68
-
69
-
70
 |
 |