Yamaha MDX-793 Owner's Manual - Page 16
TIME RESCUE RECORDING, SYNCHRO RECORDING, beginning of a song you want to record.
 |
View all Yamaha MDX-793 manuals
Add to My Manuals
Save this manual to your list of manuals |
Page 16 highlights
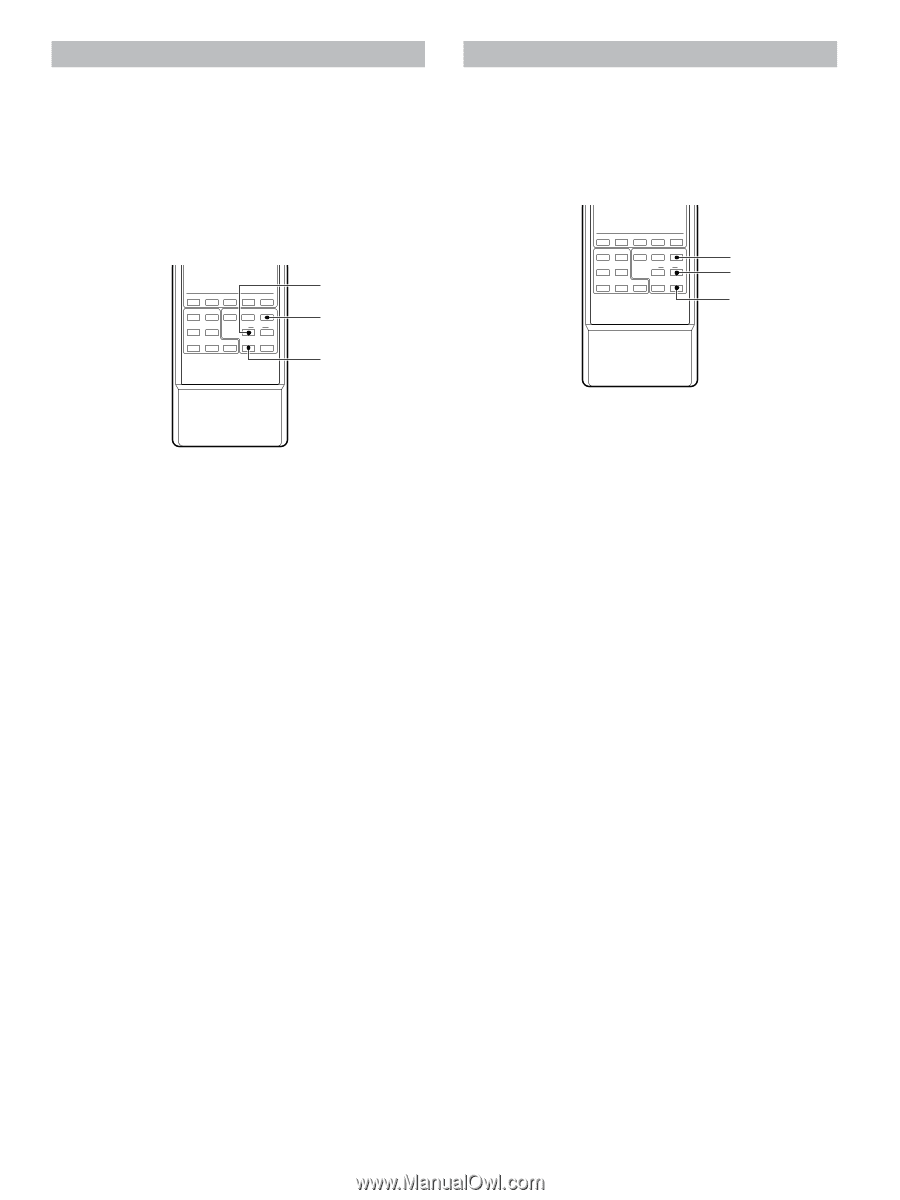
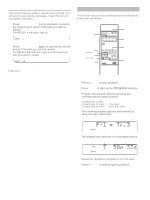
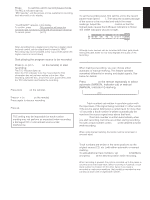
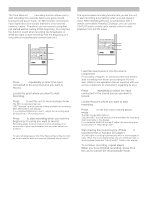
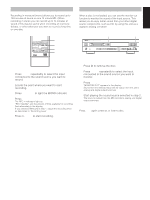
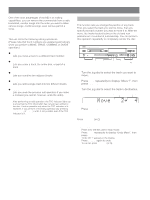
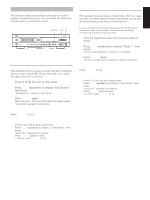
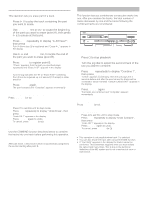
TIME RESCUE RECORDING The Time Rescue (TIME) recording function allows you to start recording four seconds before you press record. During record pause mode, the MD recorder monitors the input signal and continuously maintains a four second memory "cache". Therefore, you can record a song that just started without cutting off the beginning. You may find this function useful when recording live broadcasts, or when you want to start recording from the beginning of a song without recording lots commercials (etc.). TITLE CHAR. NUMBER DELETE SET SEARCH !⁄ M-MARK MONO/ST INPUT SKIP $› REC TIME SYNC PLAY PAUSE STOP REC ‹ * & ? CD-P s MDX 4 1 3 SYNCHRO RECORDING The synchronized recording function lets you set this unit to start recording automatically when a sound signal is input. When operating this unit in combination with a remote controllable Yamaha CD player, you can use the CD-PLAY button on this unit's remote control to start playback from the CD player. TITLE CHAR. NUMBER DELETE SET SEARCH !⁄ M-MARK MONO/ST INPUT SKIP $› REC TIME SYNC PLAY PAUSE STOP REC ‹ * & ? CD-P s MDX 2 4 5 1 Press INPUT repeatedly to select the input connected to the sound source you want to record. 2 Locate the point where you want to start recording. 3 Press REC to set this unit to record pause mode. The REC * indicators light up. "REC Standby" and the amount of time available for recording flash alternately in the display. If you selected ANALOG in step 1, adjust the recording level as described in "Recording Level". 4 Press TIME to start recording when you hear the beginning of a song you want to record. Recording starts from the memory cache, allowing you to record from a point approximately four seconds before you pressed TIME. Note To take full advantage of the Time Rescue Recording function, be sure to wait at least four seconds between steps 3 and 4. 1 Load the sound source into the source component. If necessary, program, or select the track you want to start recording from before proceeding to the next step. (Refer to the operation manual supplied with your source component for instructions regarding its use.) 2 Press INPUT repeatedly to select the input connected to the sound source you want to record. 3 Locate the point where you want to start recording. 4 Press SYNC to set this unit to record pause mode. The REC * indicators light up. "Synchro REC" and the amount of time available for recording flash alternately in the display. If you selected ANALOG in step 2, adjust the recording level as described in "Recording Level". 5 Start playing the sound source. (Press CD-P if recording from a Yamaha CD player.) The MD starts recording automatically when a sound signal is input. When the sound signal stops, the unit switches back to record pause mode and "Synchro REC" blinks in the display. 6 To continue recording, repeat step 5. When you have finished recording, press & on this unit to cancel the record pause mode. 16
-
 1
1 -
2
-
3
-
4
-
5
-
6
-
7
-
8
-
9
-
10
-
 11
11 -
 12
12 -
 13
13 -
 14
14 -
 15
15 -
 16
16 -
 17
17 -
 18
18 -
 19
19 -
 20
20 -
 21
21 -
22
-
23
-
24
-
25
-
26
-
27
-
28
-
29
 |
 |