Yamaha MDX-793 Owner's Manual - Page 23
TIMER OPERATIONS, Timer Recording, Timer Playback
 |
View all Yamaha MDX-793 manuals
Add to My Manuals
Save this manual to your list of manuals |
Page 23 highlights
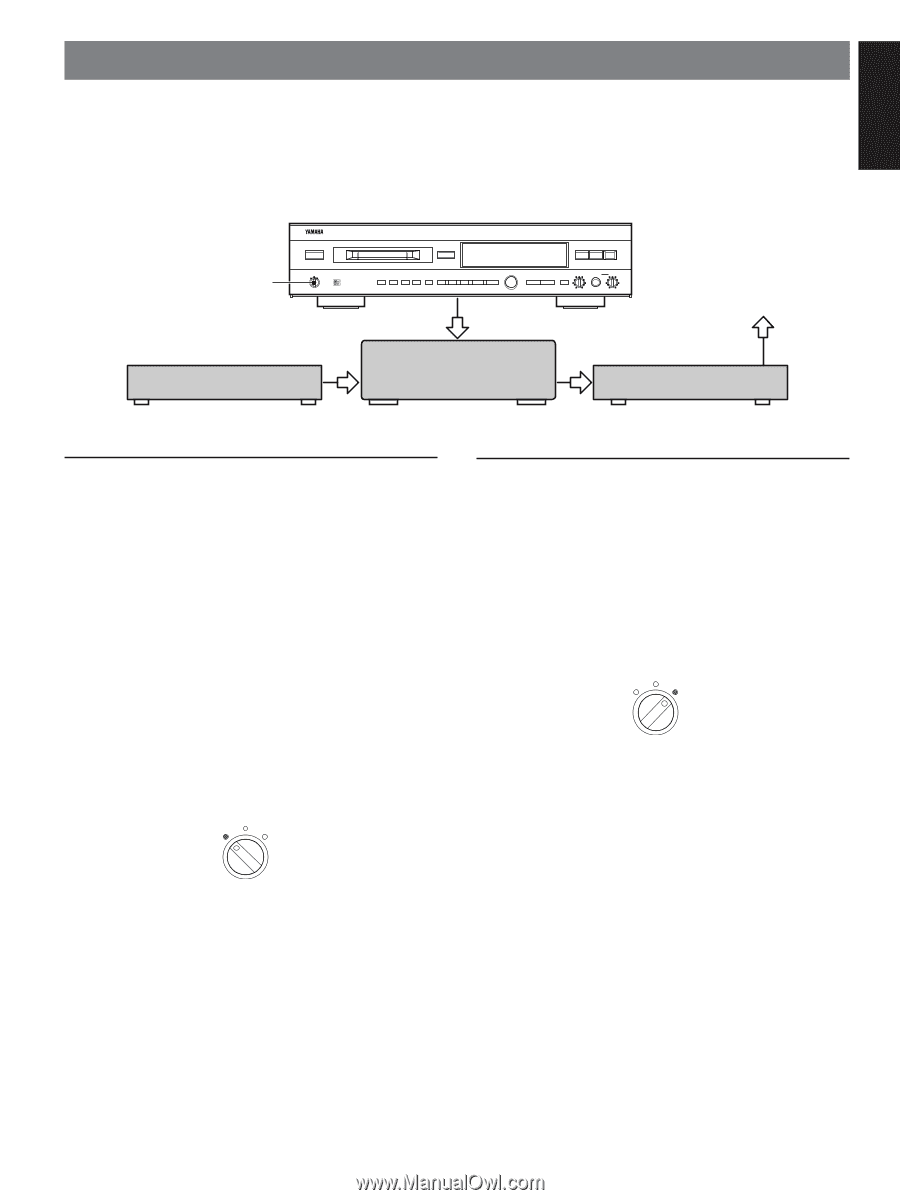
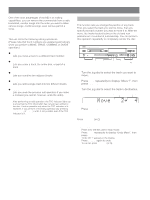
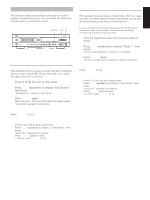
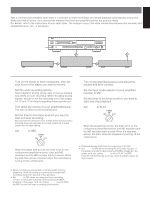
ENGLISH TIMER OPERATIONS With a commercially available audio timer it is possible to make recordings and initiate playback automatically at any time. Make sure that all power cord connections between the timer and amplifier/receiver are properly made. For details, refer to the instructions of your audio timer. No change in any of the other connections between the recorder and amplifier/receiver, etc., is necessary. TIMER NATURAL SOUND MINIDISC RECORDER MDX-793 POWER TIMER OFF REC PLAY 0EJECT 3˜8 7 REC RANDOM S/P REPEAT A-B DISPLAY SCROLL TITLE CHARA. DELETE CANCEL EDIT 4 - SET ENTER ¢ + 1 SEARCH ¡ INPUT REC LEVEL PHONES LEVEL 0 10 0 10 To AC outlet Tuner Amplifier Audio Timer Timer Recording 1 Turn on the power to each component, then set your tuner to the station you want to record. 2 Set this unit's recording options. Select digital or analog inputs, auto or manual marking, and stereo or mono recording. When recording analog signals, be sure to set the recording level. (See pages 14, 15 and 17 for details regarding these operations.) 3 Turn down the volume on your amplifier/receiver. This has no effect on the recording level. 4 Set the timer to the times at which you want to start and stop recording. We recommend setting the timer to start a few minutes before and stop a few minutes after the actual broadcast to leave some room for later editing. 5 Set TIMER to REC. TIMER OFF REC PLAY When the preset time arrives, the timer turns on the components (amplifier/receiver, tuner and MD recorder) and the MD recorder starts to record. When the stop time arrives, the timer stops the recording by turning off the components. Notes • When recording to a blank MD, recording starts from the beginning. When recording to a previously recorded MD, recording starts from the end of the last track. • Set TIMER to OFF when not using the timer recording function. If the power is turned on (by pressing POWER, plugging in the power cord, etc.) when TIMER is set to REC, the MD recorder will start recording automatically. Timer Playback 1 Turn on the amplifier/receiver and adjust the volume and tone controls. 2 Set the input mode selector of your amplifier/ receiver to MD. 3 Set the timer to the times at which you want to start and stop playback. 4 Set TIMER to PLAY. TIMER OFF REC PLAY When the preset time arrives, the timer turns on the components (amplifier/receiver and MD recorder) and the MD recorder starts to play. When the stop time arrives, the timer stops the playback by turning off the components. Notes • Playback always starts from the beginning of the MD. • Set TIMER to OFF when not using the timer play function. If the power is turned on (by pressing POWER, plugging in the power cord, etc.) when TIMER is set to PLAY, the MD recorder will start to play and may cause a sudden output at high volume. 23
-
 1
1 -
2
-
3
-
4
-
5
-
6
-
7
-
8
-
9
-
10
-
11
-
12
-
13
-
14
-
15
-
16
-
17
-
 18
18 -
 19
19 -
 20
20 -
 21
21 -
 22
22 -
 23
23 -
 24
24 -
 25
25 -
 26
26 -
 27
27 -
 28
28 -
29
 |
 |