2009 Suzuki SX4 Owner's Manual - Page 113
2009 Suzuki SX4 Manual

Page 113 highlights
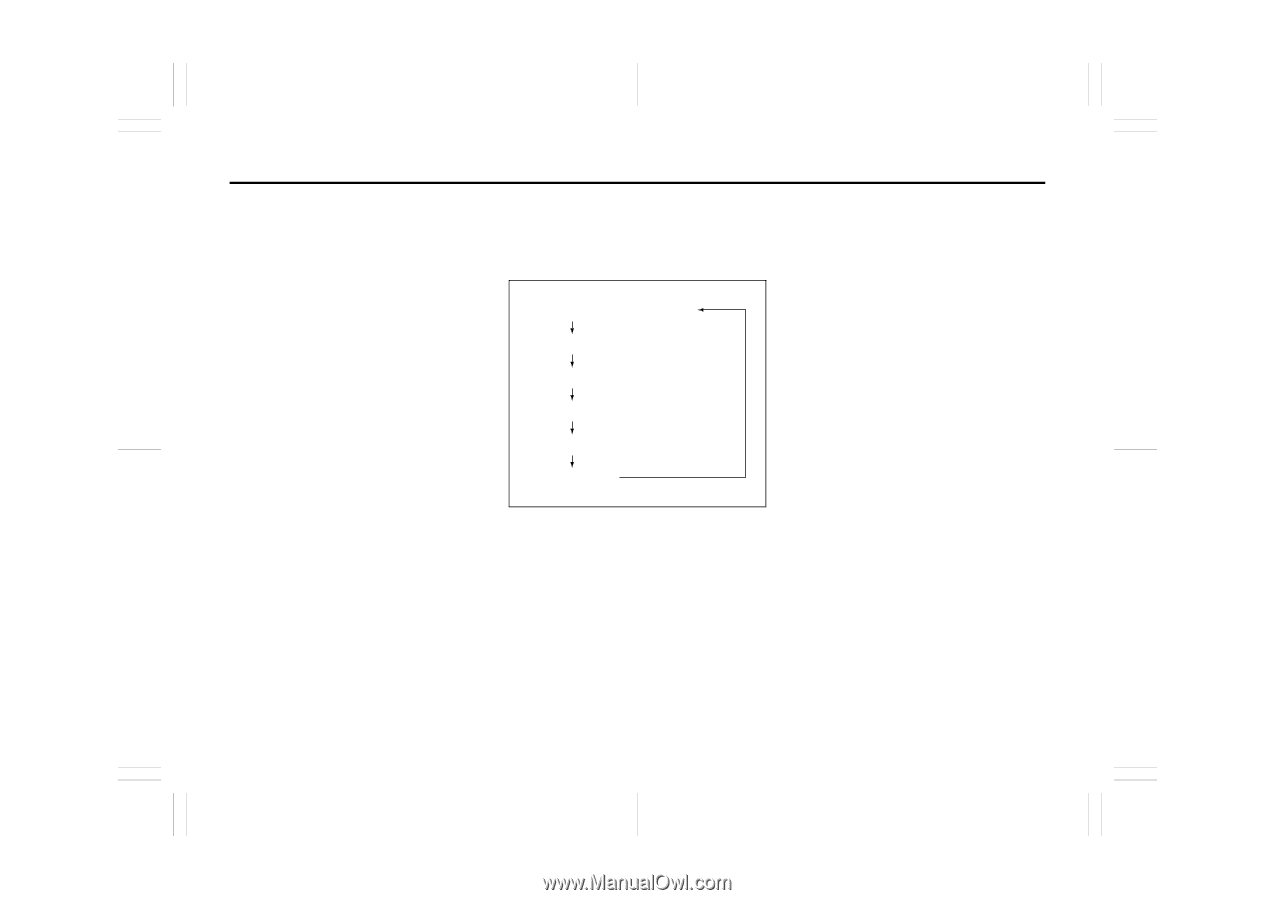
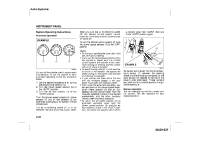
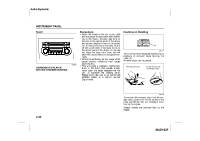
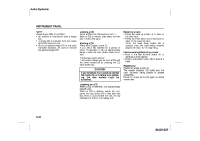
Audio Systems: INSTRUMENT PANEL Turning power on/off Press the power on/off knob (1). The unit starts in the function mode it was in when the power was turned off last. Adjusting the volume Turn the volume control knob (1). Turning it clockwise increases the volume; turning it counterclockwise decreases the volume. NOTE: While driving, adjust the volume to an extent that sound and/or noise coming from outside the car can be heard. Adjusting bass/treble/balance/fader 1) Press the tone/balance/fader control knob (2). Each time it is pressed, sound adjustment is changed as follows: Adjusting the AVC (Auto volume control) The Automatic Volume Control (AVC) function automatically adjusts (increases/ decreases) the sound volume in accordance with vehicle speed. The AVC control is provided with three selectable levels (LEVEL OFF, 1, 2, 3). The range of volume adjustment increases together with the LEVEL number, 1) Press the tone/balance/fader control knob (2) until the AVC adjustment mode is selected. 2) Turn the tone/balance/fader control knob (2) to select the desired AVC adjustment level. (Initial setting: LEVEL 2) Adjusting the contrast of the display 1) Press the tone/balance/fader/control knob (2) and preset button 5 (3), preset button 6 (4) simultaneously. 2) To adjust the contrast of the display, turn the power on/off knob (1). Cancel the dimmer condition Each time you press the power on/off knob (1) for two seconds with the lighting switch on, the background brightness of the audio display will switch between normal and dimmed. Bass adjustment (BASS 0) Treble adjustment (TREBLE 0) Balance adjustment (BALANCE 0) Fader adjustment (FADER 0) AVC adjustment (AVC LEVEL 2) Original mode 66J224 2) Turn the tone/balance/fader control knob (2) to adjust the sound. 4-36 80J22-03E
-
 1
1 -
2
-
3
-
4
-
5
-
6
-
7
-
8
-
9
-
10
-
11
-
12
-
13
-
14
-
15
-
16
-
17
-
18
-
19
-
20
-
21
-
22
-
23
-
24
-
25
-
26
-
27
-
28
-
29
-
30
-
31
-
32
-
33
-
34
-
35
-
36
-
37
-
38
-
39
-
40
-
41
-
42
-
43
-
44
-
45
-
46
-
47
-
48
-
49
-
50
-
51
-
52
-
53
-
54
-
55
-
56
-
57
-
58
-
59
-
60
-
61
-
62
-
63
-
64
-
65
-
66
-
67
-
68
-
69
-
70
-
71
-
72
-
73
-
74
-
75
-
76
-
77
-
78
-
79
-
80
-
81
-
82
-
83
-
84
-
85
-
86
-
87
-
88
-
89
-
90
-
91
-
92
-
93
-
94
-
95
-
96
-
97
-
98
-
99
-
100
-
101
-
102
-
103
-
104
-
105
-
106
-
107
-
 108
108 -
 109
109 -
 110
110 -
 111
111 -
 112
112 -
 113
113 -
 114
114 -
 115
115 -
 116
116 -
 117
117 -
 118
118 -
119
-
120
-
121
-
122
-
123
-
124
-
125
-
126
-
127
-
128
-
129
-
130
-
131
-
132
-
133
-
134
-
135
-
136
-
137
-
138
-
139
-
140
-
141
-
142
-
143
-
144
-
145
-
146
-
147
-
148
-
149
-
150
-
151
-
152
-
153
-
154
-
155
-
156
-
157
-
158
-
159
-
160
-
161
-
162
-
163
-
164
-
165
-
166
-
167
-
168
-
169
-
170
-
171
-
172
-
173
-
174
-
175
-
176
-
177
-
178
-
179
-
180
-
181
-
182
-
183
-
184
-
185
-
186
-
187
-
188
-
189
-
190
-
191
-
192
-
193
-
194
-
195
-
196
-
197
-
198
-
199
-
200
-
201
-
202
-
203
-
204
-
205
-
206
-
207
-
208
-
209
-
210
-
211
-
212
-
213
-
214
-
215
-
216
-
217
-
218
-
219
-
220
-
221
-
222
-
223
-
224
-
225
-
226
-
227
-
228
-
229
-
230
-
231
-
232
-
233
-
234
-
235
-
236
-
237
-
238
-
239
-
240
-
241
-
242
-
243
-
244
-
245
-
246
-
247
-
248
-
249
-
250
-
251
-
252
-
253
-
254
-
255
-
256
-
257
-
258
-
259
-
260
-
261
-
262
-
263
-
264
-
265
-
266
-
267
-
268
-
269
-
270
-
271
-
272
-
273
-
274
-
275
-
276
-
277
-
278
-
279
 |
 |