3M MP8747 Operation Guide - Page 36
RS-232 Communication, Communications Setting, 19200bps, 8N1, Protocol, Header, Command data
 |
View all 3M MP8747 manuals
Add to My Manuals
Save this manual to your list of manuals |
Page 36 highlights
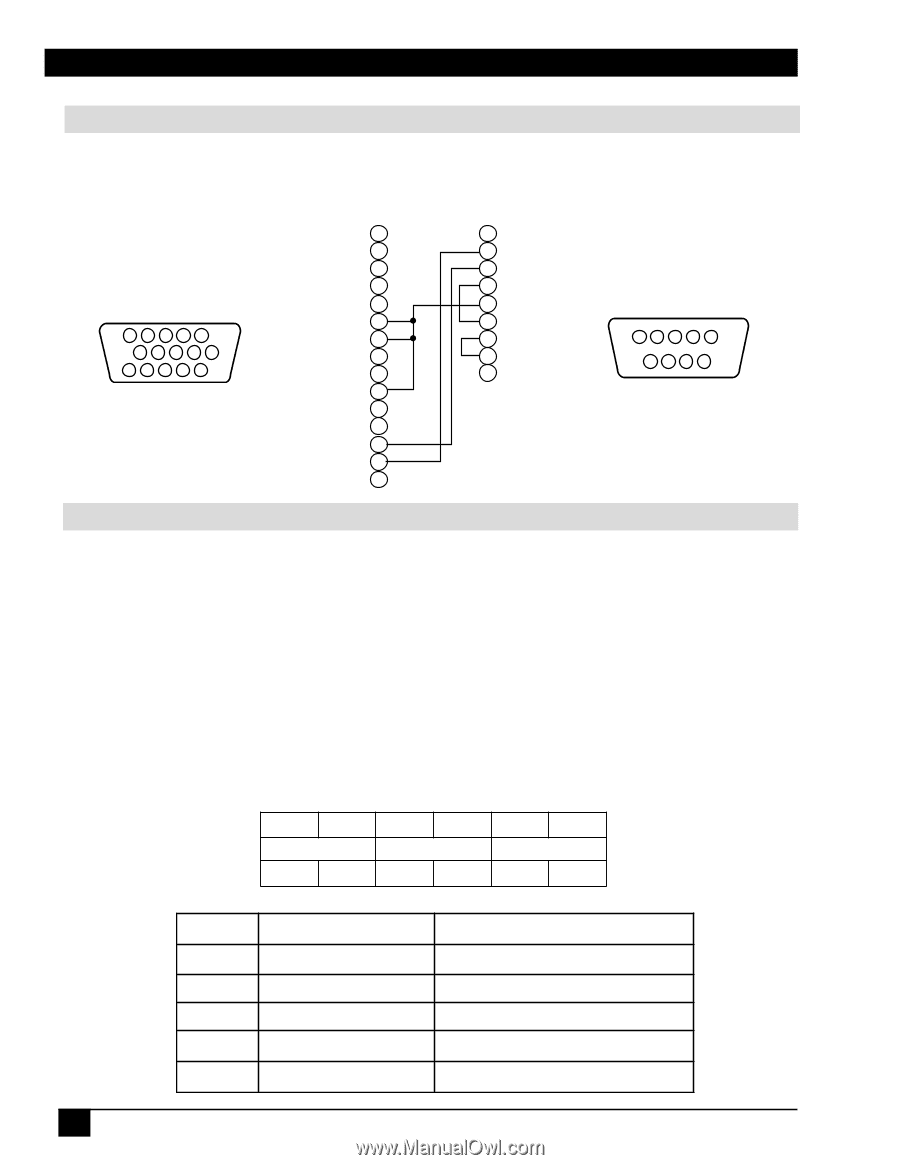
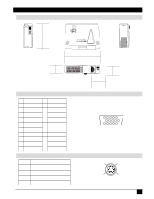
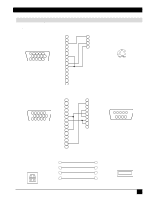
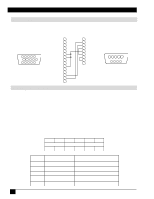
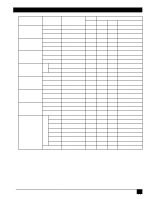
Technical Appendix RS-232 Communication 1. Turn off the projector and computer power supplies and connect with the RS-232C cable. 2. Turn on the computer power supply and, after the computer has started up, turn on the projector power supply. Projector Computer CONTROL Terminal D-sub 15-pin shrink jack 54 3 21 10 9 8 7 6 15 14 13 12 11 1 2 3 4 5 SELO 6 RTS 7 8 9 GND 10 11 12 RD 13 TD 14 15 1 CD 2 RD 3 TD 4 DTR 5 GND 6 DSR 7 RTS 8 DTS 9 RI RS-232C jack D-sub 9-pin 1 23 45 67 89 Communications Setting 19200bps, 8N1 1 Protocol Consist of header (7 bytes) + command data (6 bytes). 2 Header BE + EF + 03 + 06 + 00 + CRC_low + CRC_high CRC_low: Lower byte of CRC flag for command data. CRC_high: Upper byte of CRC flag for command data. 3 Command data byte_0 byte_1 Action low high byte_2 byte_3 Type low high byte_4 byte_5 Setting Code low high Action 1 2 4 5 6 Classification SET GET INCREMENT DECREMENT EXECUTE Content Change setting to desired value. Read projector internal setup value. Increment setup value by 1 Decrement setup value by 1 Run a command. 36 3M™ Personal Projector MP8746/MP8747 © 3M IPC 2000
-
 1
1 -
2
-
3
-
4
-
5
-
6
-
7
-
8
-
9
-
10
-
11
-
12
-
13
-
14
-
15
-
16
-
17
-
18
-
19
-
20
-
21
-
22
-
23
-
24
-
25
-
26
-
27
-
28
-
29
-
30
-
 31
31 -
 32
32 -
 33
33 -
 34
34 -
 35
35 -
 36
36 -
 37
37 -
 38
38 -
 39
39 -
 40
40 -
 41
41 -
42
-
43
-
44
 |
 |