Alpine CDA-118M Om Cda-118m English - Page 25
Setup - owners manual
 |
UPC - 793276711663
View all Alpine CDA-118M manuals
Add to My Manuals
Save this manual to your list of manuals |
Page 25 highlights
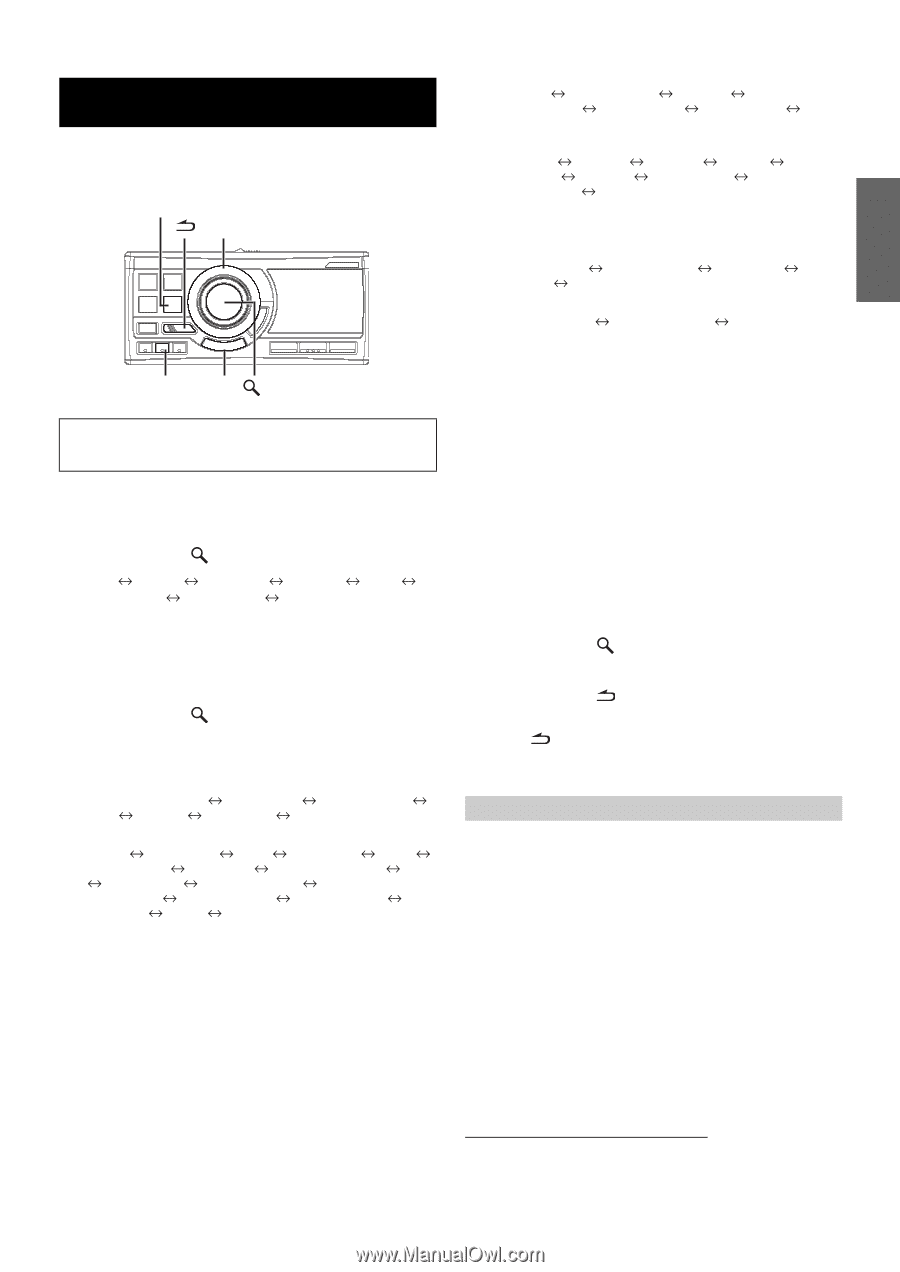
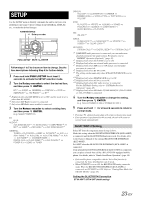
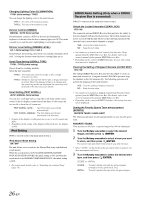
SETUP Use the SETUP menu to flexibly customize the unit to suit your own preferences and usage. Choose settings from GENERAL, DISPLAY, etc., to make the desired changes. TUNER/SOURCE Rotary encoder FUNC./SETUP MUTE /ENTER Follow steps 1 to 5 to choose an item to change. See the item descriptions following Step 5 for further details. 1 Press and hold FUNC./SETUP for at least 2 seconds to activate the SETUP selection mode. 2 Turn the Rotary encoder to select the desired item, and then press /ENTER. BT*1 AUDIO GENERAL DISPLAY XM/SIRIUS*2 HD RADIO*3 BT*1 IPOD *1 Displayed only when INT MUTE is set to OFF, and the mode is set to other than BT AUDIO. *2 Only when SAT Radio receiver is connected. *3 Only when HD Radio tuner module is connected. 3 Turn the Rotary encoder to select a setting item, and then press /ENTER. (e.g. Select POWER IC) BT: BT IN AUDIO*4: AUX ZONE SELECT*5 MUTE LEVEL USER PRESET*6 MX*6 SUBW*6 MX LEVEL*7 AUX ZONE SELECT*5 GENERAL: TUNER PLAY MODE BEEP INT MUTE*8 AUX+ AUX+ NAME*9 AUX ZONE AUX ZONE NAME*9 AUX AUX NAME*9 CHANGER NAME DIGITAL AUX D-AUX NAME*10 AUX IN GAIN*11 POWER IC DEMO TUNER DISPLAY: VOL DISP ILLUMINATION DIMMER DIMMER LEVEL SCROLL TYPE TEXT SCROLL VOL DISP IPOD: PLAYLISTS ARTISTS ALBUMS SONGS PODCASTS GENRES COMPOSERS AUDIO BOOKS PLAYLISTS XM: XM ADF*12 SIRIUS: CLEAR LOCK*12 CLEAR SKIP*12 S-SEEK*12 CLEAR LOCK*12 SPORTS*12 HD RADIO: STATION CALL*13 DIGITAL SEEK*13 STATION CALL*13 *4 If IMPRINT audio processor is connected, you can make more detailed settings for the audio setting. For details, refer to "IMPRINT Operation (Optional)" (page 32). *5 Displayed only when AUX ZONE is set to ON. *6 Displayed only when an external audio processor is connected. *7 Displayed only when MX is set to ON and an external audio processor is connected. *8 Displayed only when BT IN is OFF. *9 The setting can be made only when AUX+/AUX ZONE/AUX is set to ON. *10 Displayed only when DIGITAL AUX is set to ON. *11 Displayed only when AUX+ is set to ON. *12 Displayed only when SAT radio receiver is connected. For the SAT Radio Setting, refer to "SAT Radio Receiver (Optional)" (page 28). *13 Displayed only when HD Radio TUNER MODULE (TUA-T500HD or TUA-T550HD) is connected. 4 Turn the Rotary encoder to change the setting, and then press /ENTER (e.g. Select POWER IC ON or POWER IC OFF.) 5 Press and hold normal mode. for at least 2 seconds to return to • Pressing during the procedure will return to the previous mode. • If no operation is performed for 60 seconds, the unit will return to normal mode automatically. BLUETOOTH Setting Select BT from the setup main menu in step 2 above. Make this setting when the BLUETOOTH INTERFACE (KCE-400BT) is connected and the BLUETOOTH function is used. For details, refer to the Owner's Manual of the optional BLUETOOTH INTERFACE (KCE-400BT). Set ADPT when the BLUETOOTH INTERFACE (KCE-400BT) is connected. If an optional BLUETOOTH INTERFACE (KCE-400BT) is connected, you can place a hands-free call by a BLUETOOTH-equipped mobile phone. For details, refer to "Hands-Free Phone Operation" (page 18). • If the mobile phone compatible with the Voice Dial function is connected, the Voice Dial function can be used. • When INT MUTE is set to ON, the BLUETOOTH setting cannot be made. When the BLUETOOTH INTERFACE (KCE-400BT) is connected, set INT MUTE to OFF. Refer to "Turning Mute Mode On/ Off (INT MUTE)" (page 24). Setting the BLUETOOTH Connection BT IN ADPT / BT IN OFF (Initial setting) 23-EN
-
 1
1 -
2
-
3
-
4
-
5
-
6
-
7
-
8
-
9
-
10
-
11
-
12
-
13
-
14
-
15
-
16
-
17
-
18
-
19
-
 20
20 -
 21
21 -
 22
22 -
 23
23 -
 24
24 -
 25
25 -
 26
26 -
 27
27 -
 28
28 -
 29
29 -
 30
30 -
31
-
32
-
33
-
34
-
35
-
36
-
37
-
38
-
39
-
40
-
41
-
42
-
43
-
44
-
45
-
46
-
47
-
48
-
49
-
50
-
51
 |
 |